The Tankwa Karoo National Park is a youngster compared to other South African parks. It was established around 1998, with an initial 270 km2; since then it has been expanded to 1463 km2. Before it was established, there was almost no preservation of Succulent Karoo in South Africa.
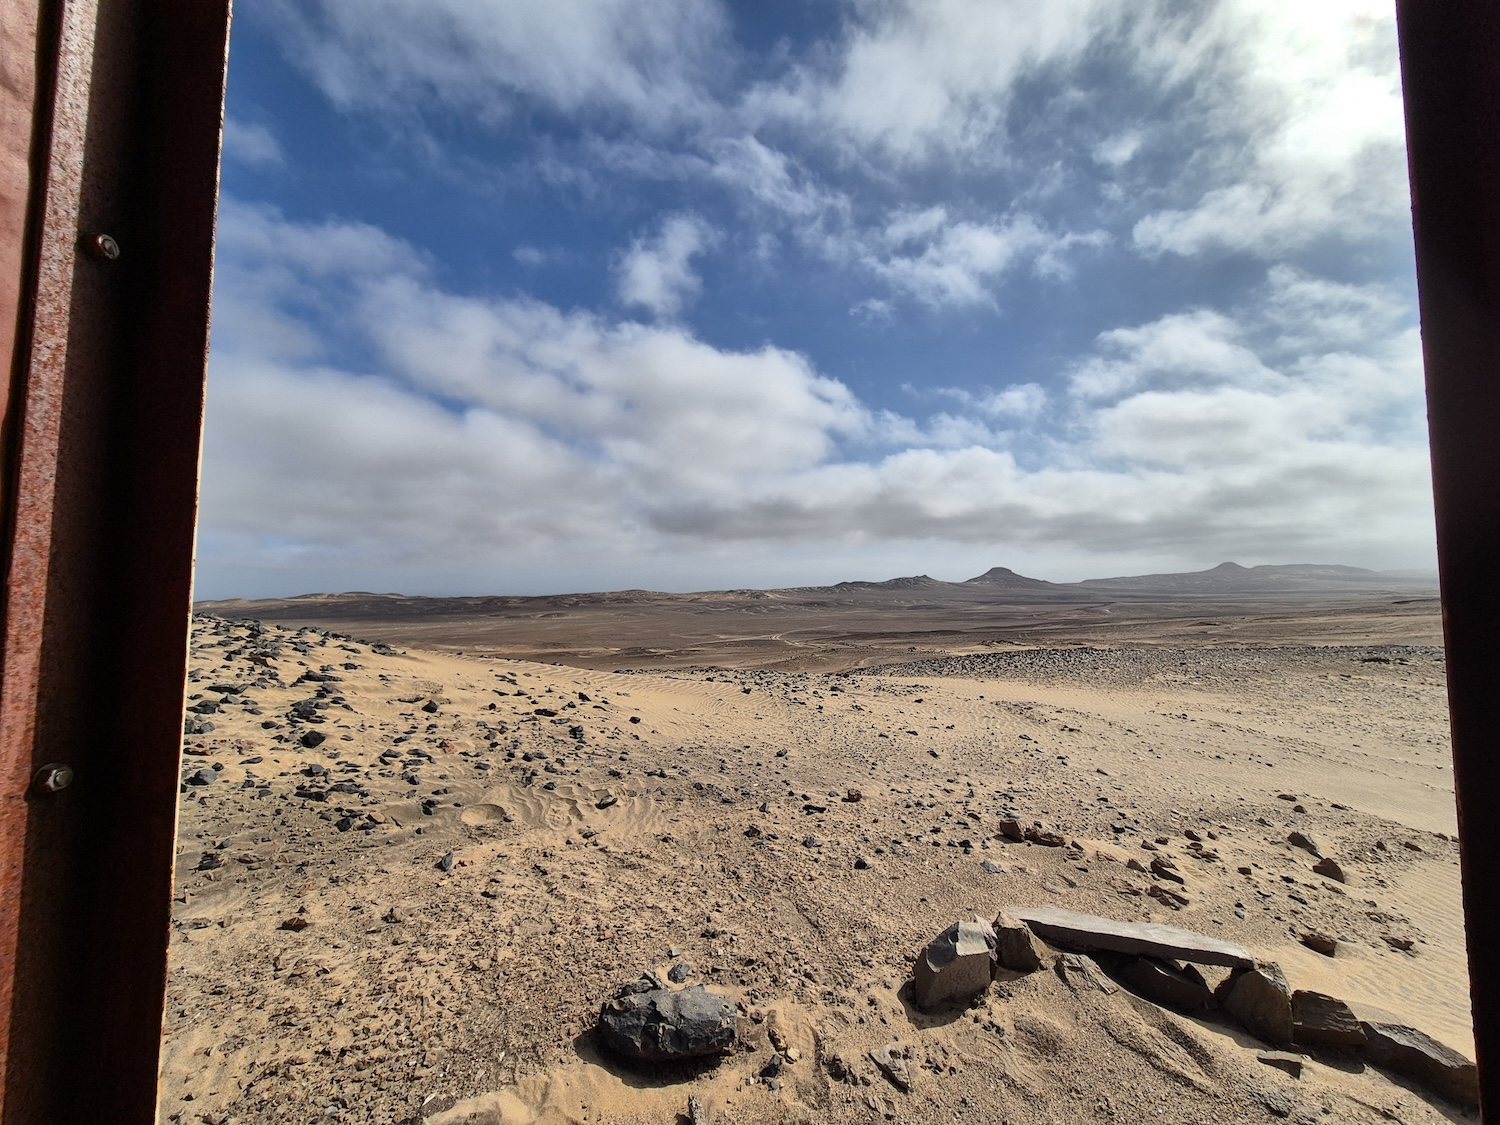
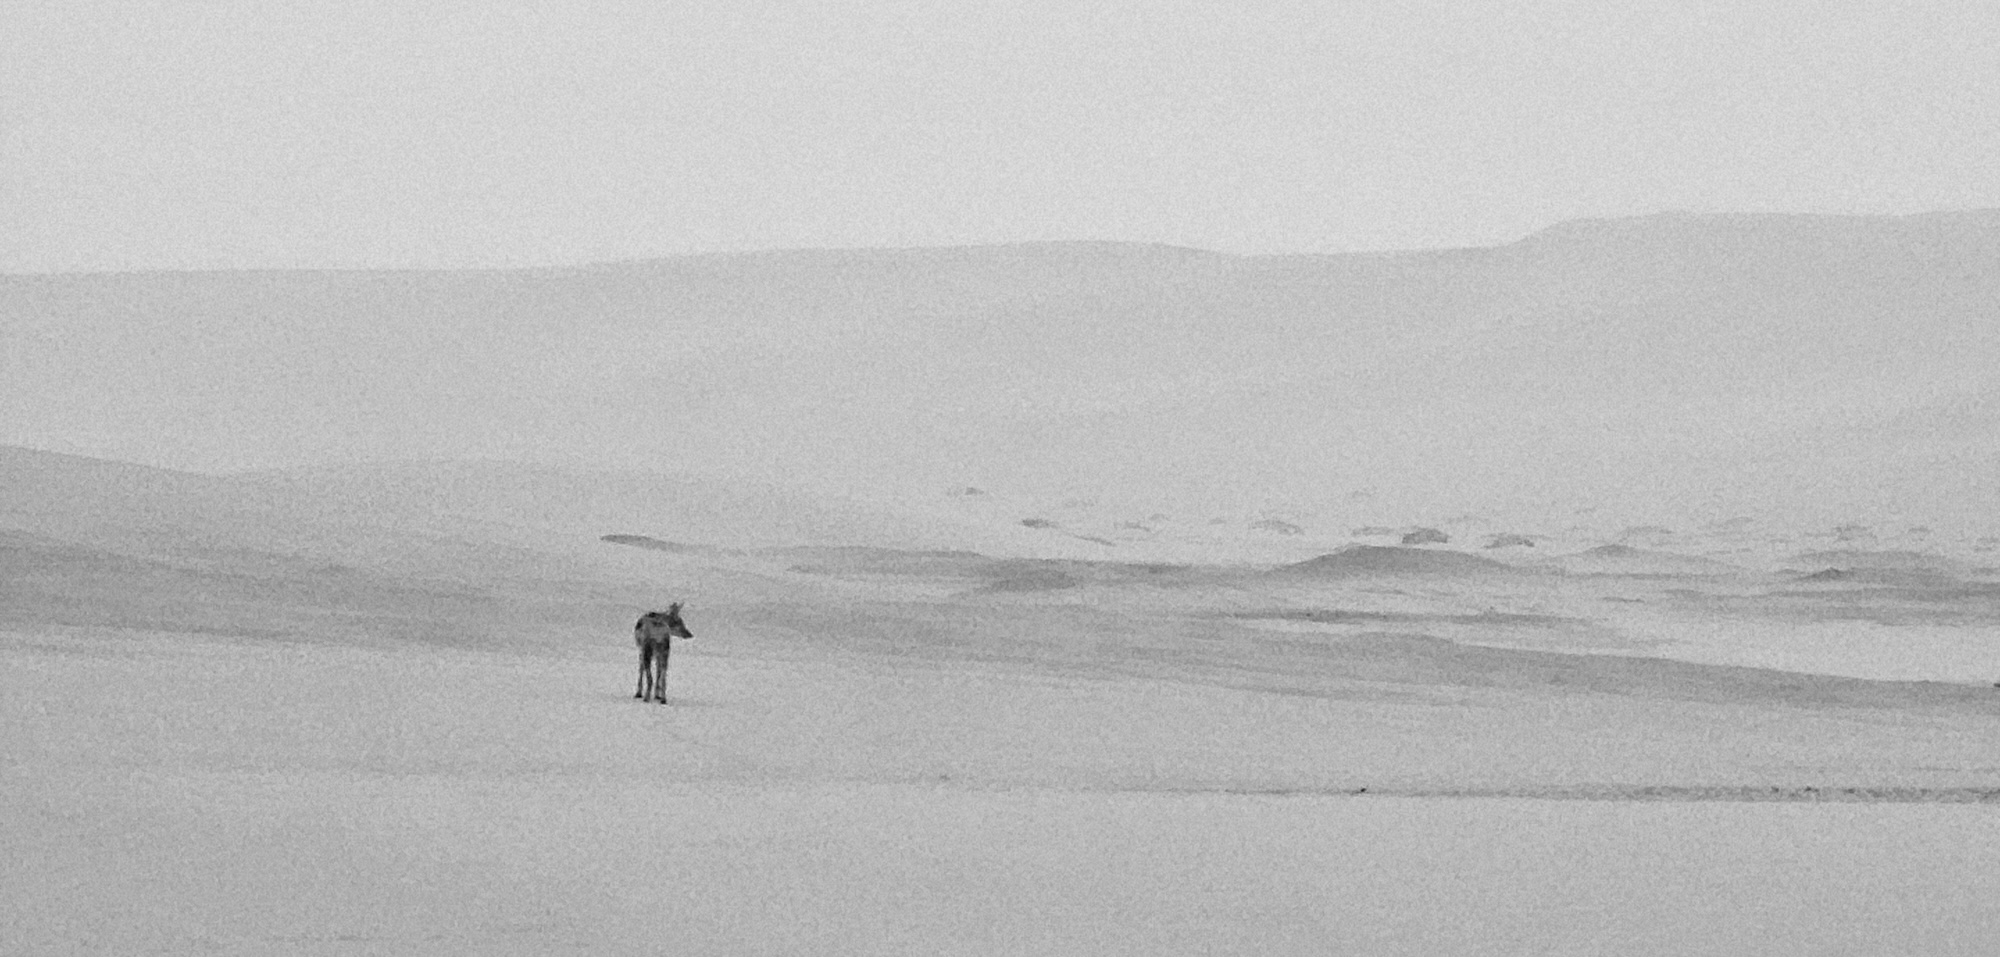
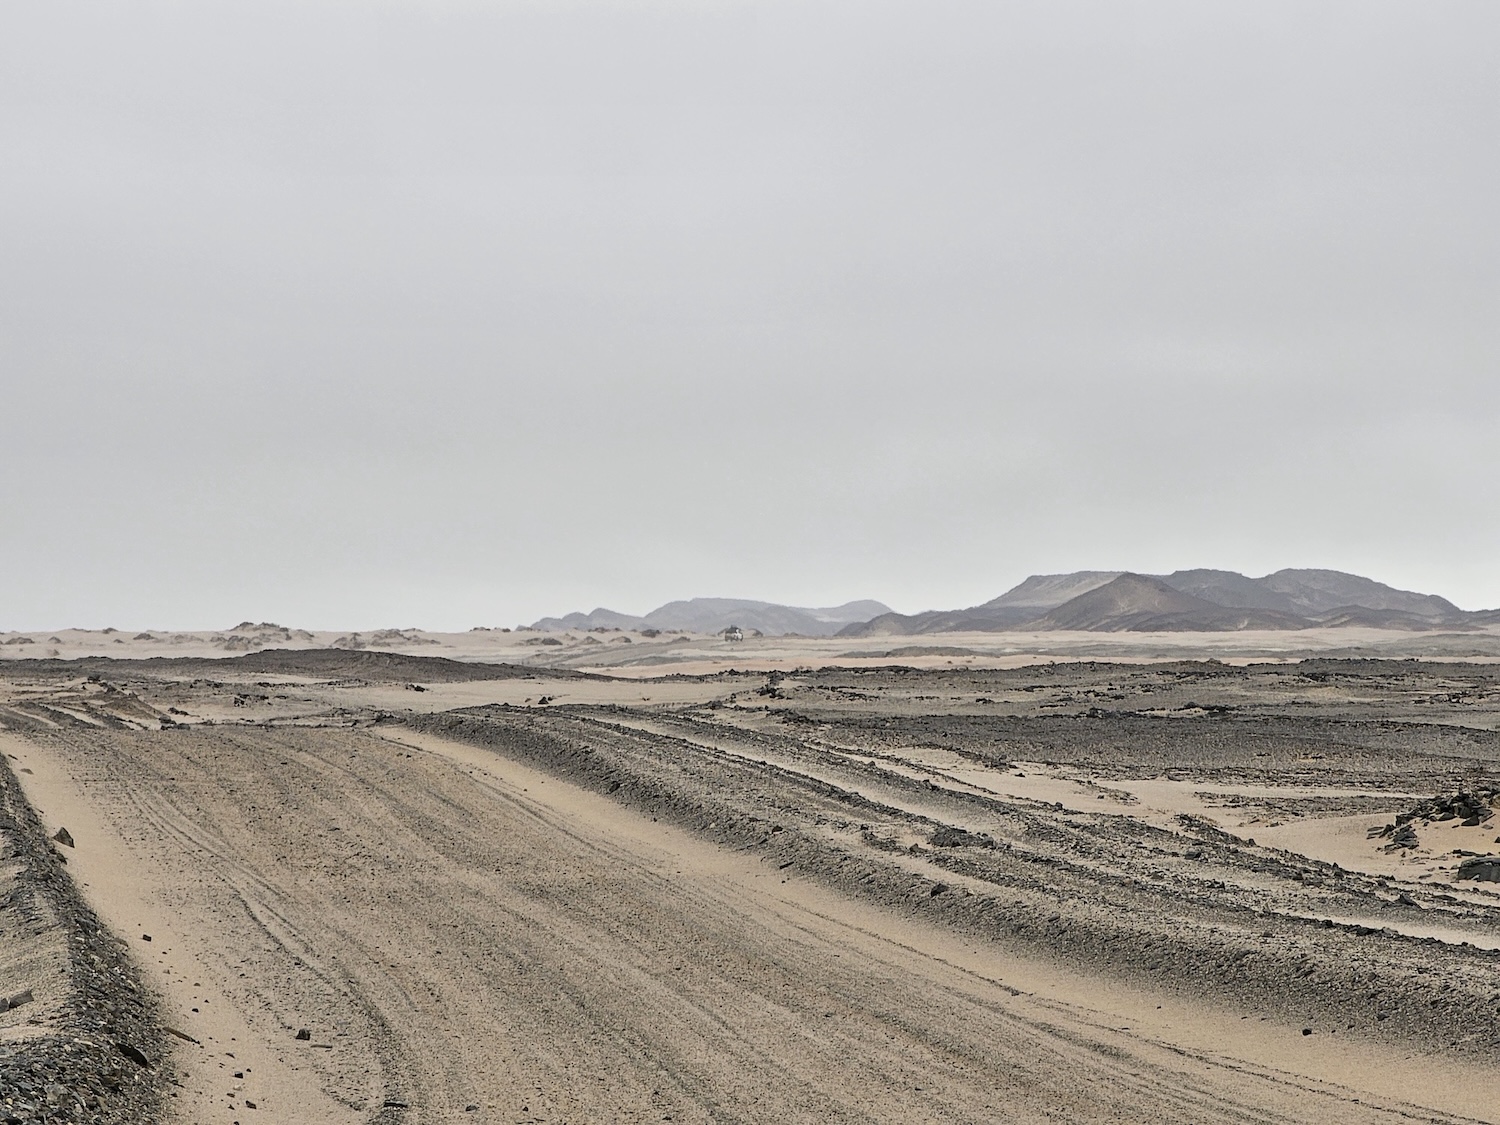
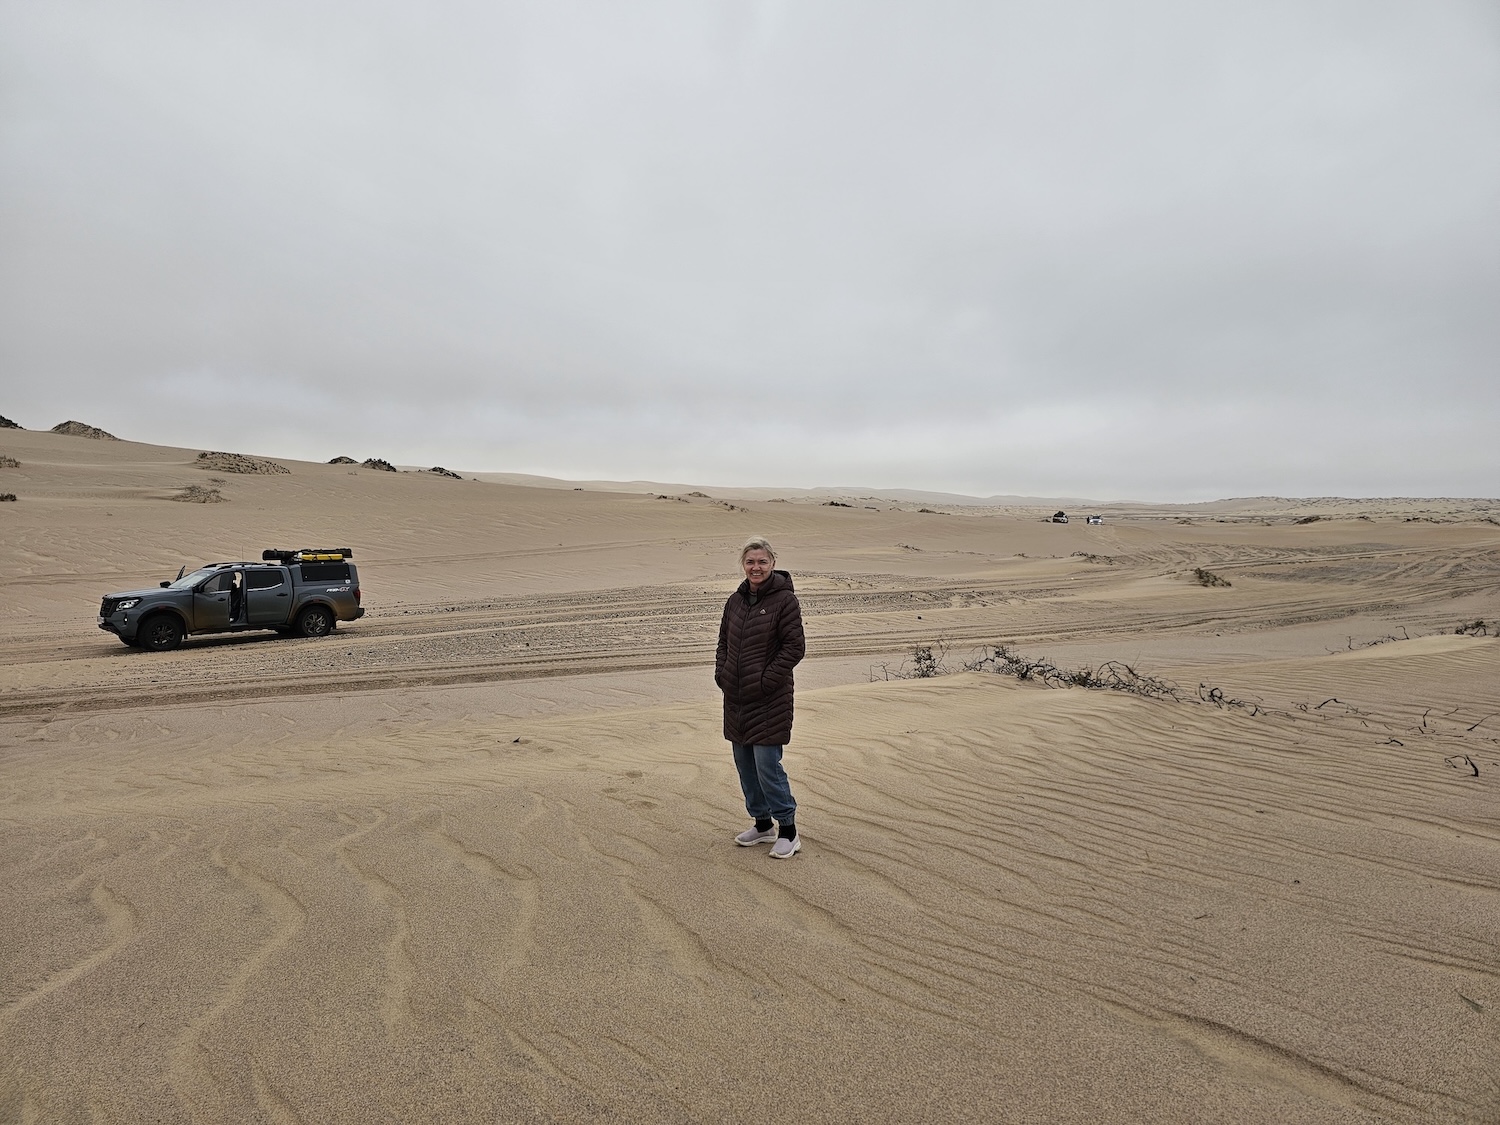
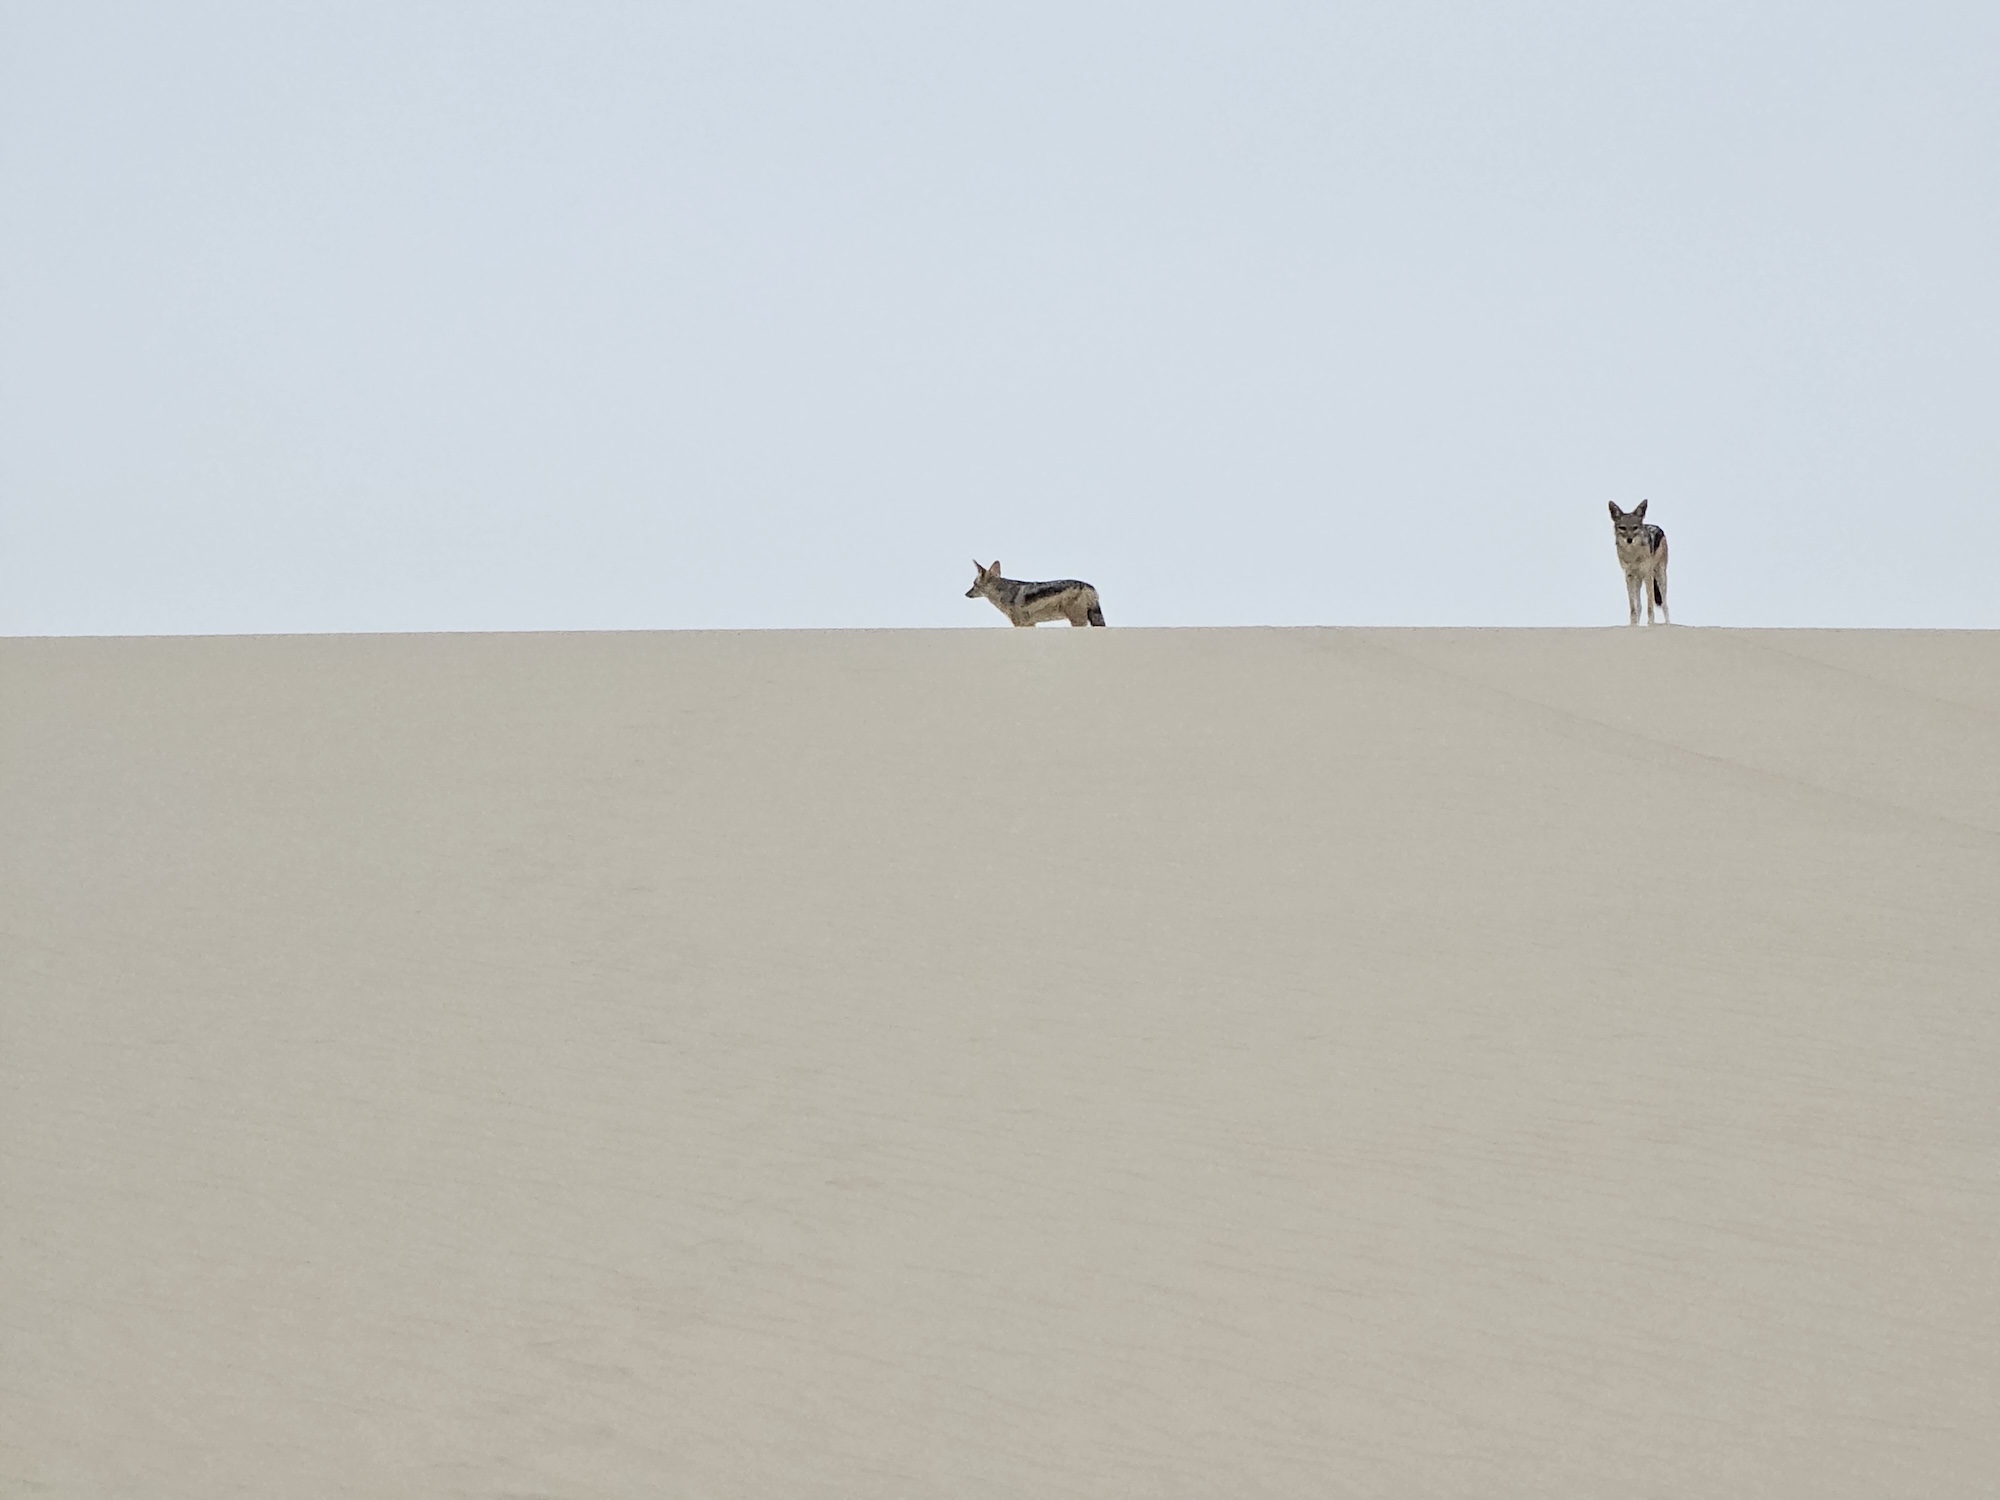
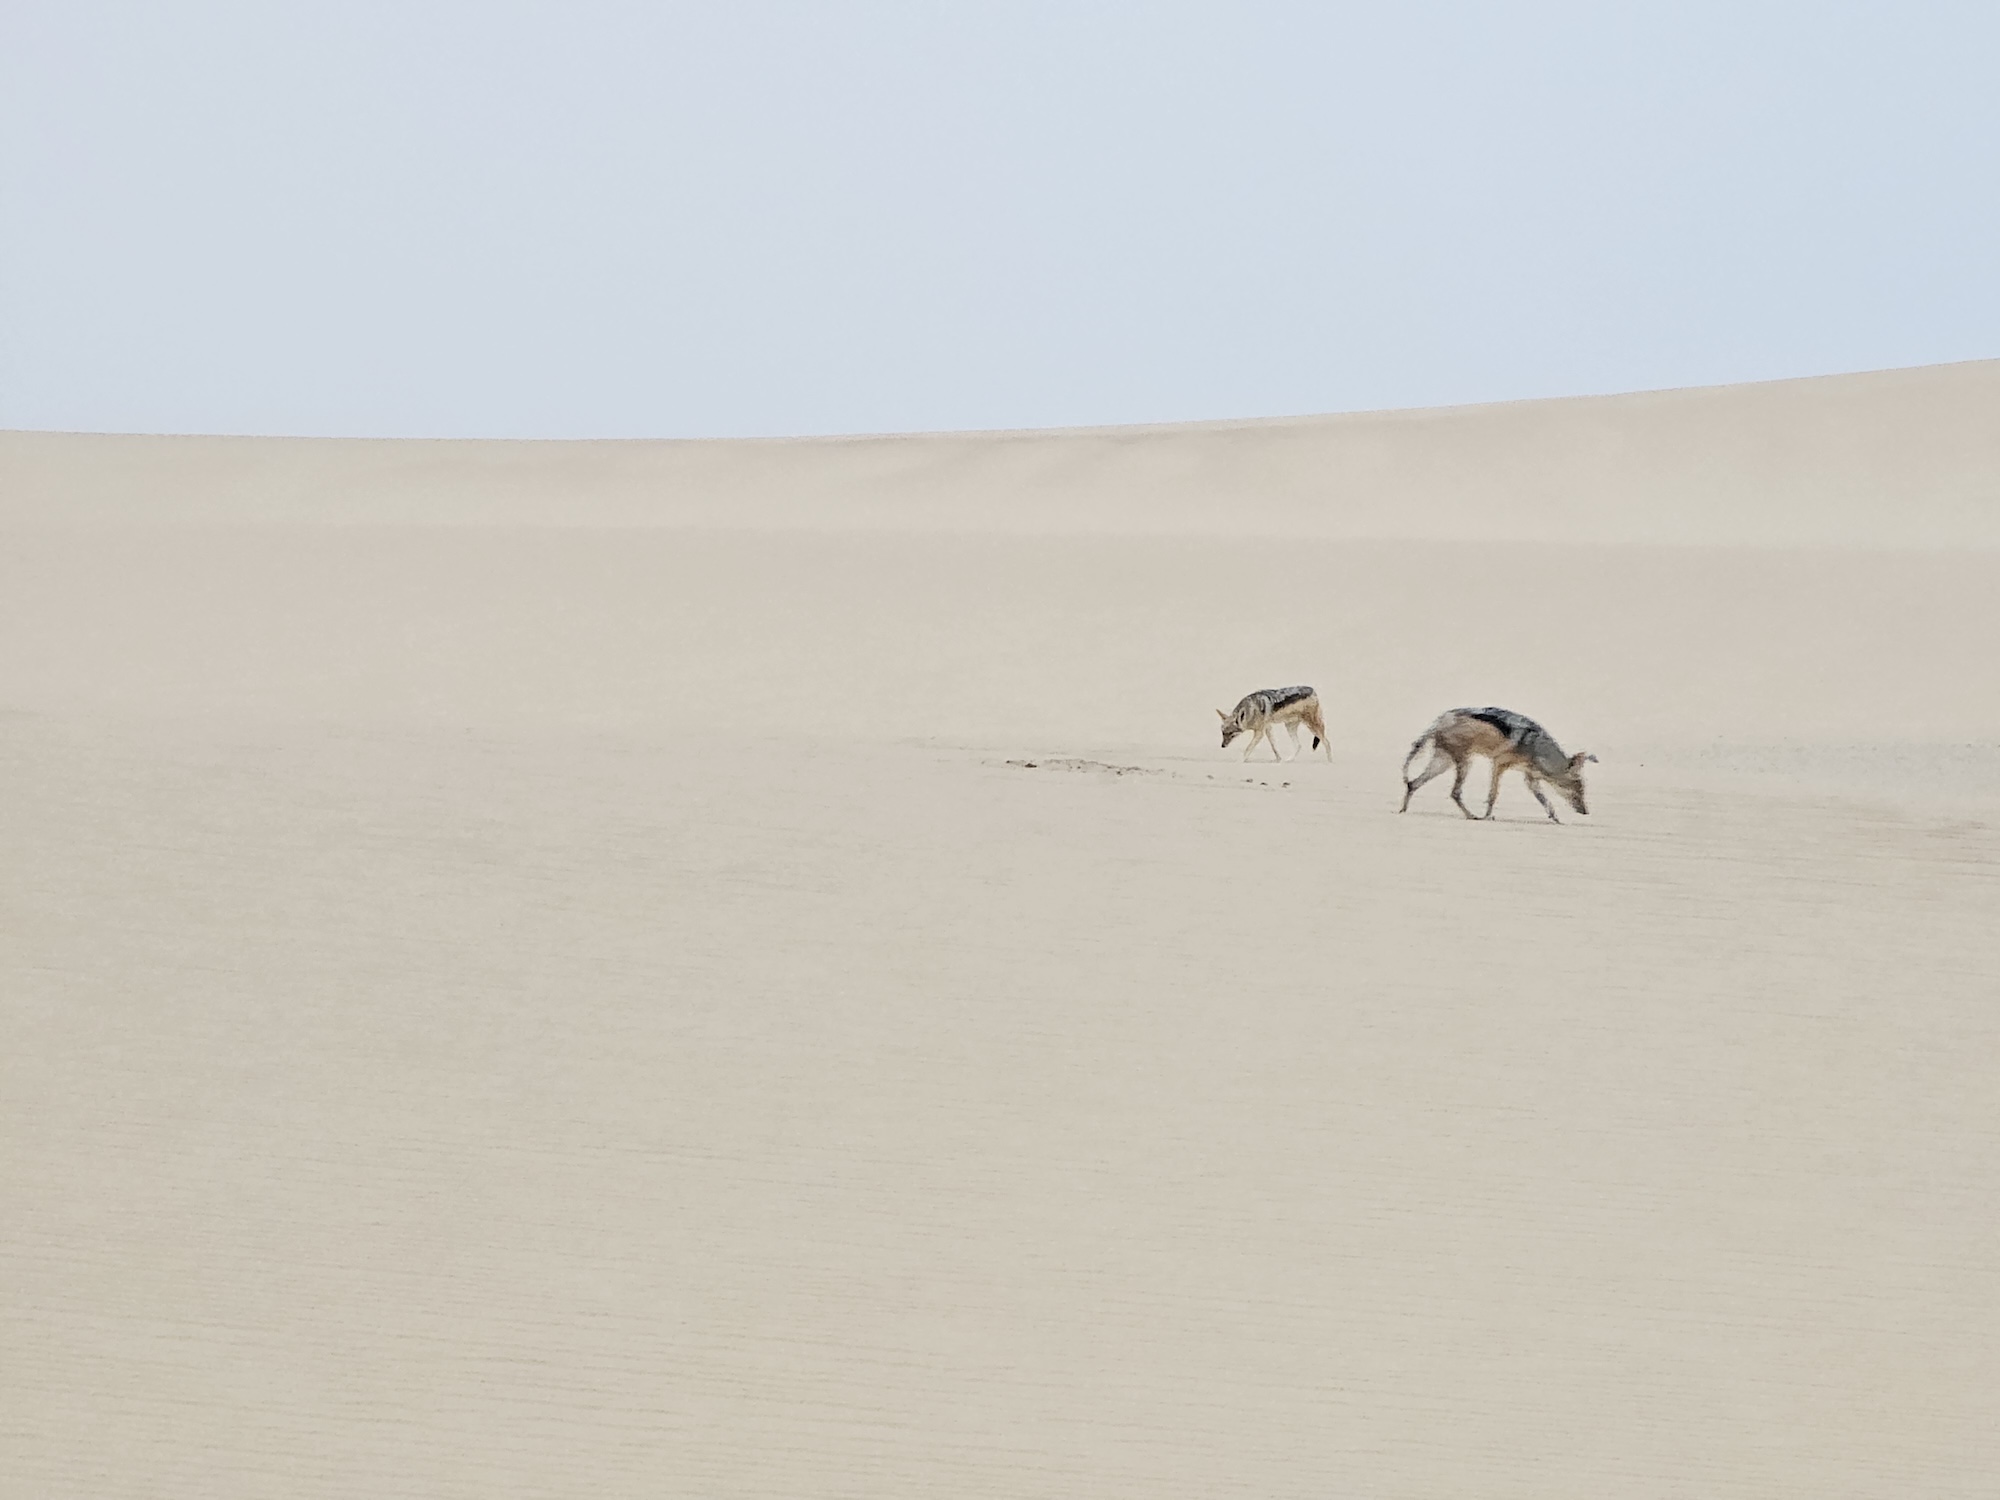
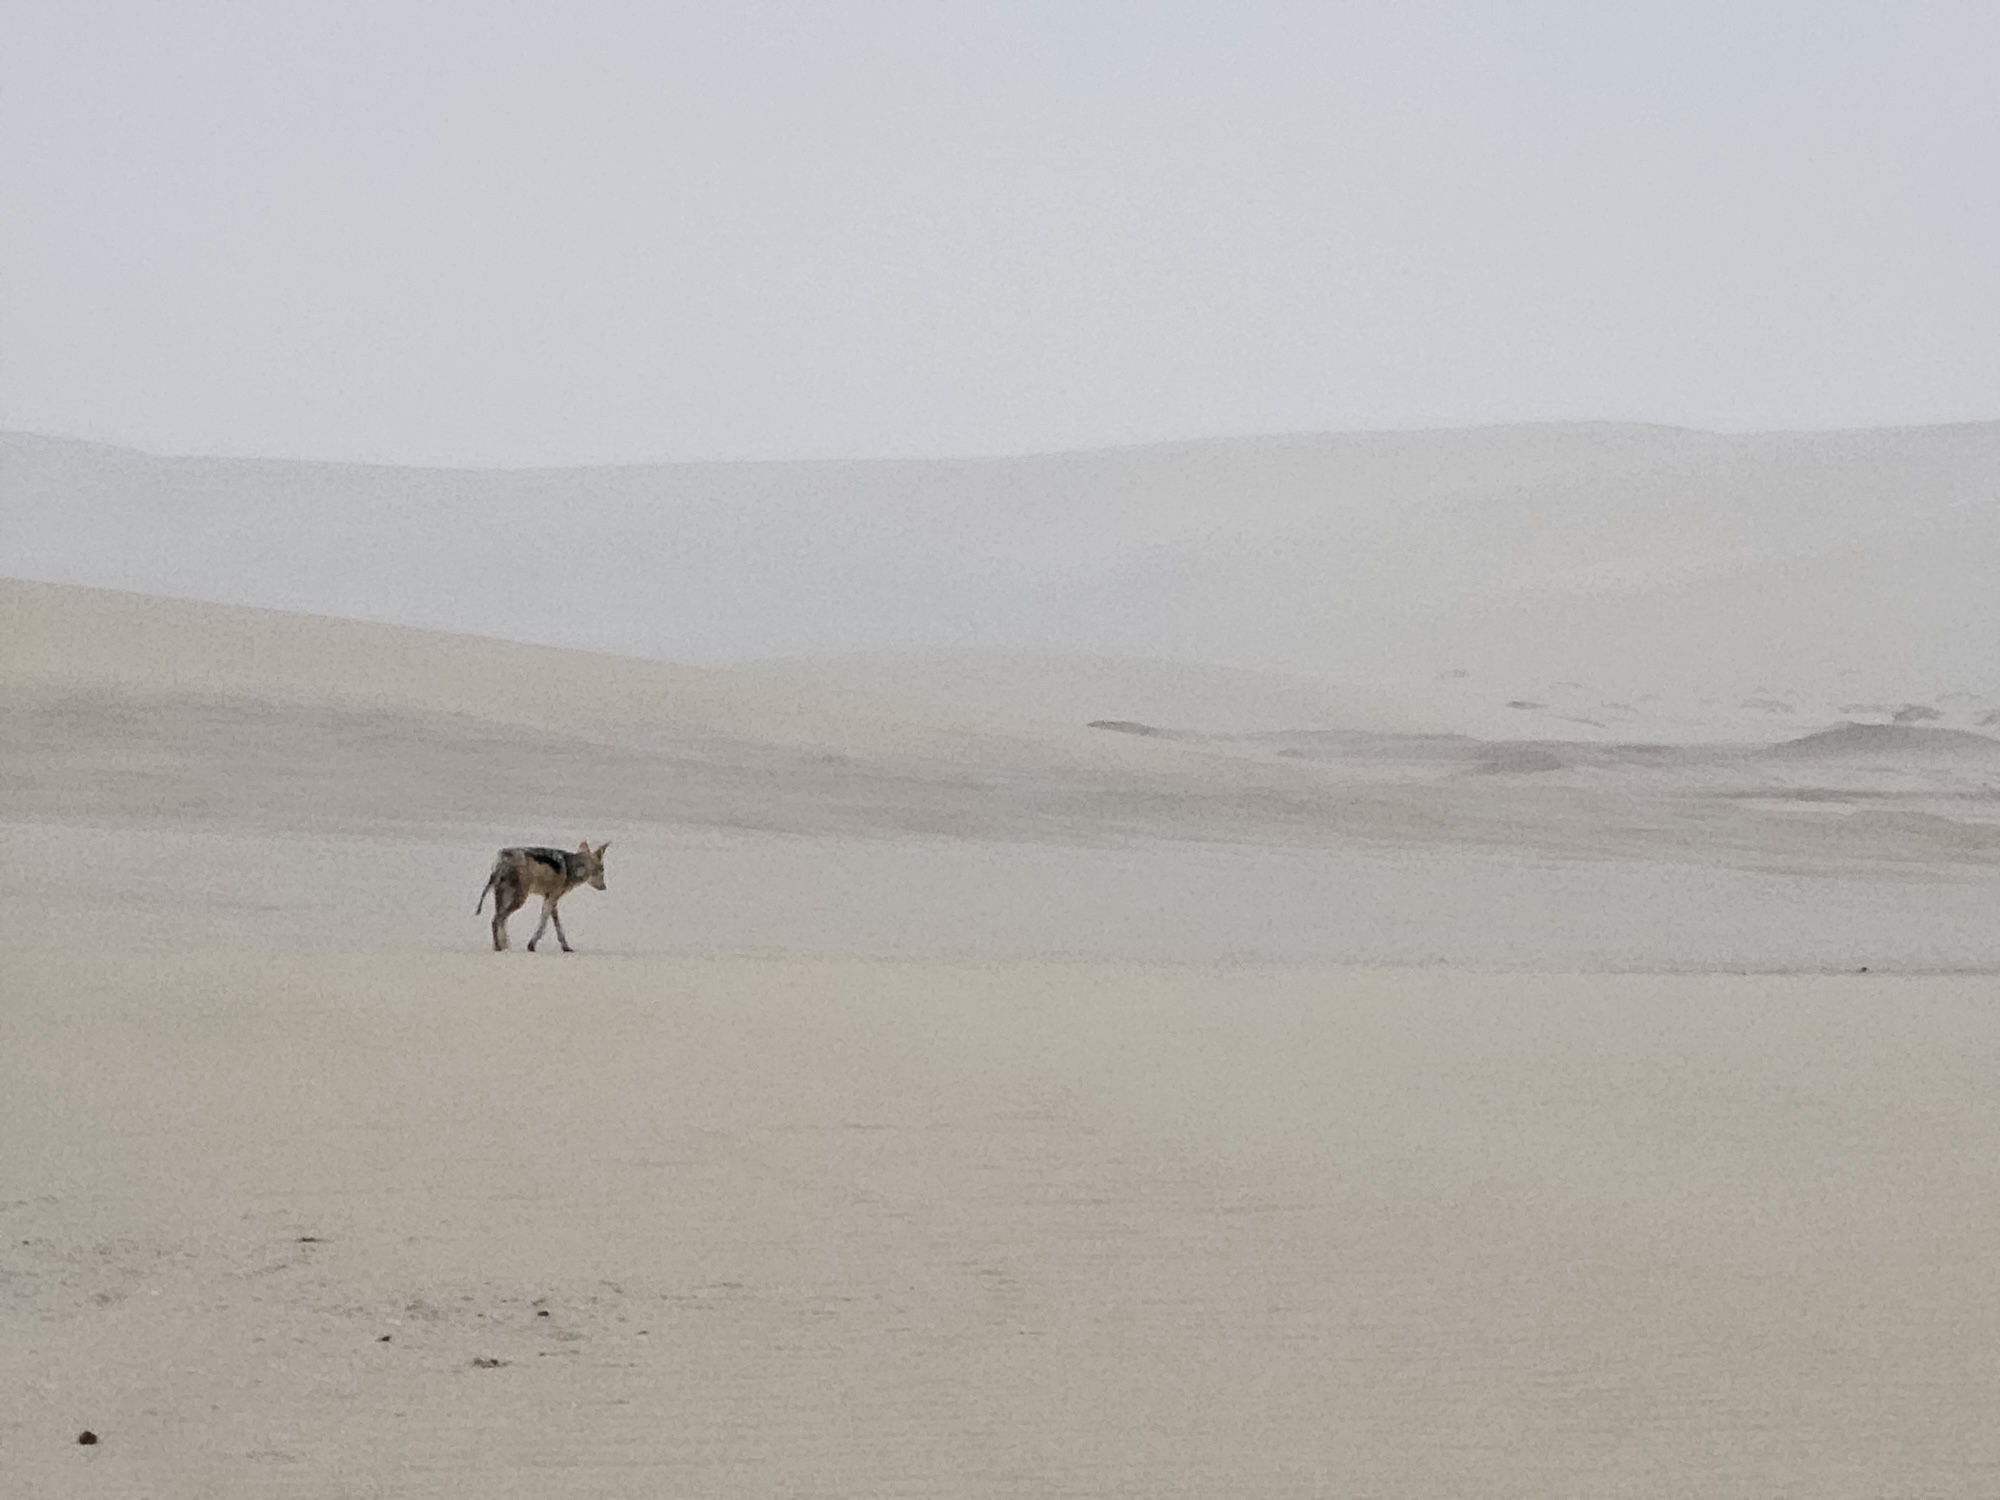
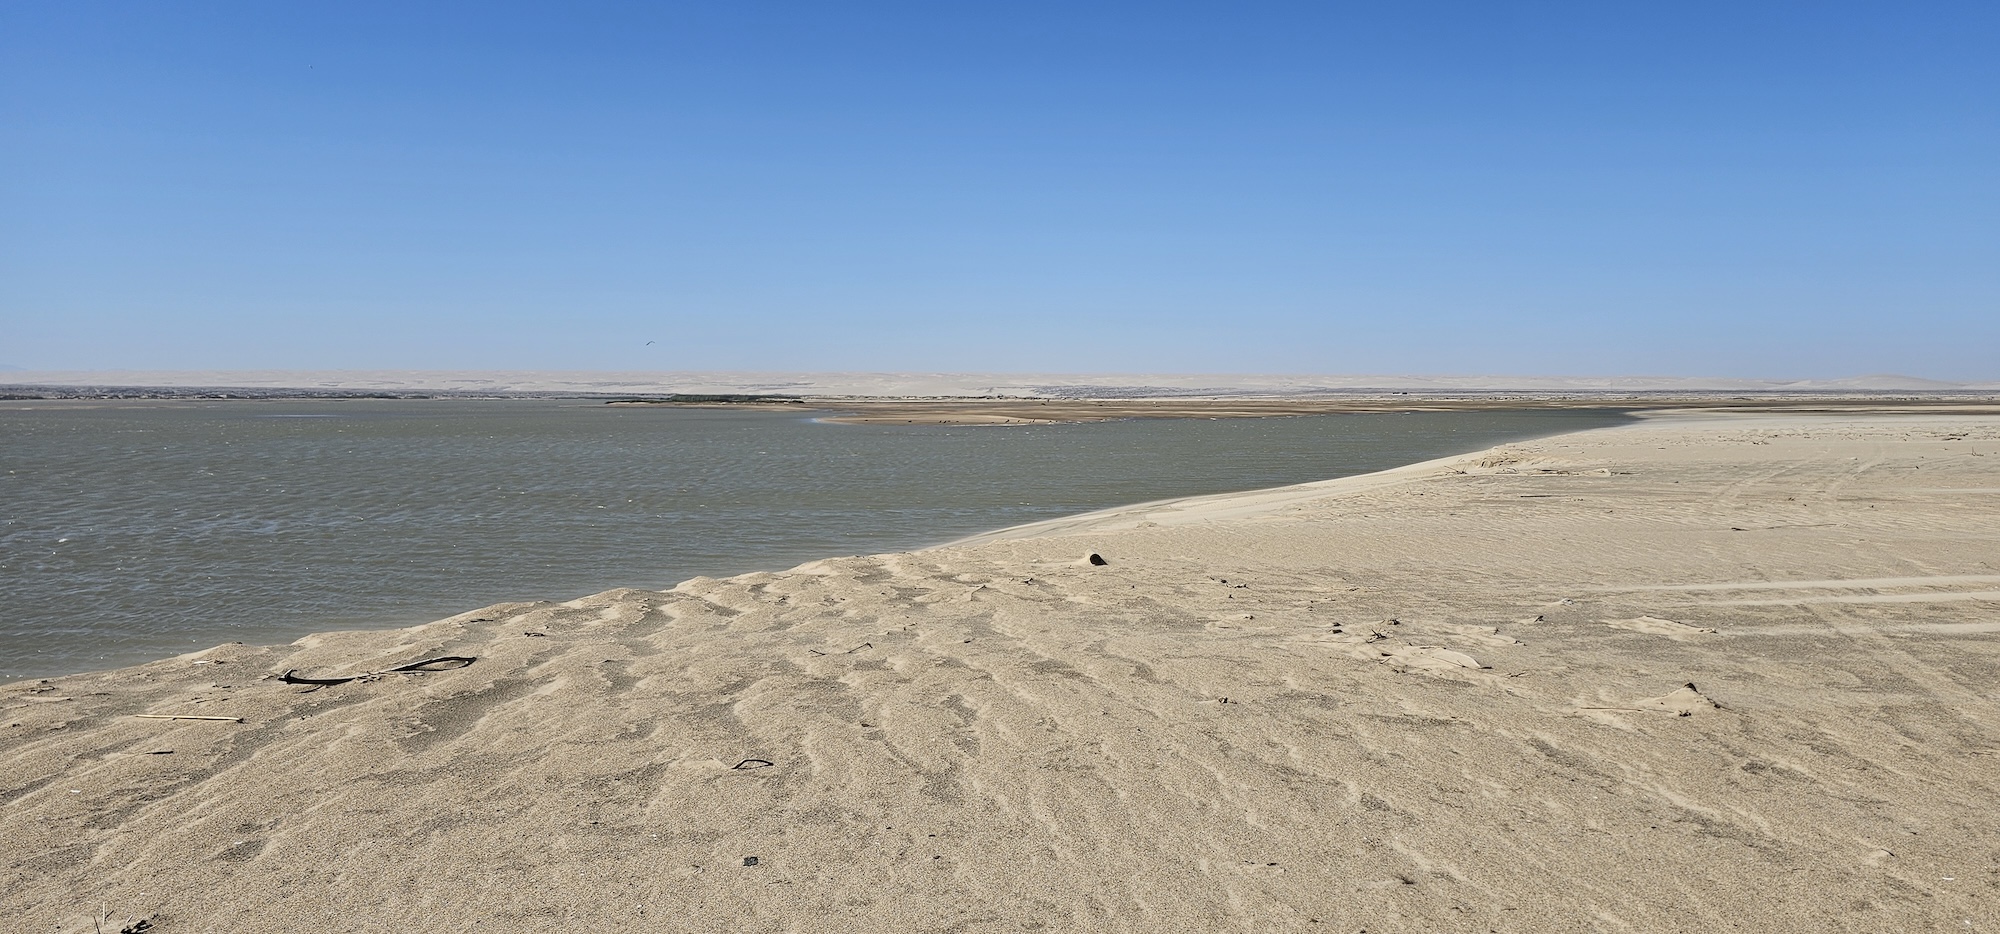
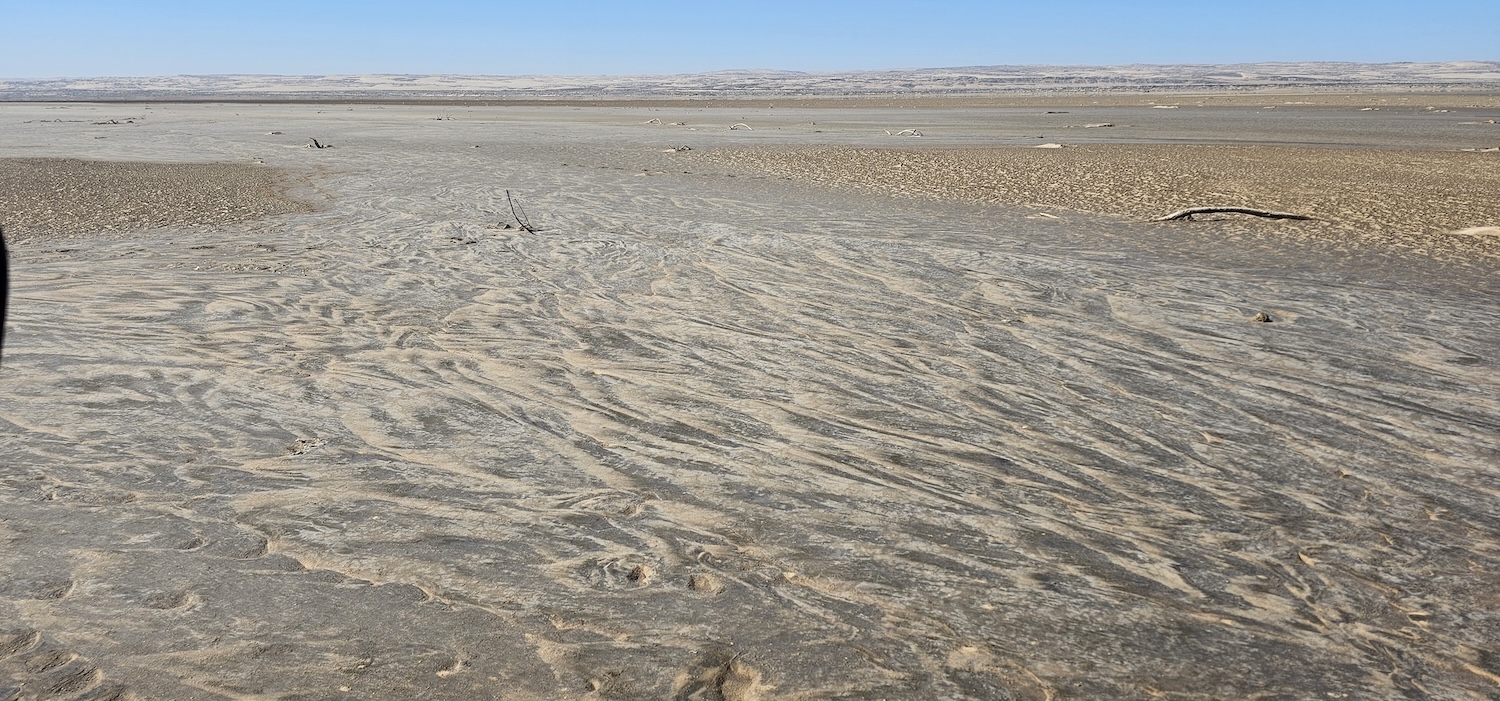
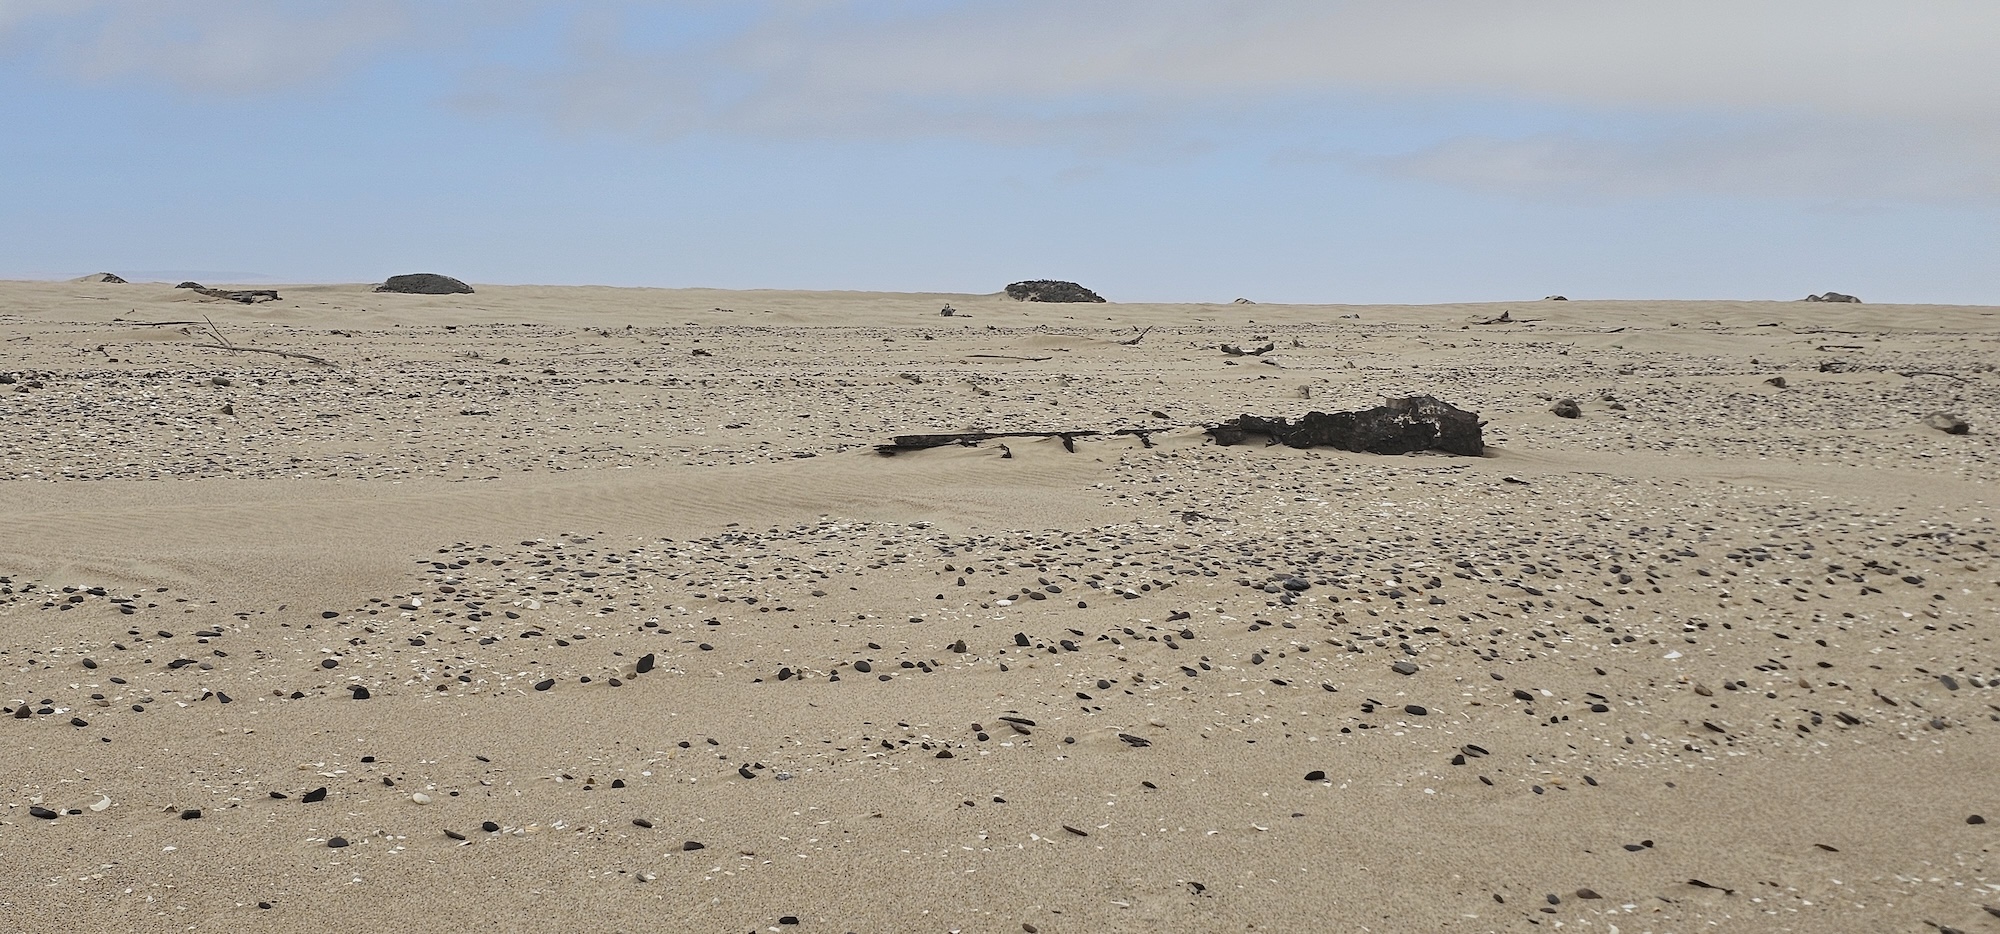
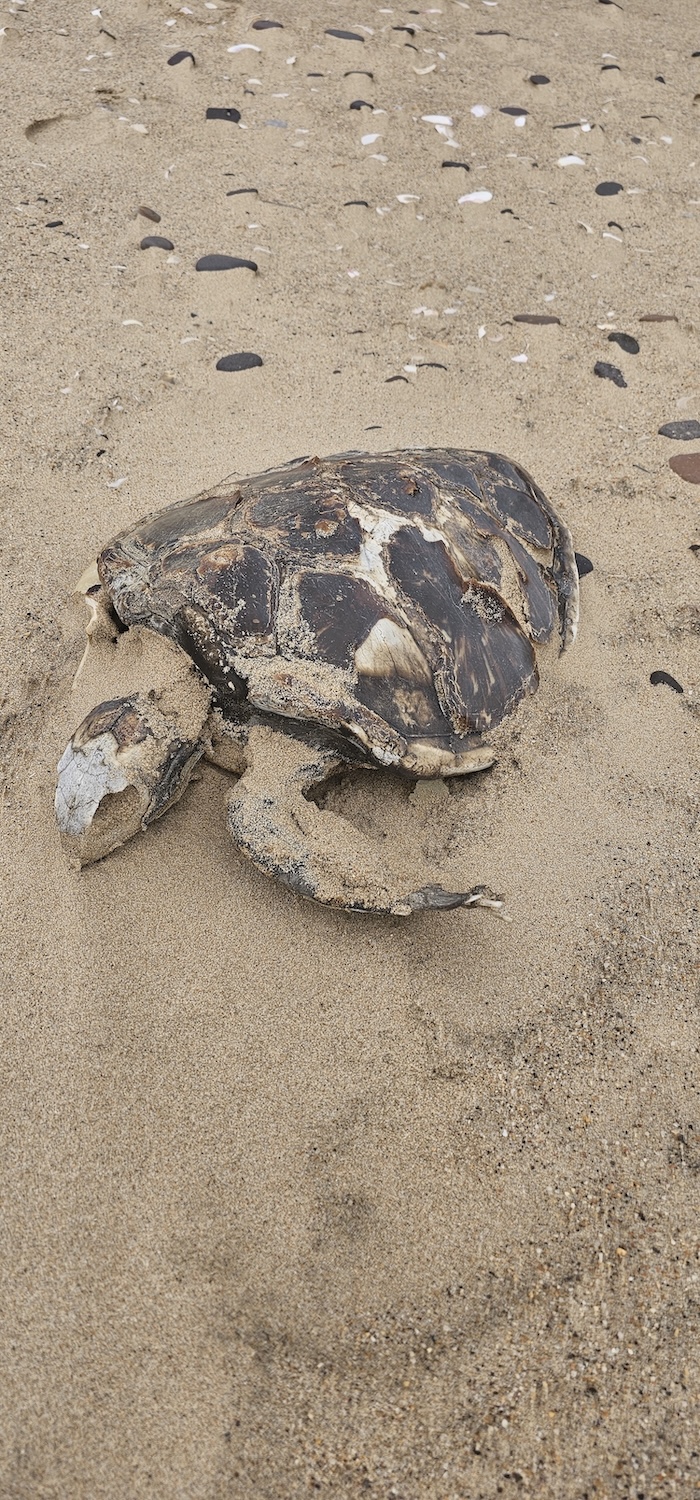
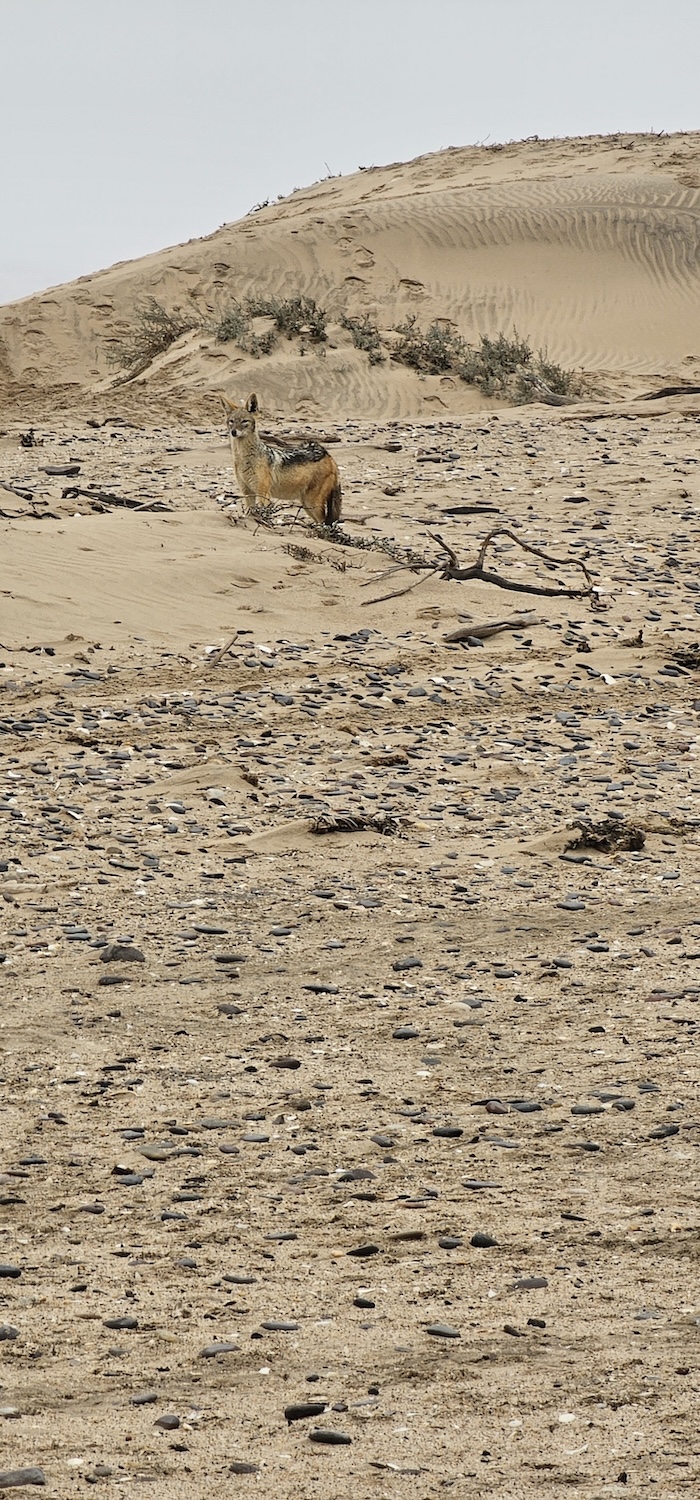
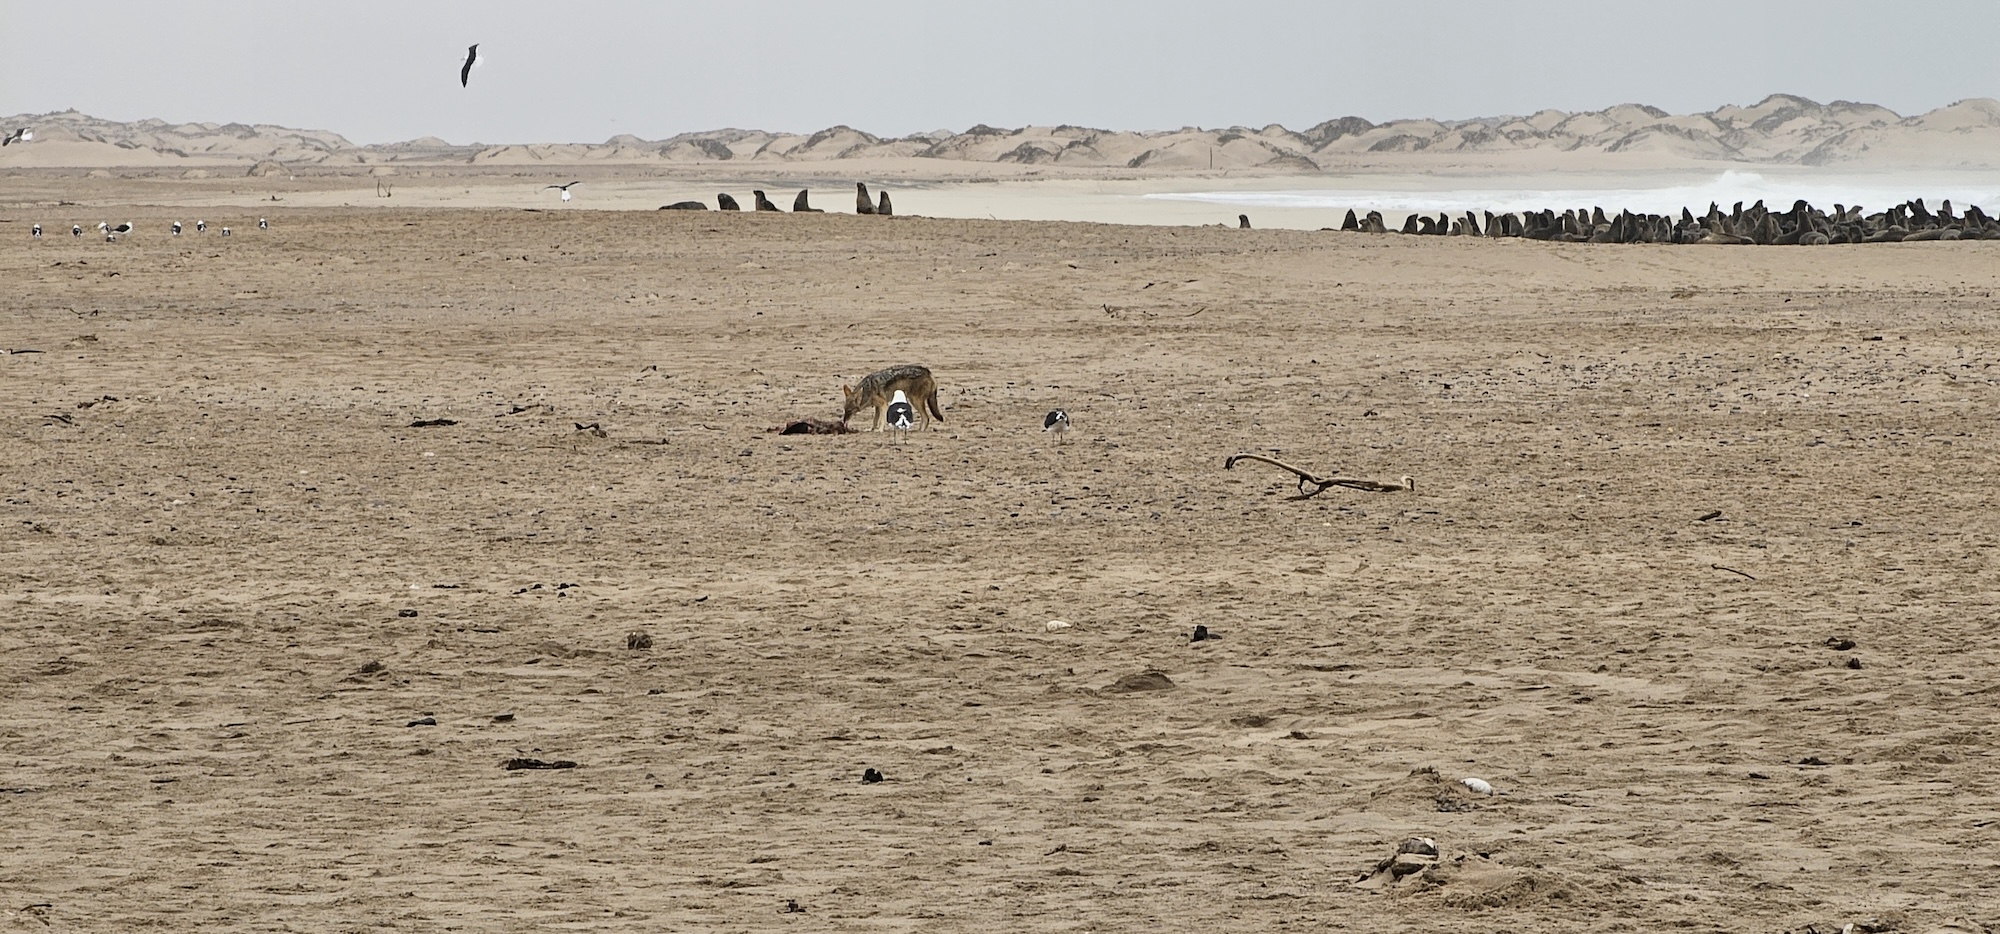
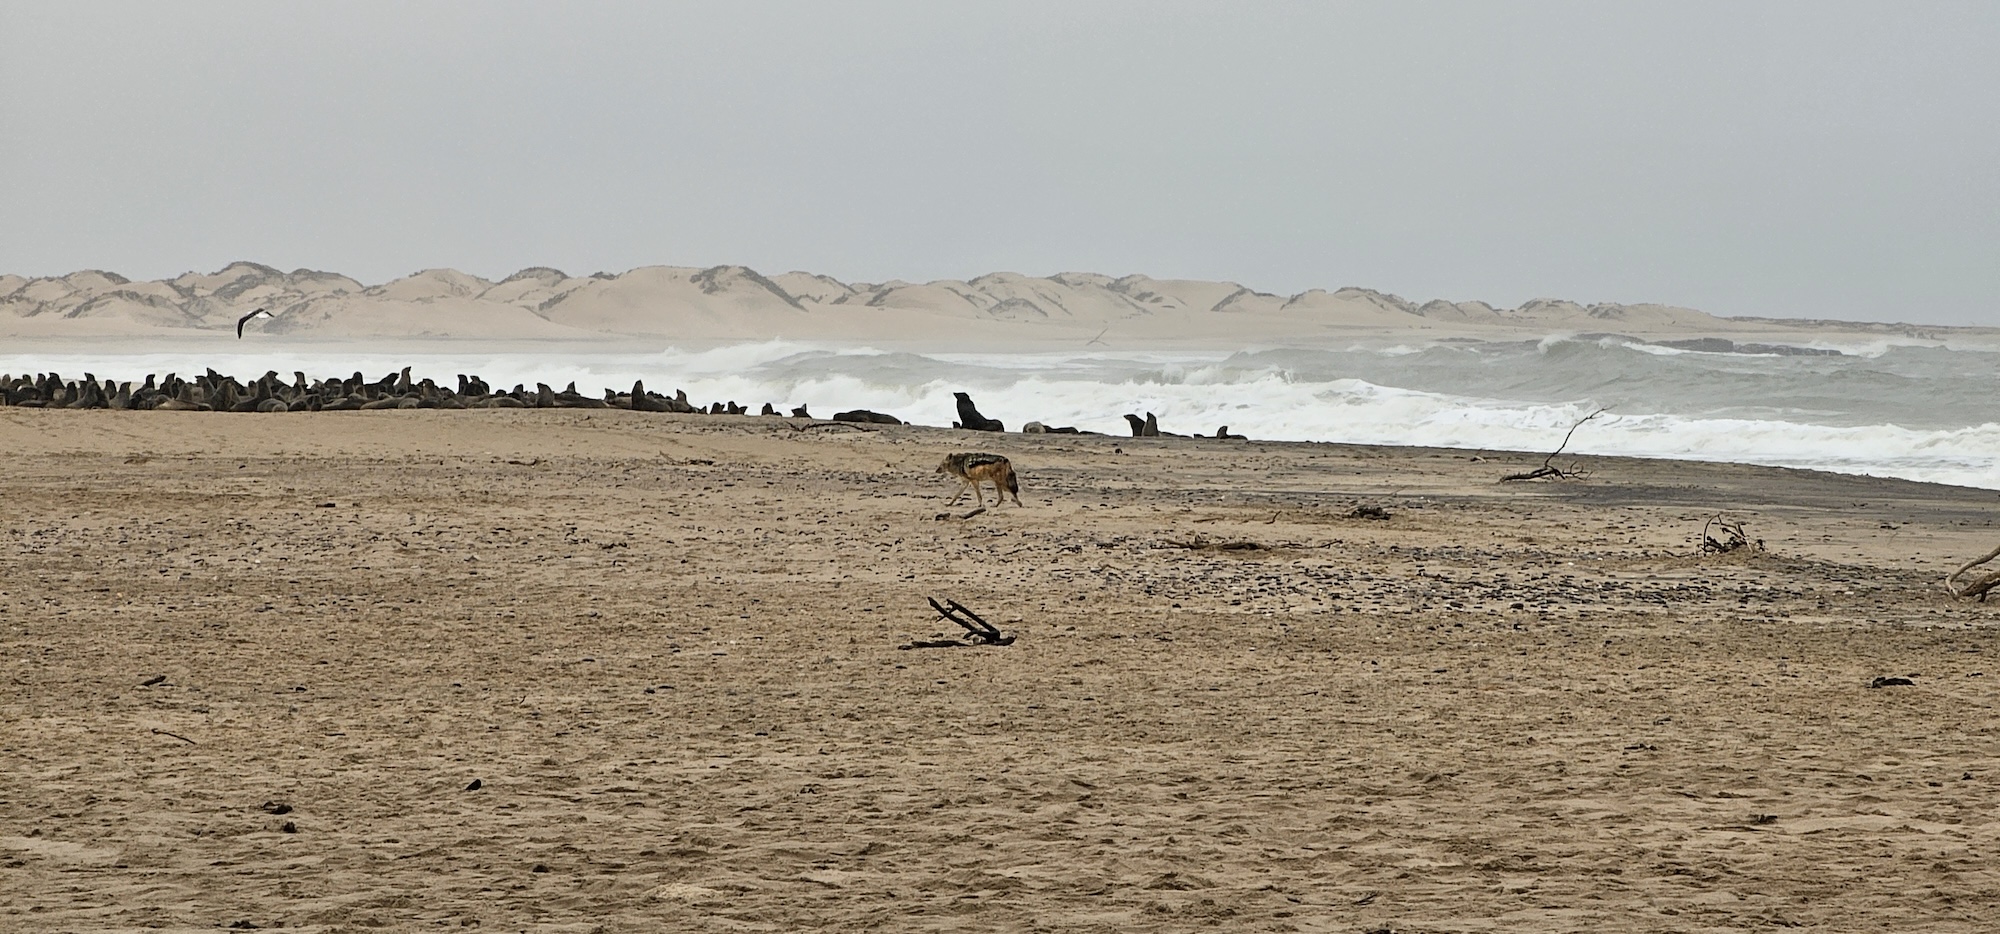
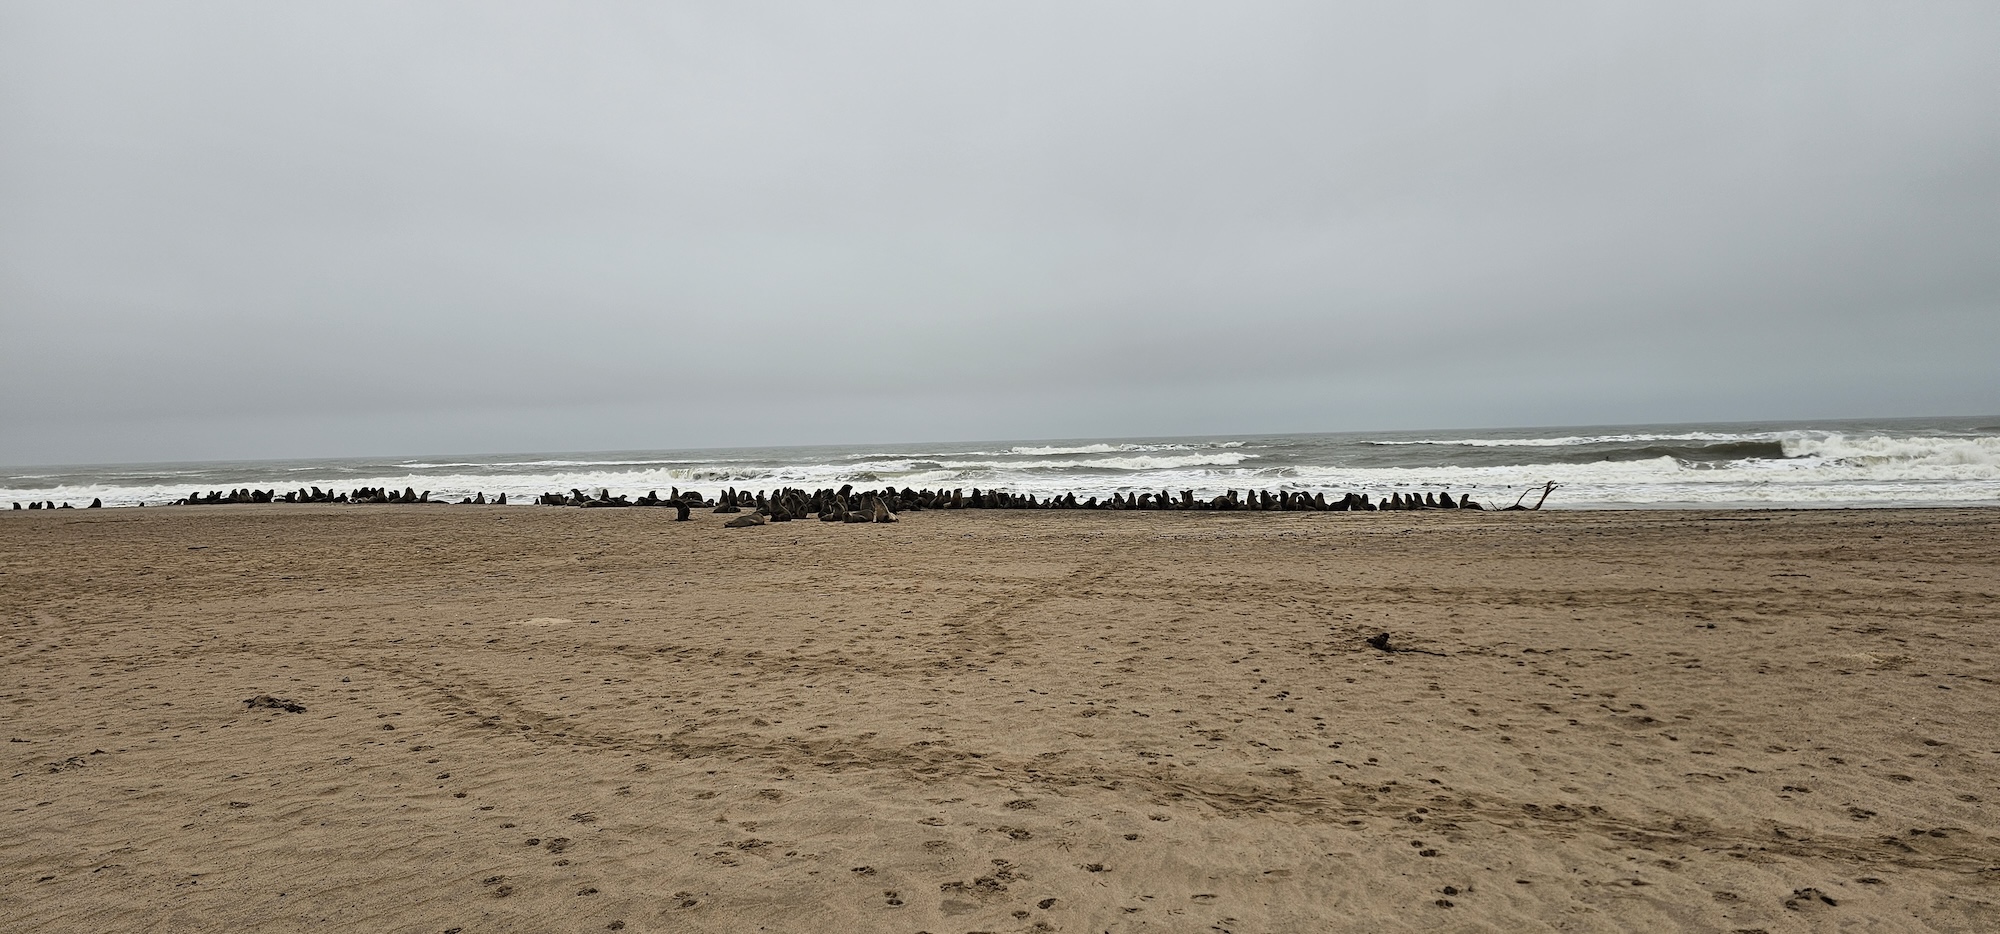
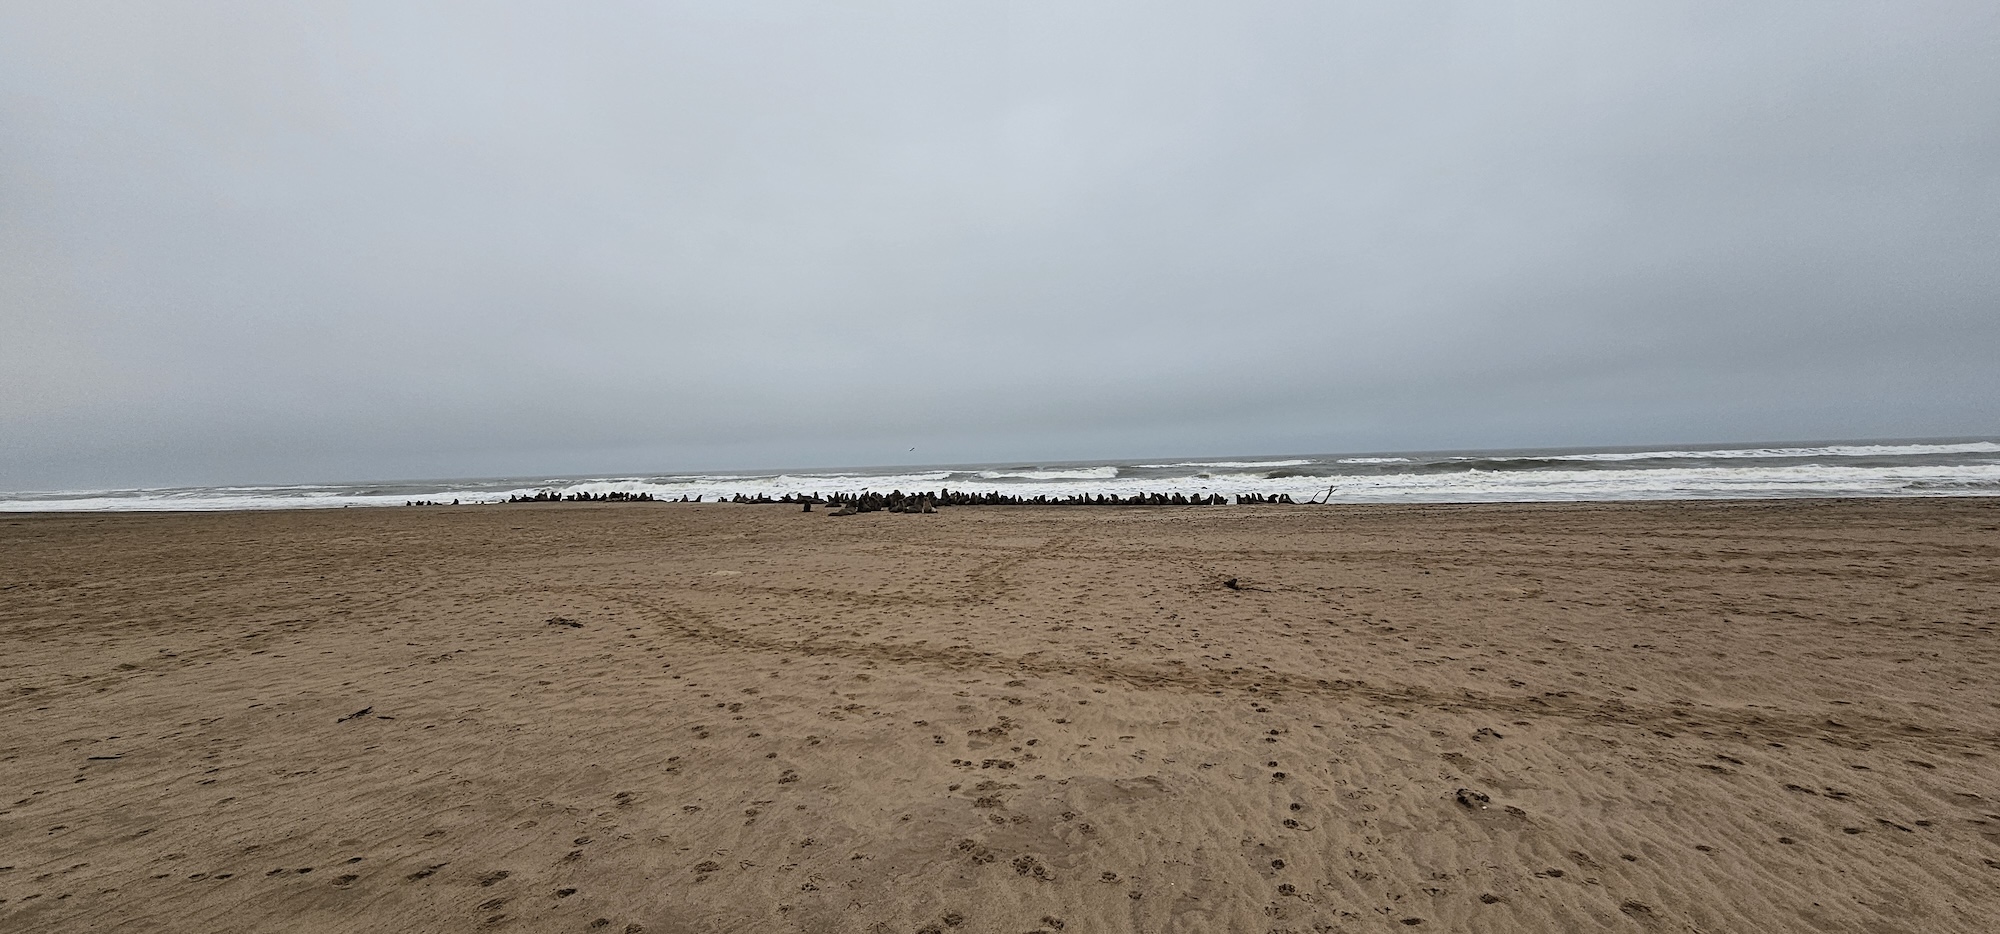
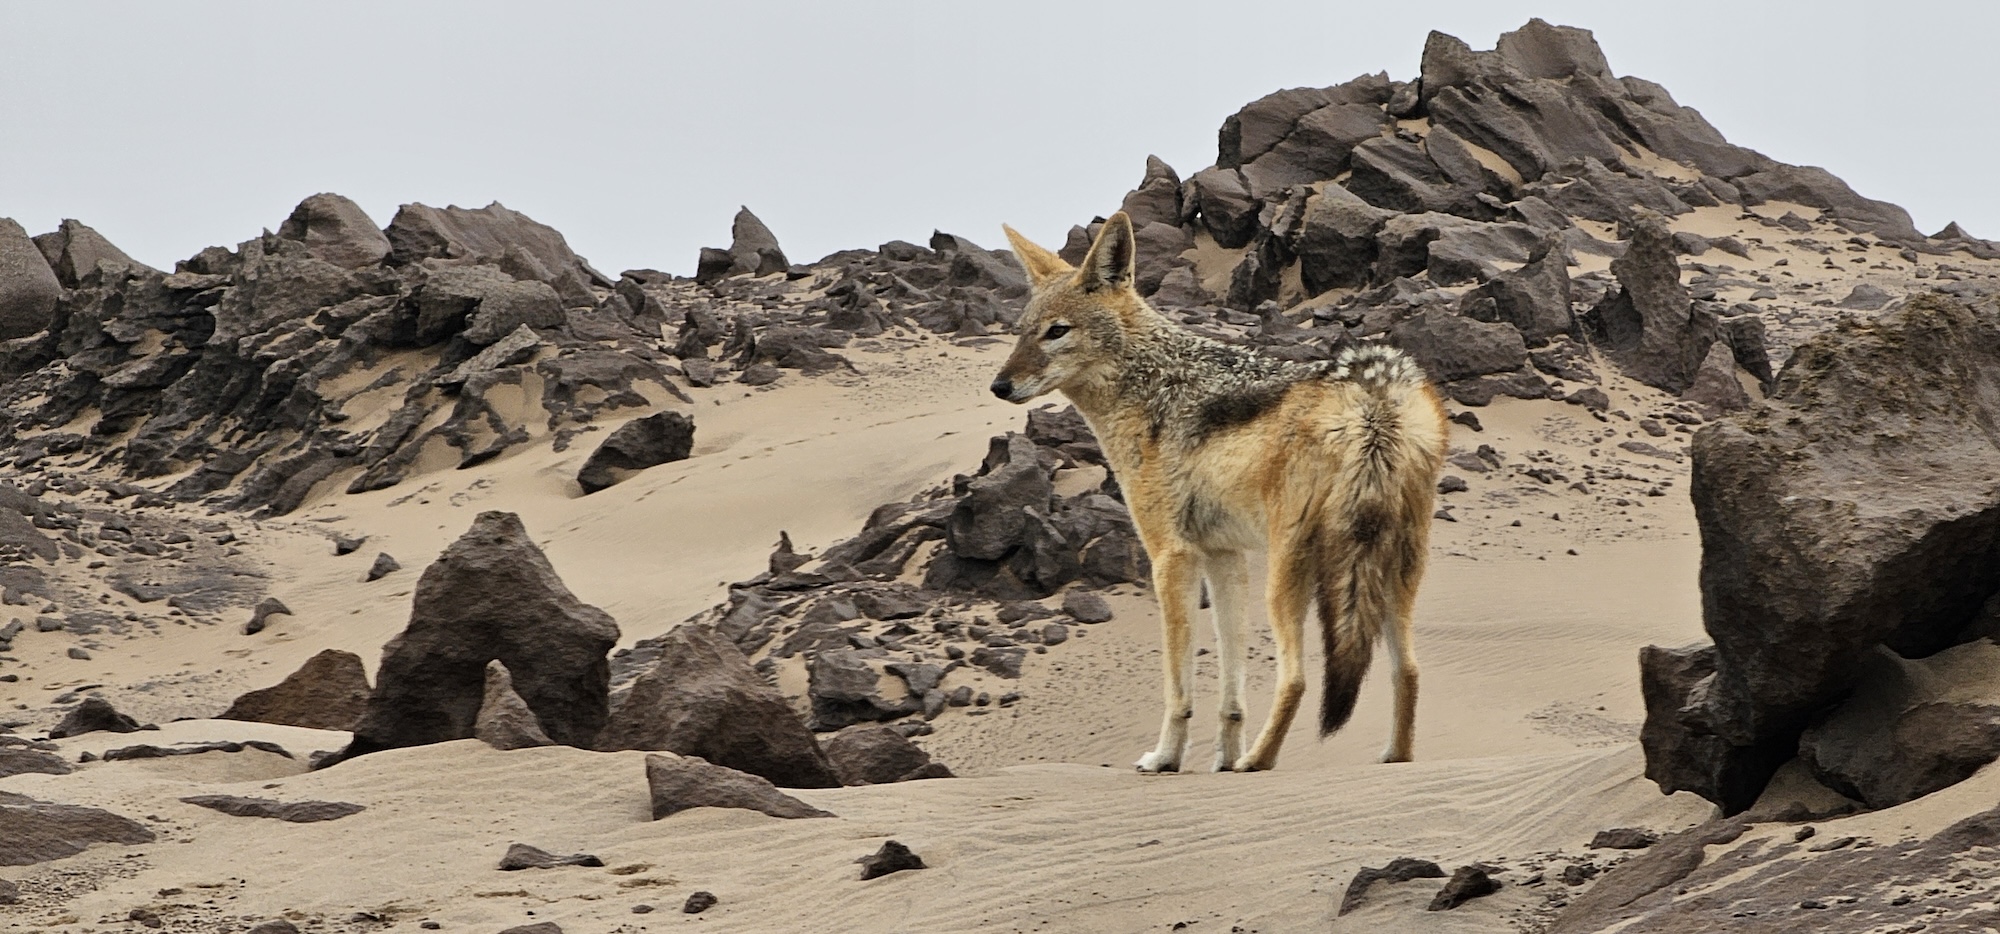
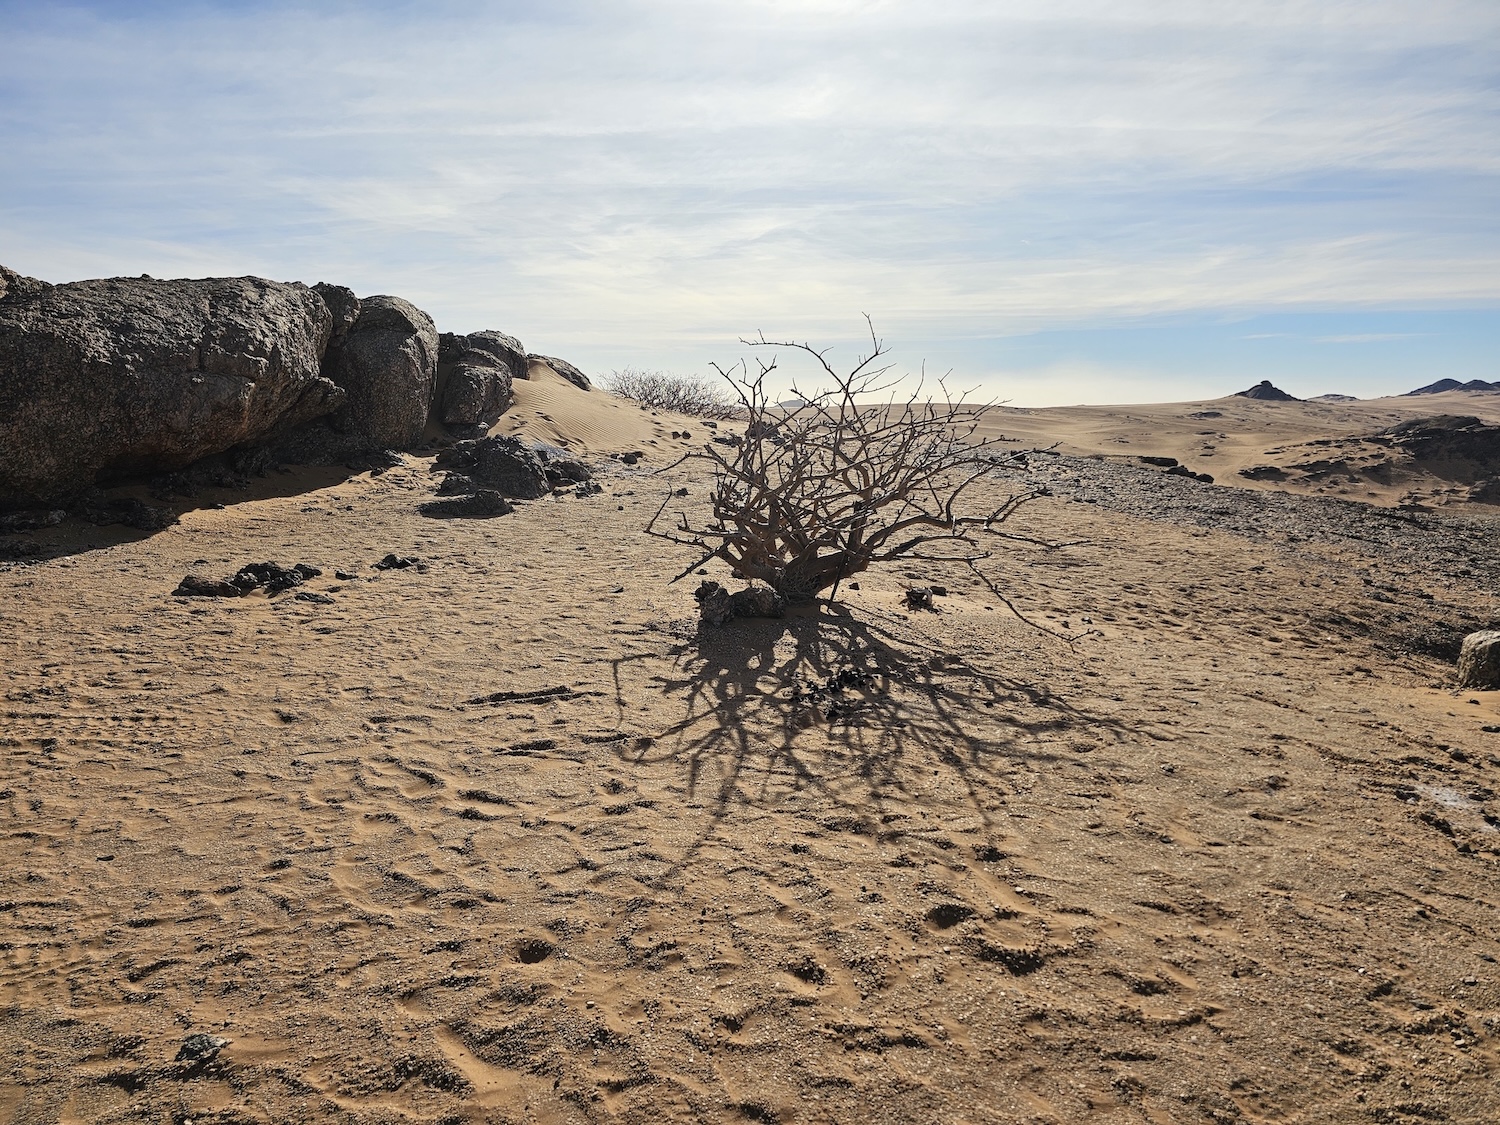
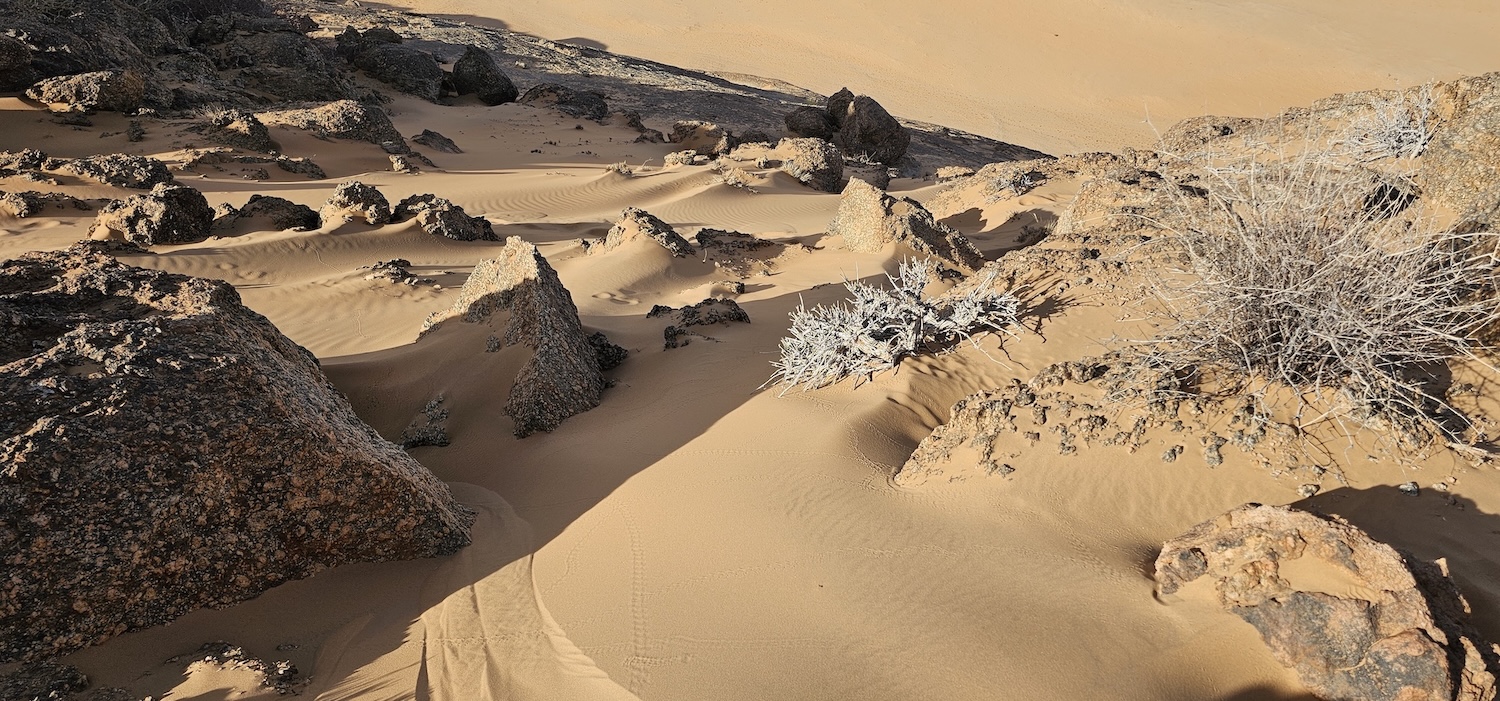
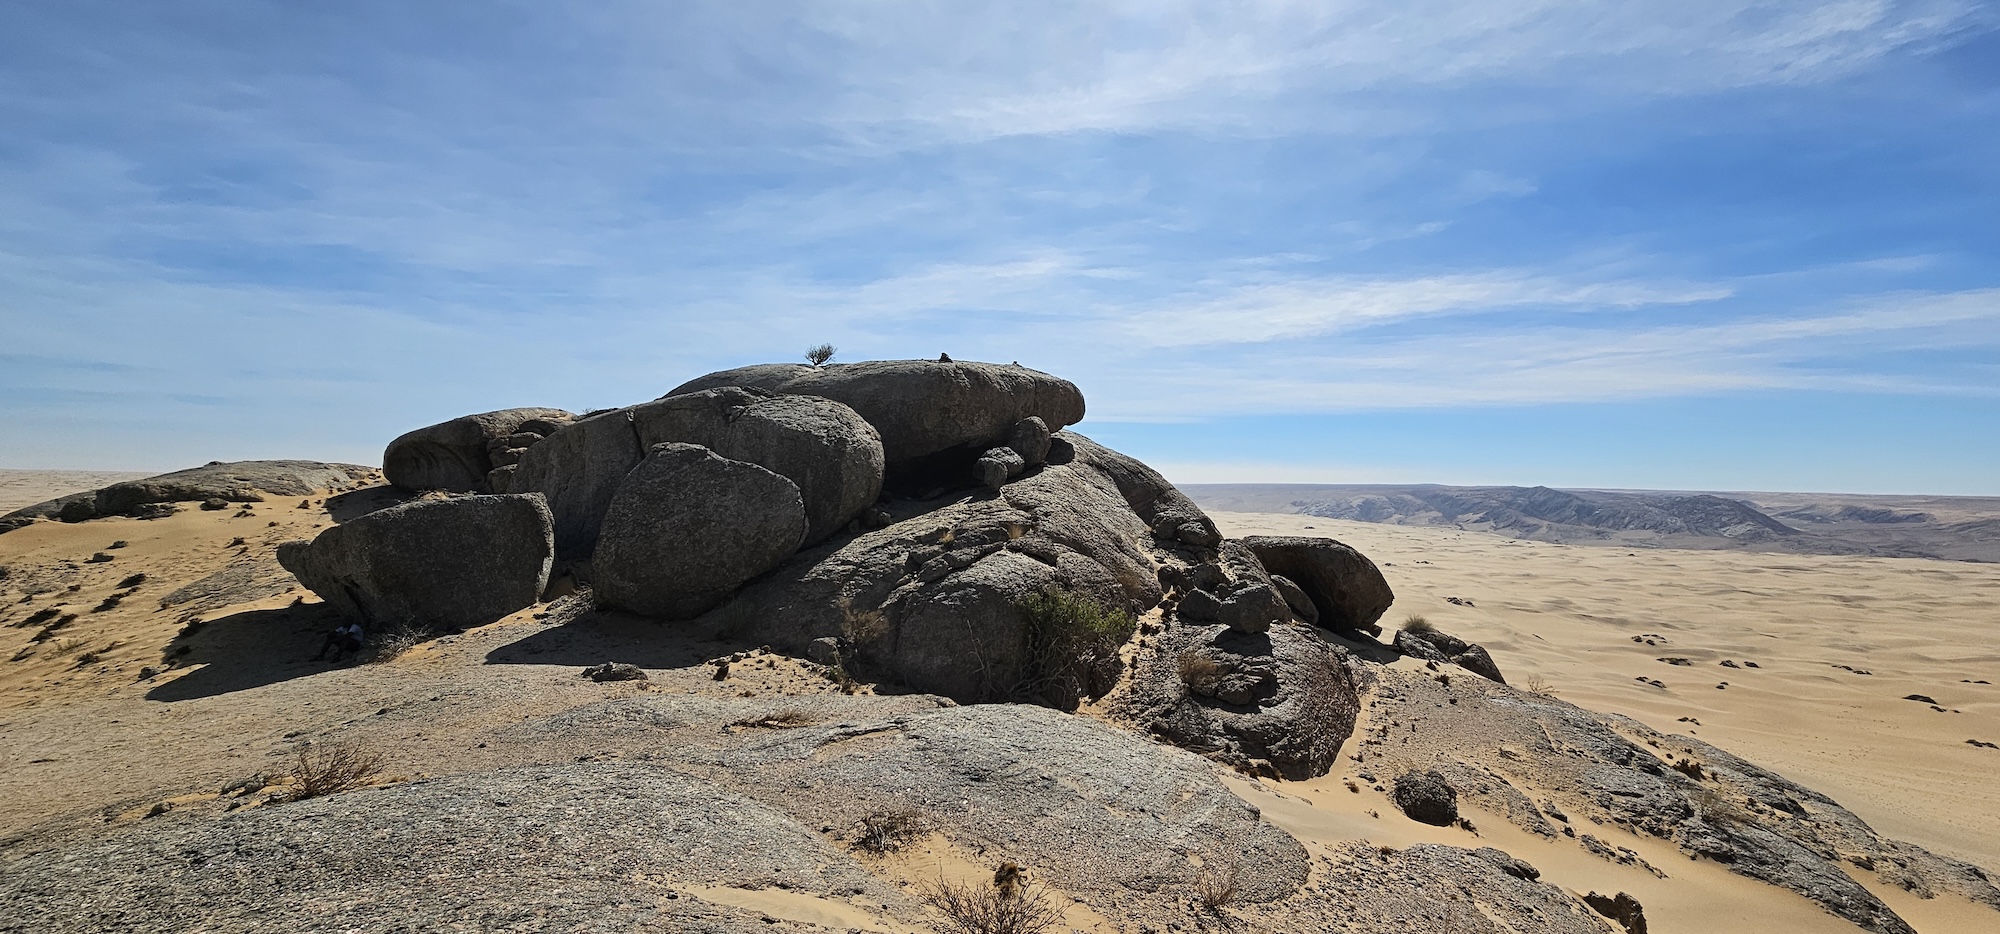
It is one of the most arid areas in our country. A desert, if you will, with associated extreme temperatures. The heat will melt you during the summer, and the white walkers will find you during the winters – no wonder it is home to several scorpions and venomous snakes.
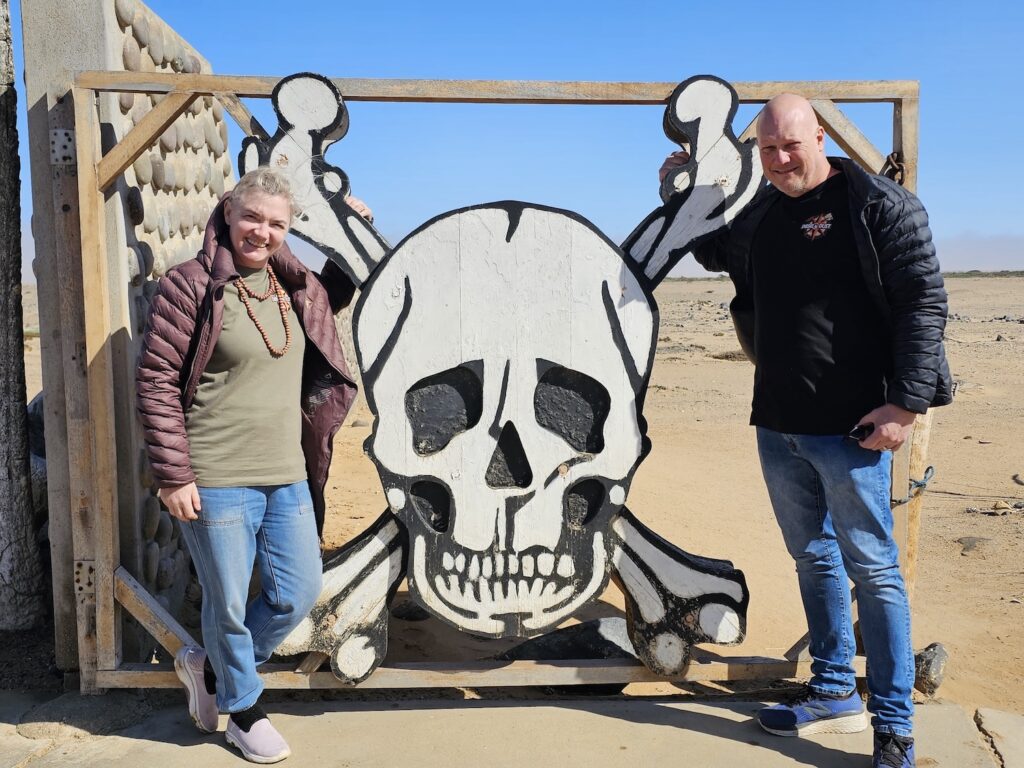
What’s not to like?

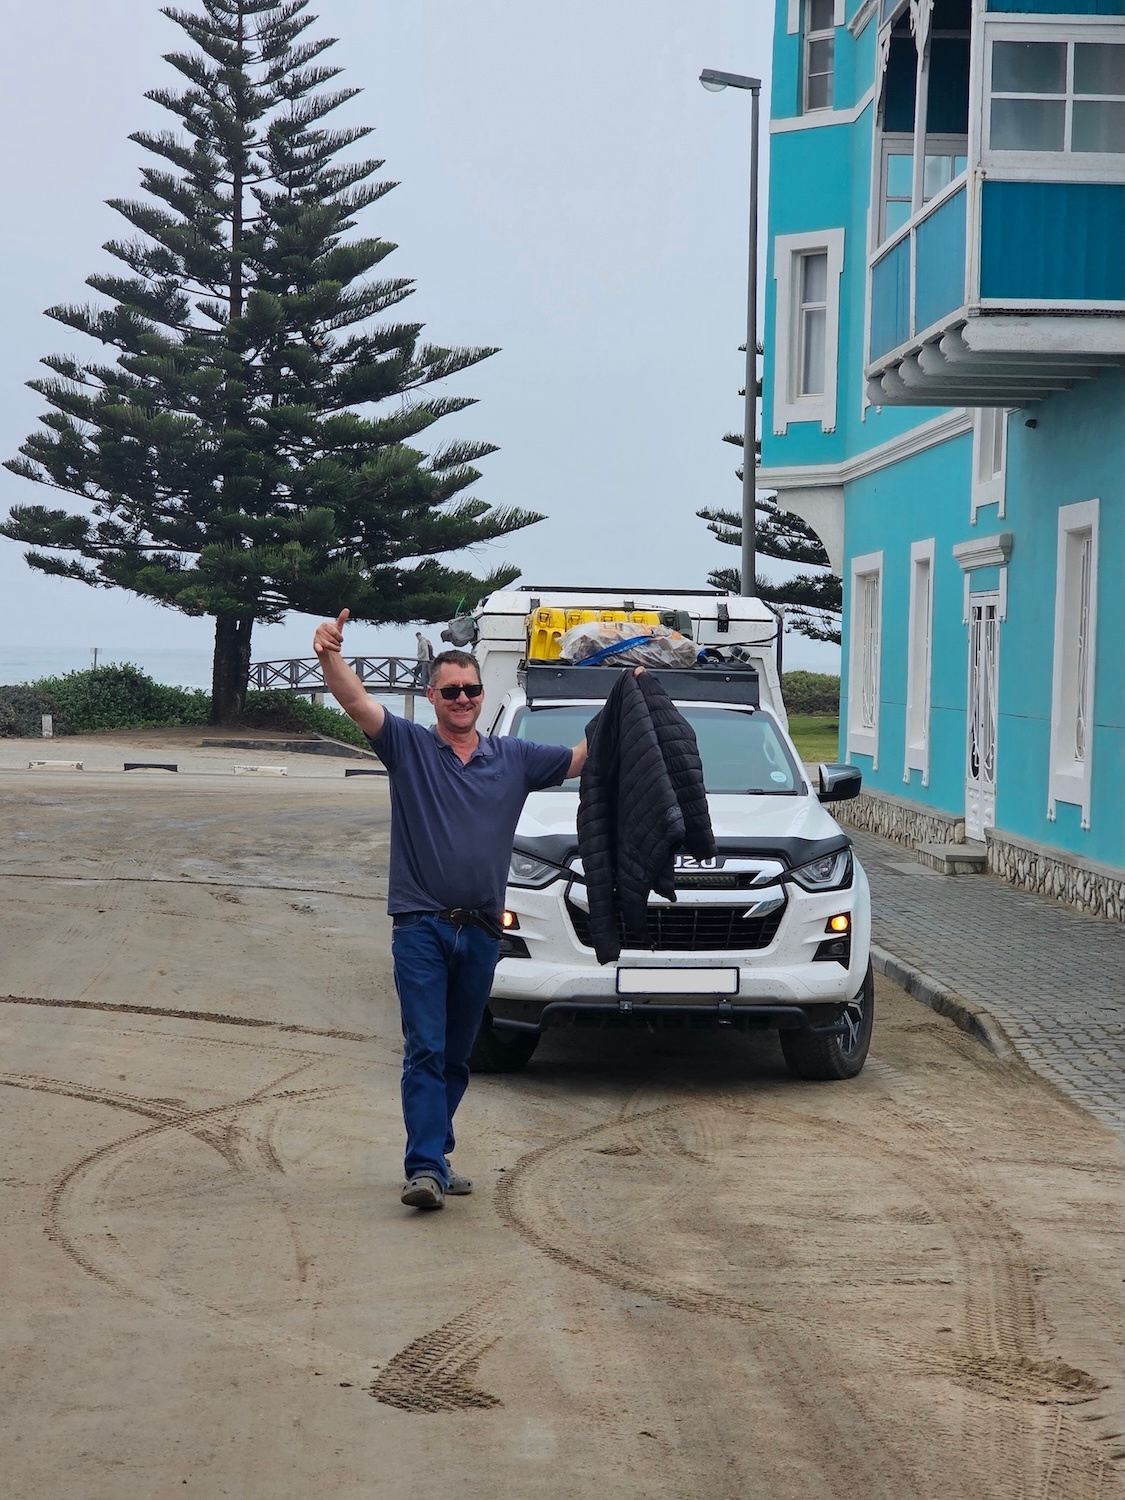
When I travel, I like to experience things for the first time, to the extent that I will do as little research as possible for fear that it will spoil the experience for me. This works for us, due to my wife loving to plan everything in a fair amount of detail, which compensates for my laziness adventurous spirit.
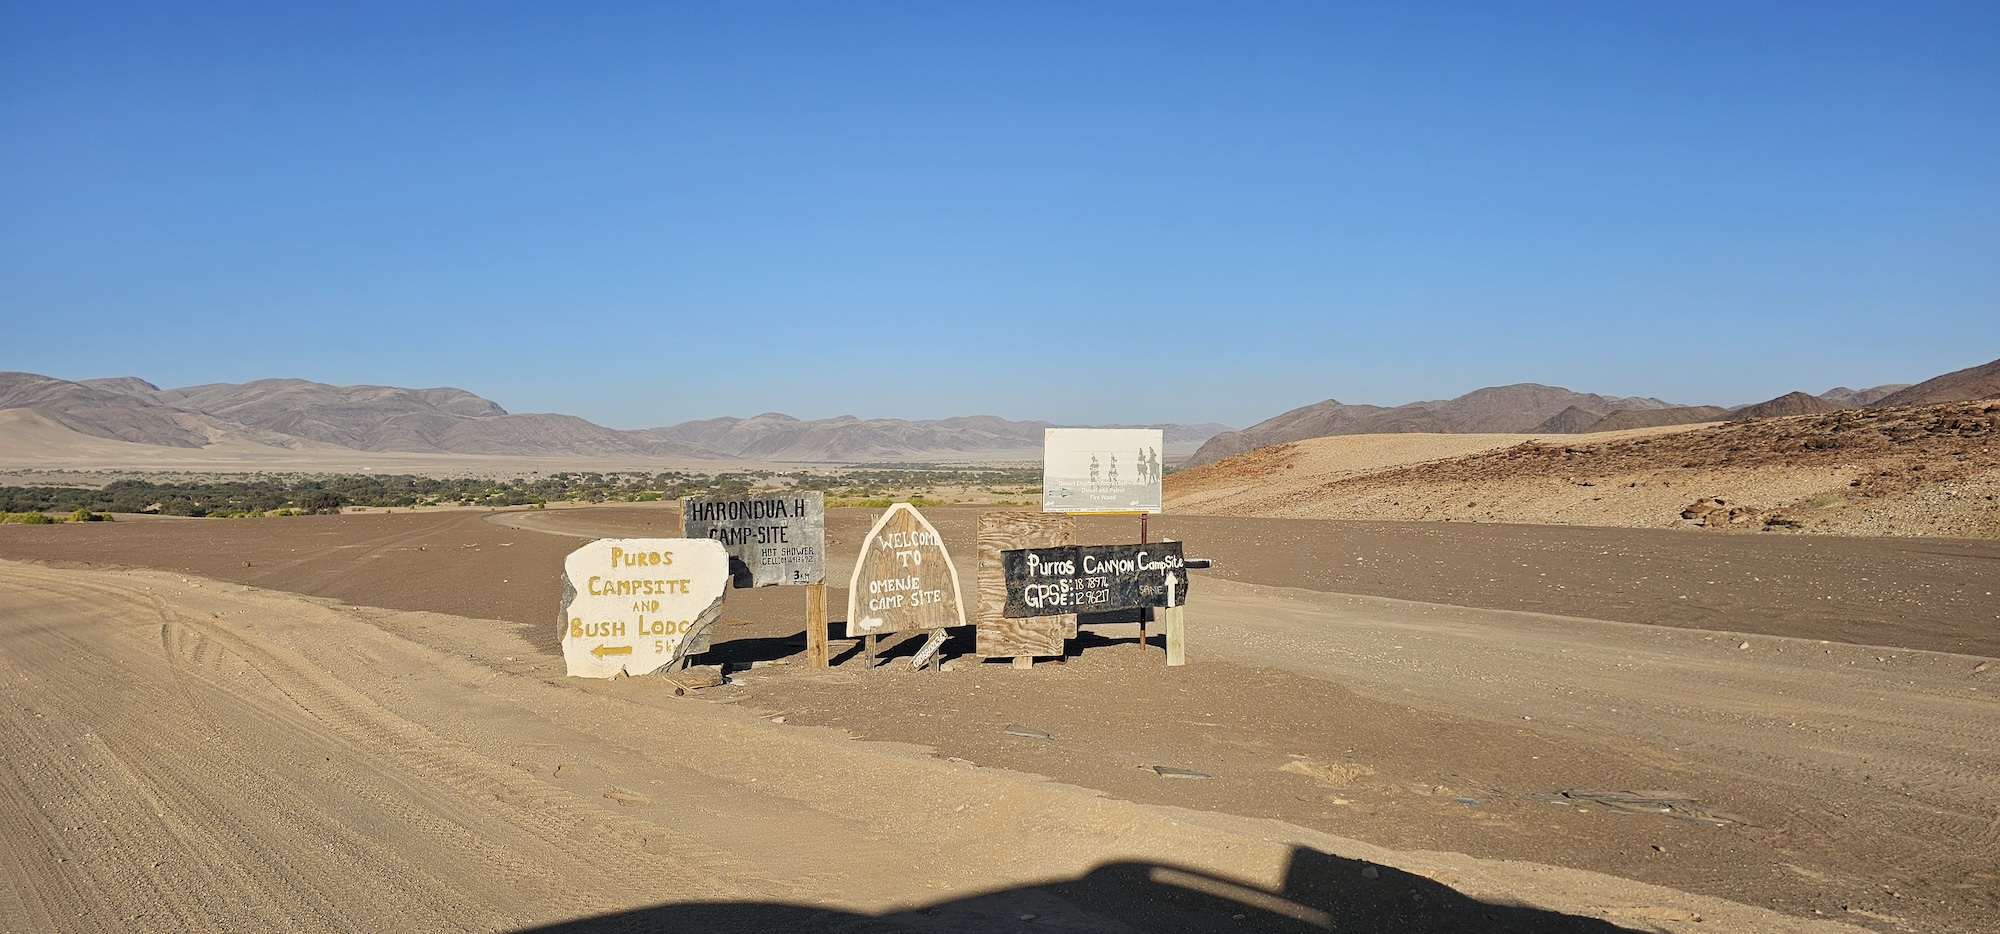
When we decided to stop at the Tankwa Karoo National Park, she made the bookings (as per usual). I did nothing (as per usual). She did mention that most campsites were booked (we left it late) but some with limited facilities were available; I responded that it’s perfect – the further away I’ll be away from civilisation the better. So, she went ahead and booked one night each at Langkloof and Biesjiesfontein.
A day or two before departure, we started packing. I checked the weather at our various destinations, and I have no idea why I was surprised to find the maximums in the forties. It was, after all, the Karoo during December. Better pack a fan or two!
From Gauteng, we travelled to Kimberley and had a two-day camp on a farm outside Britstown (at a great campsite – but I will cover that in a future post).
From Britstown, we travelled west towards Williston, and then south to the Tankwa park.
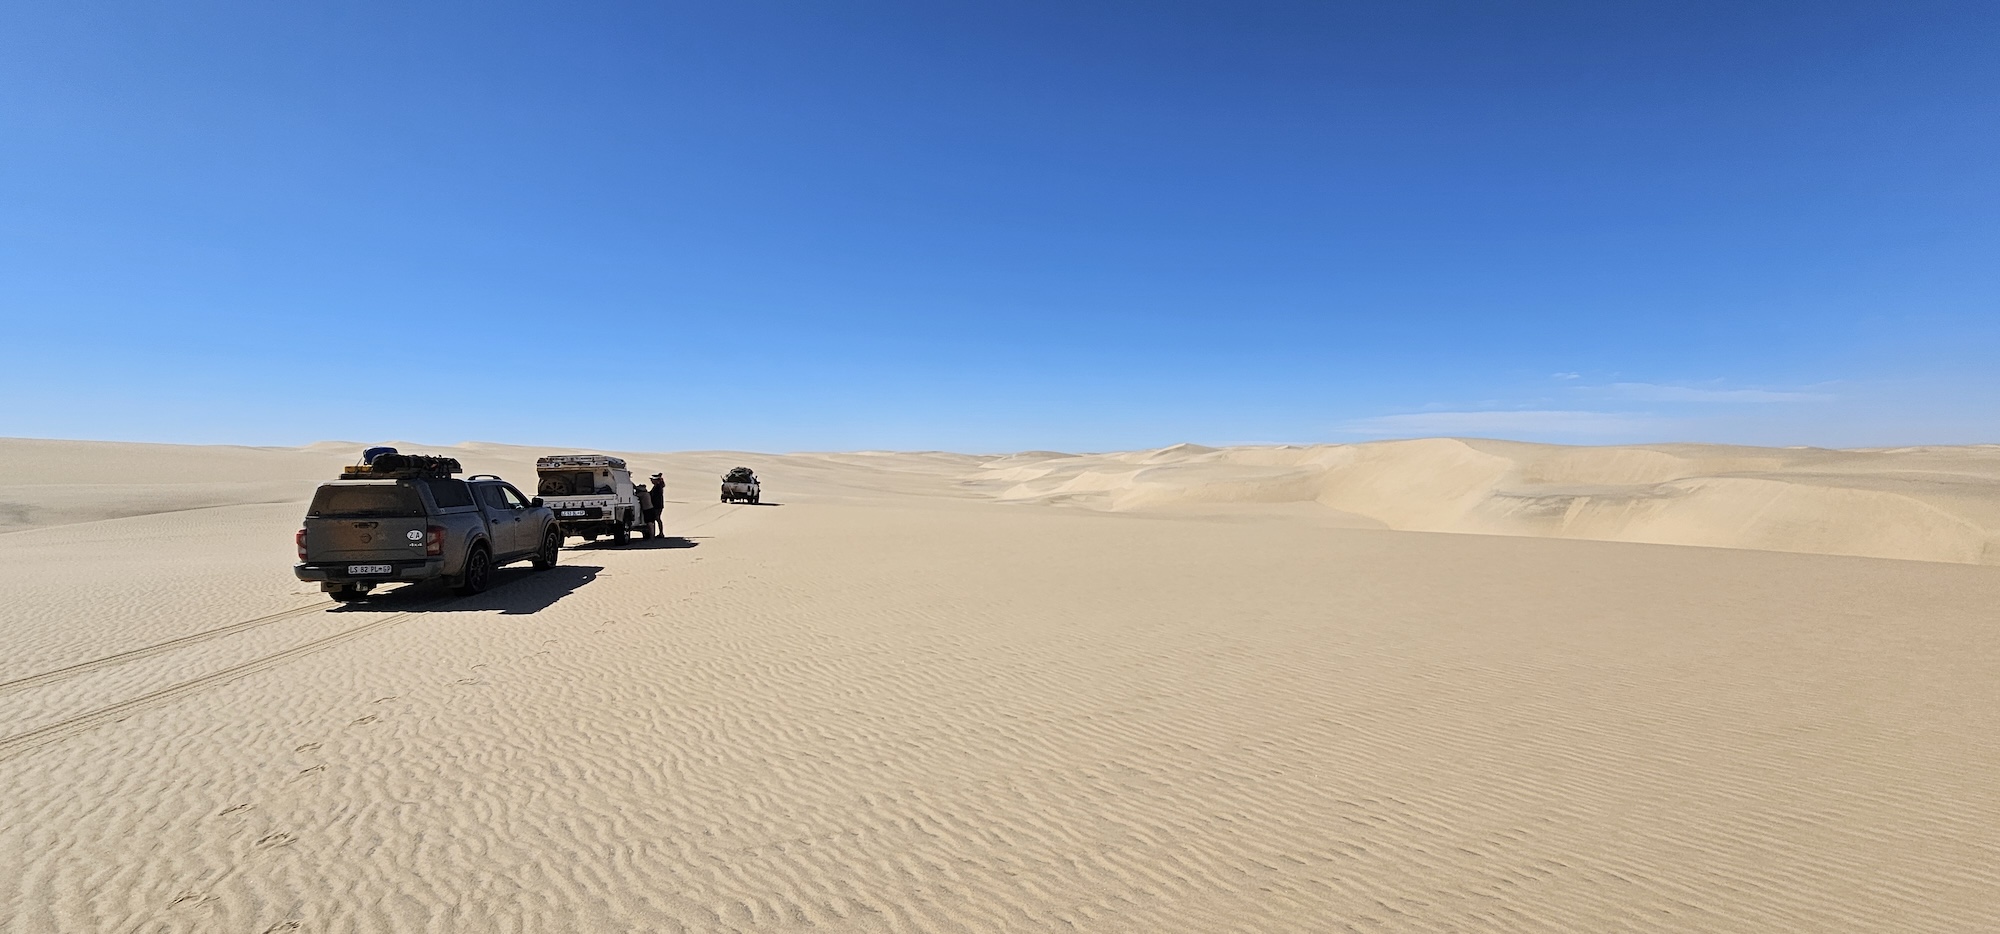
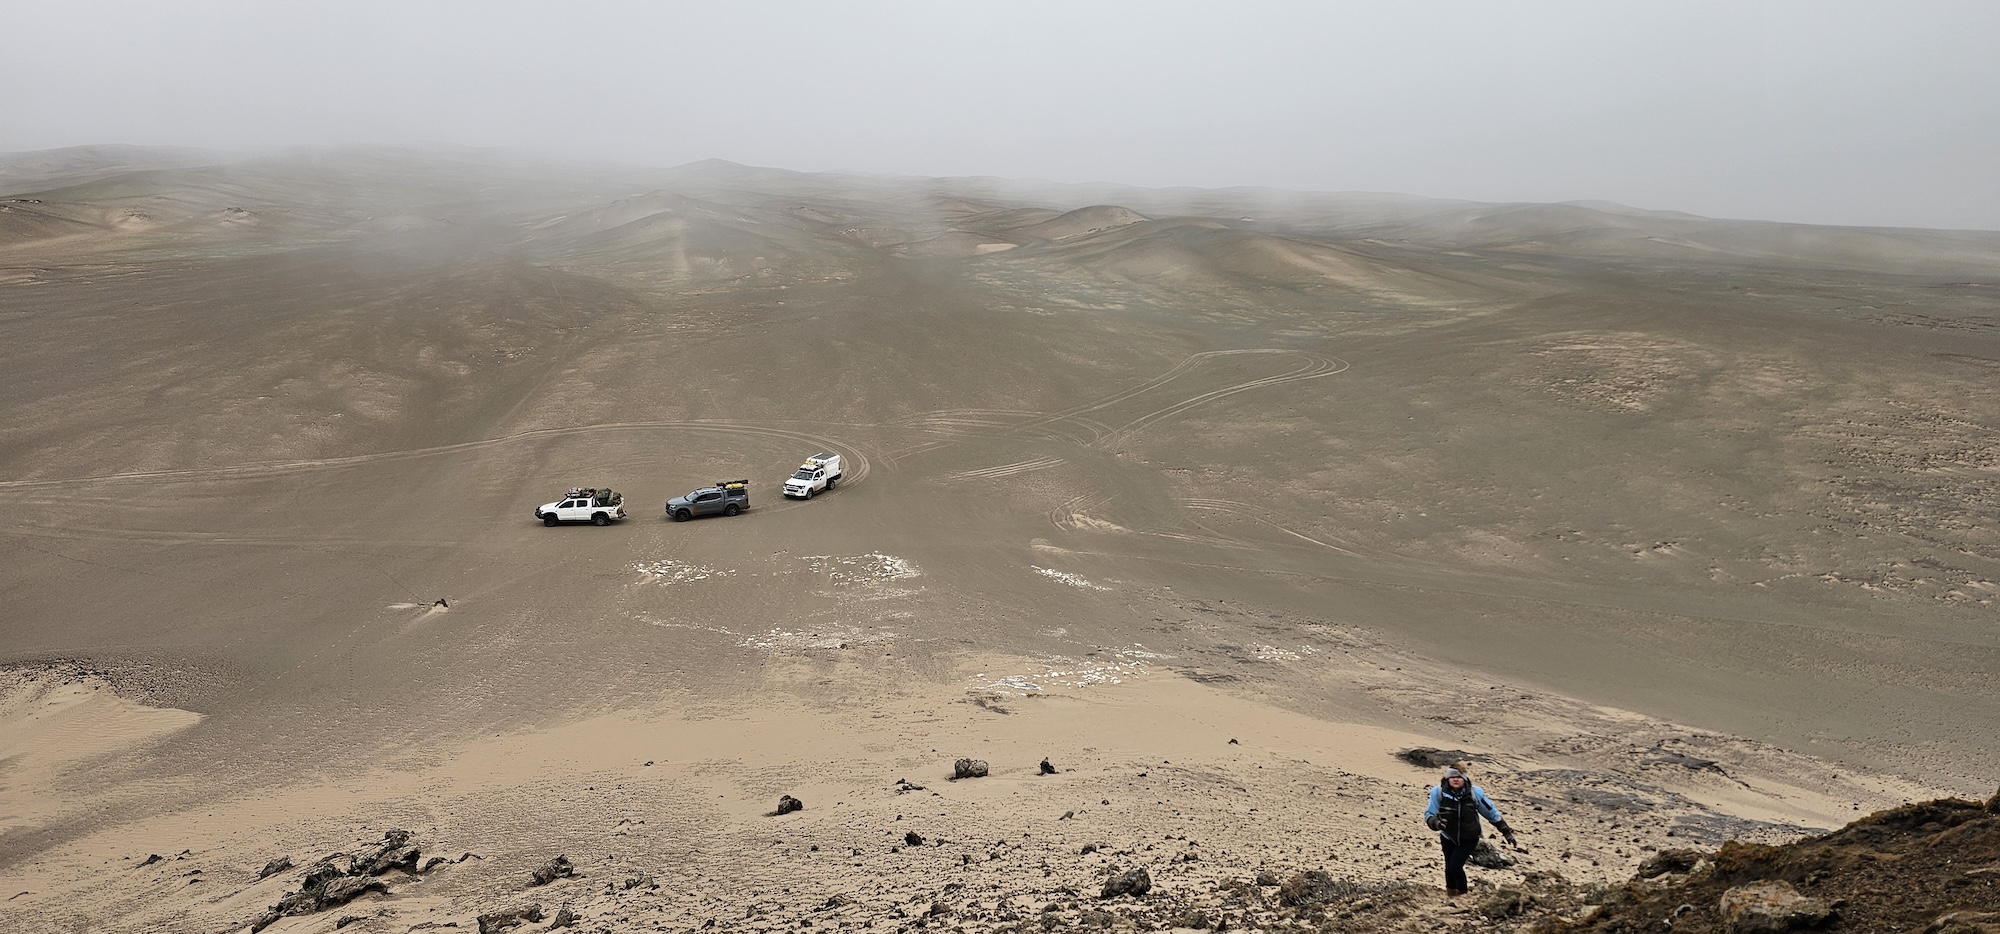
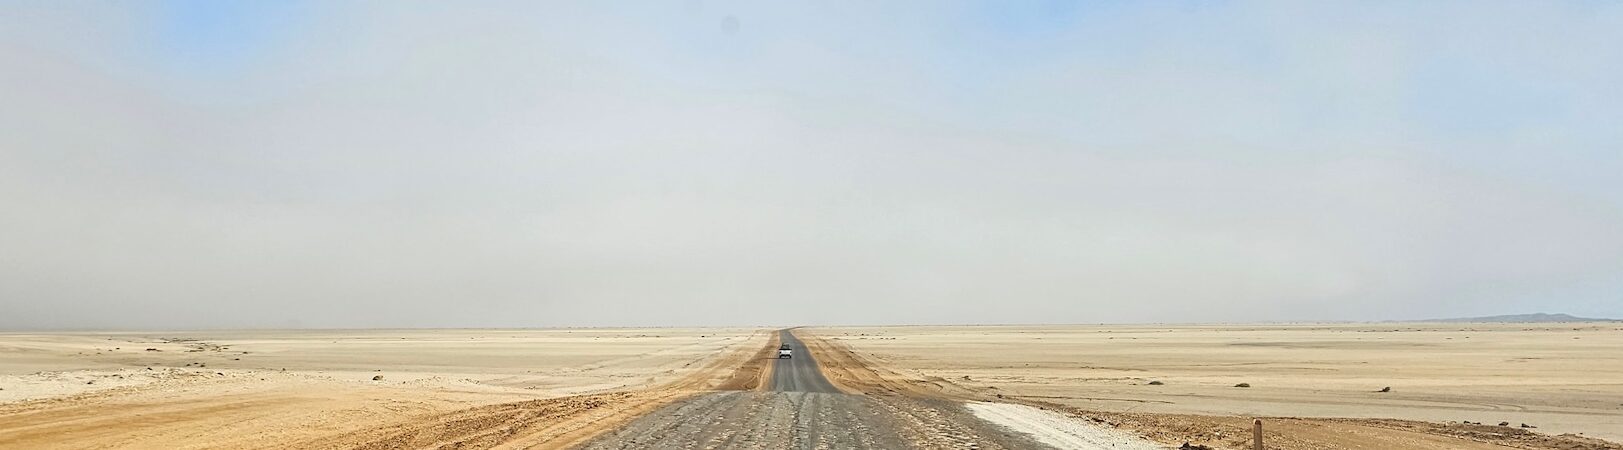
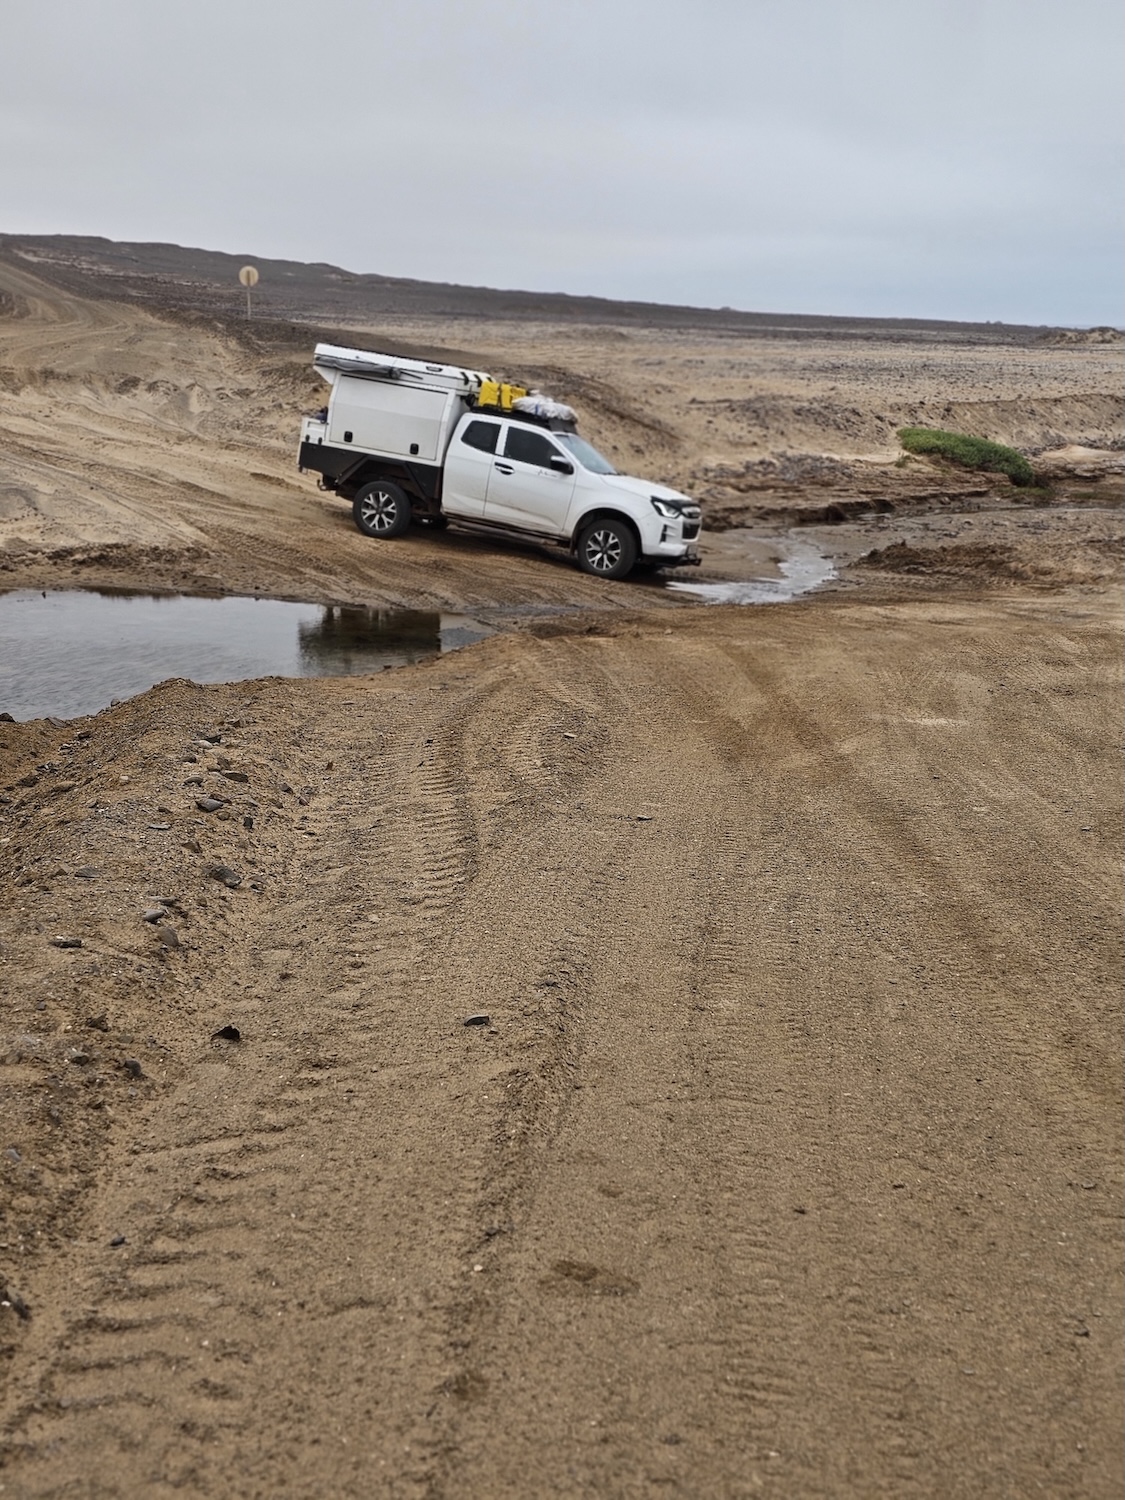
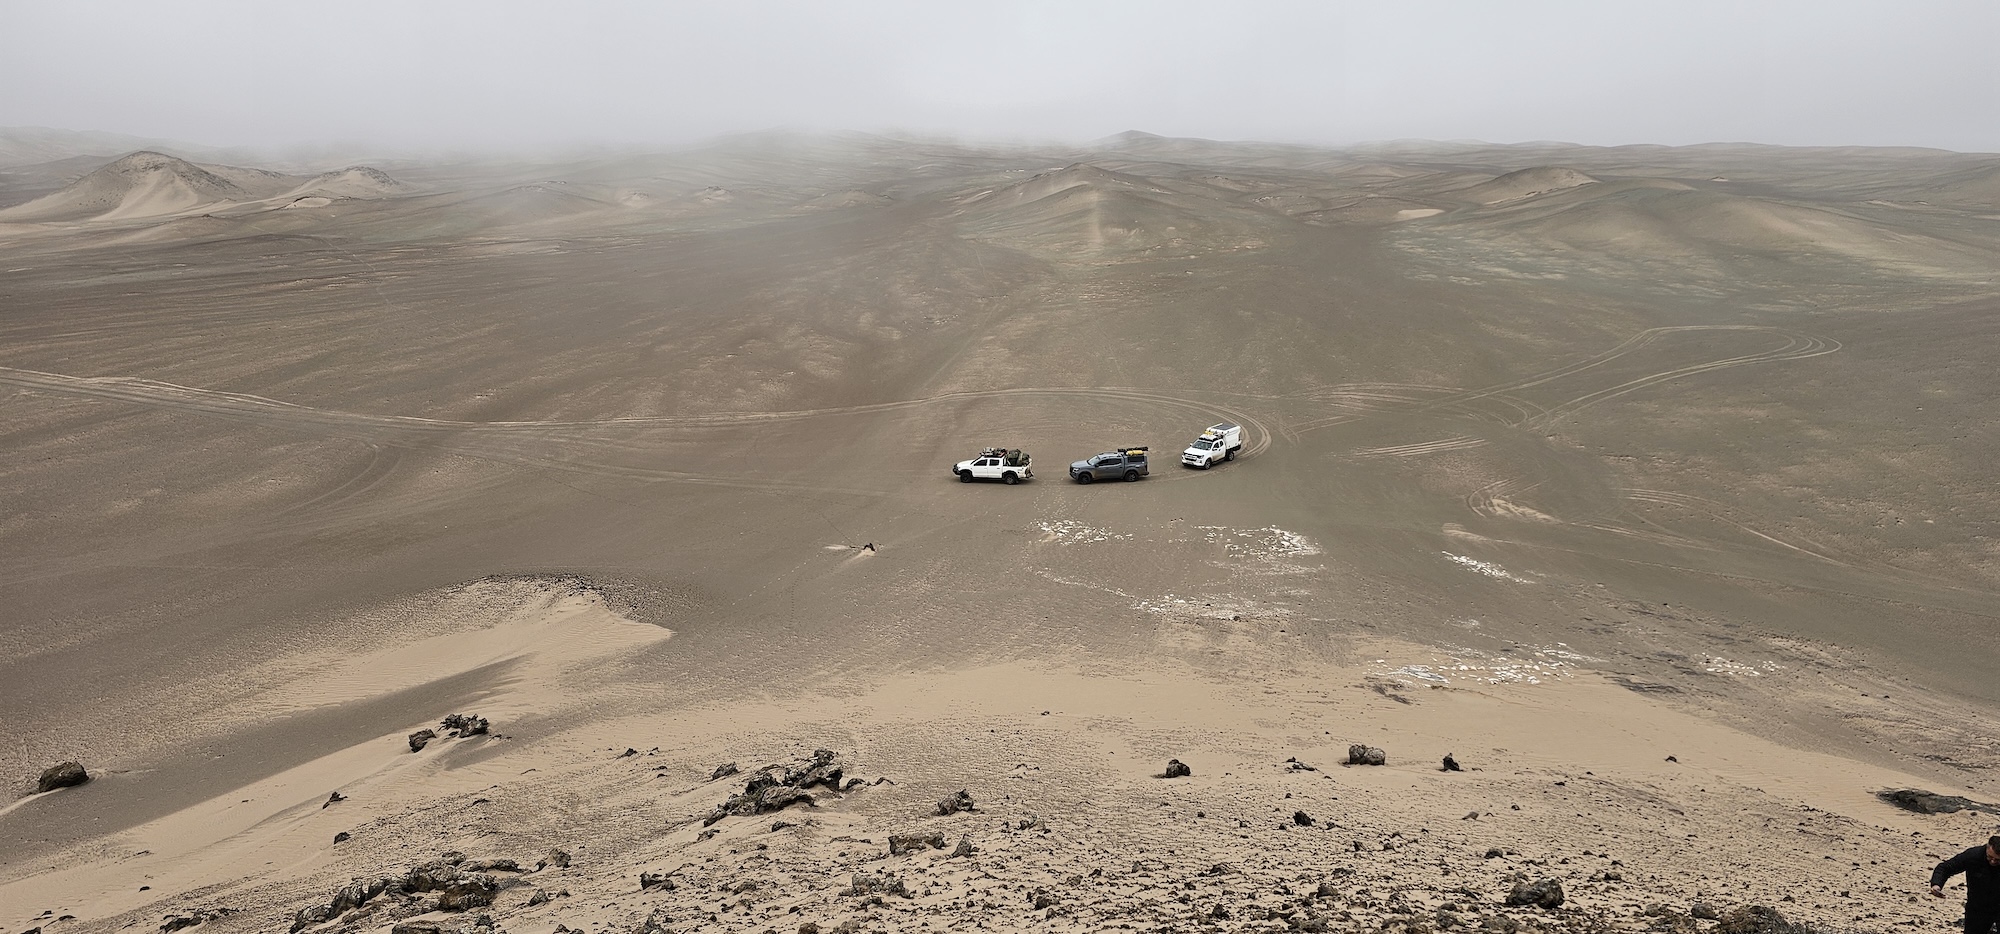
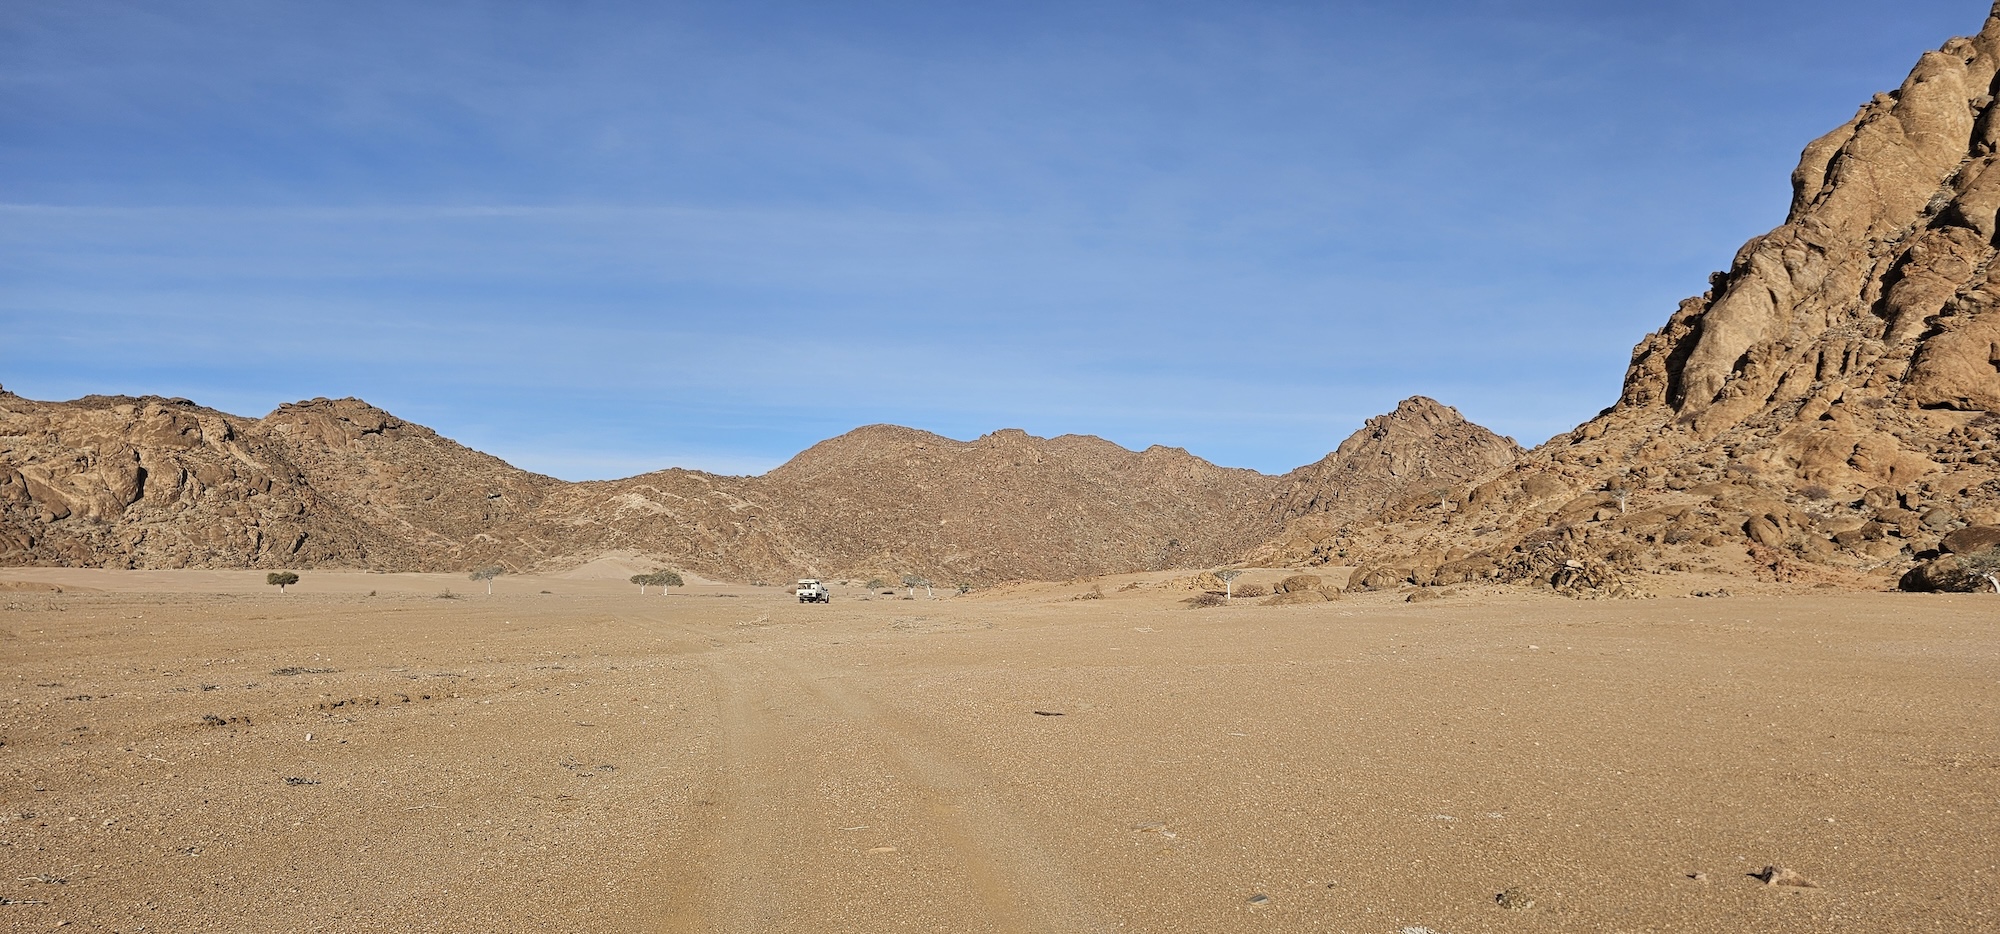
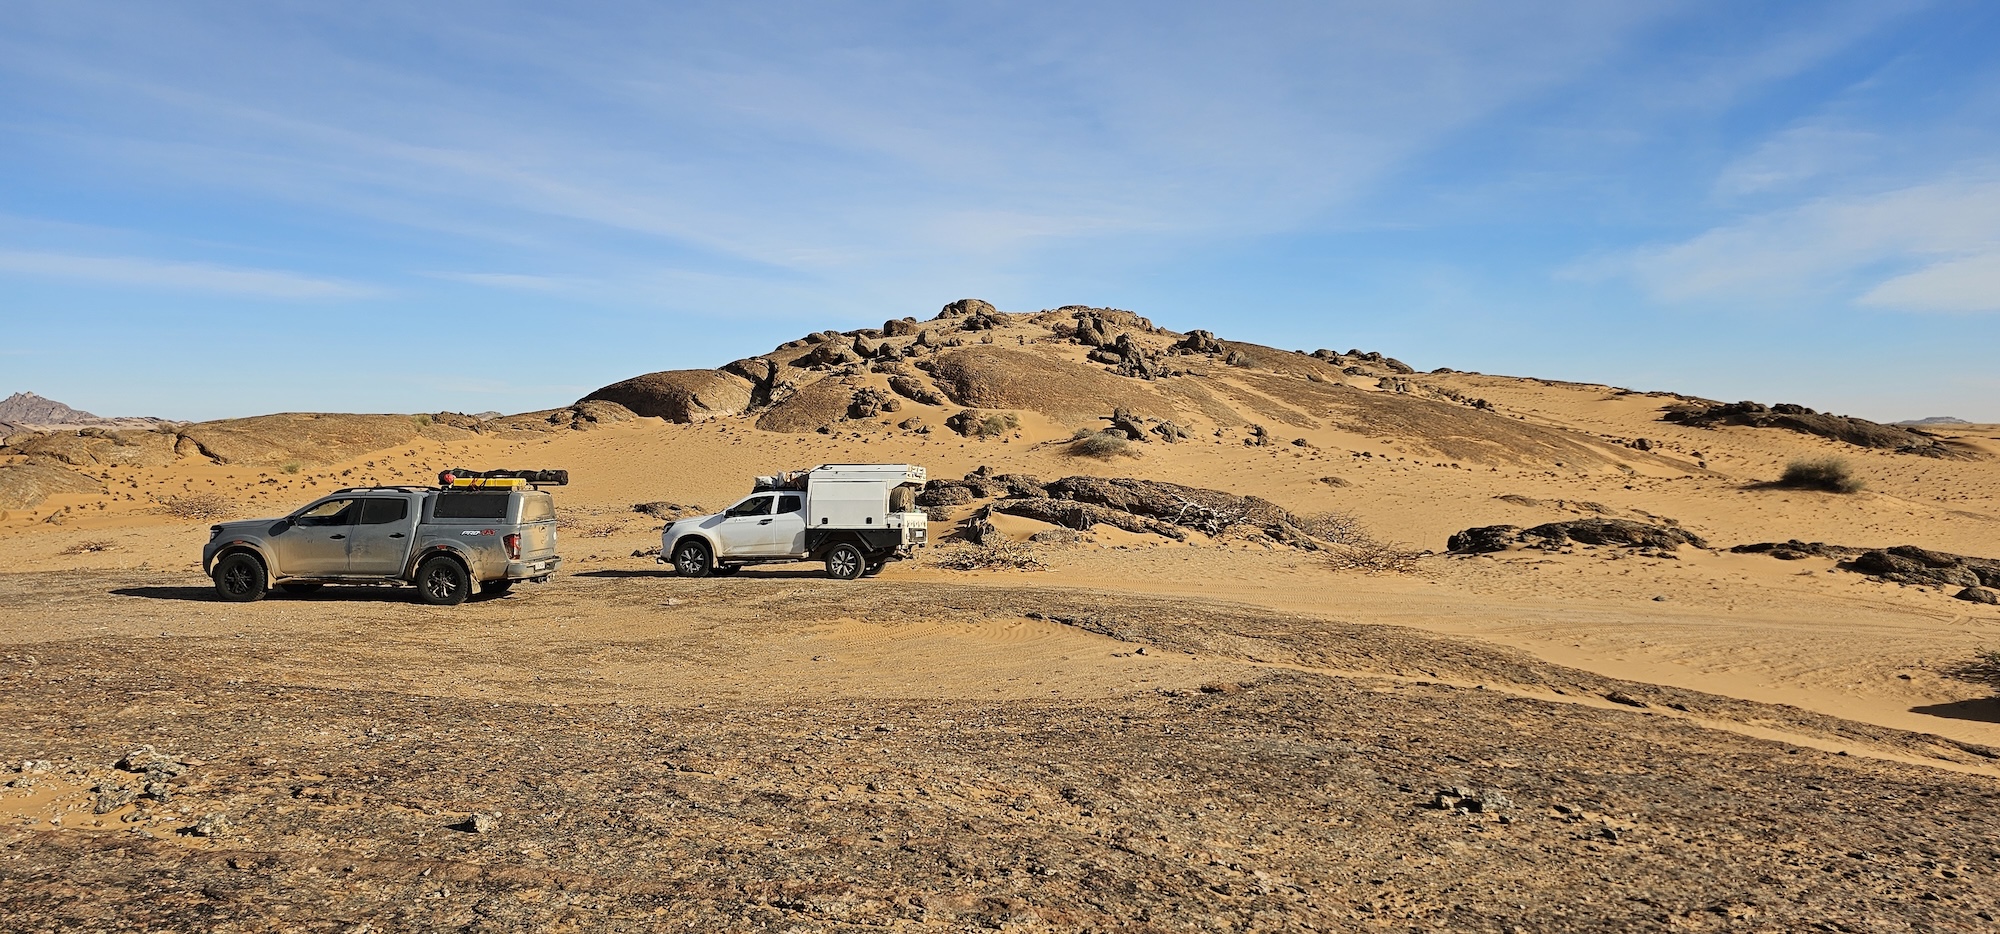
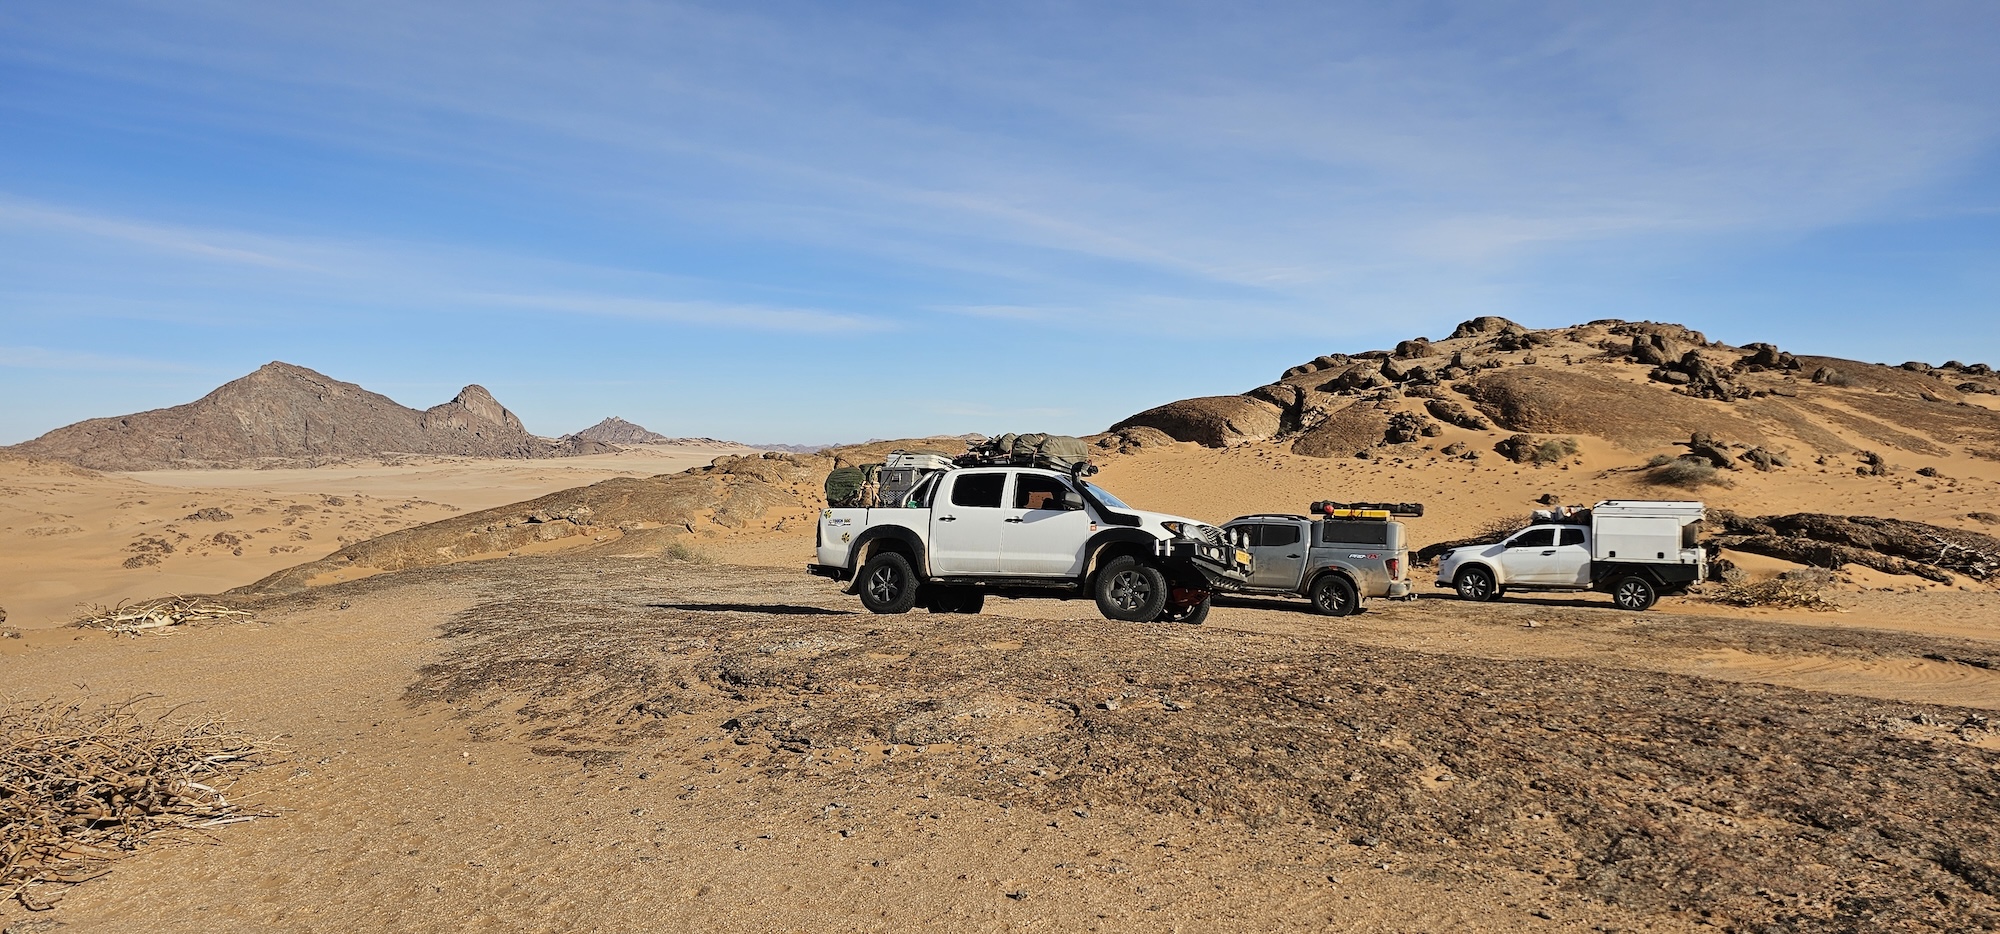
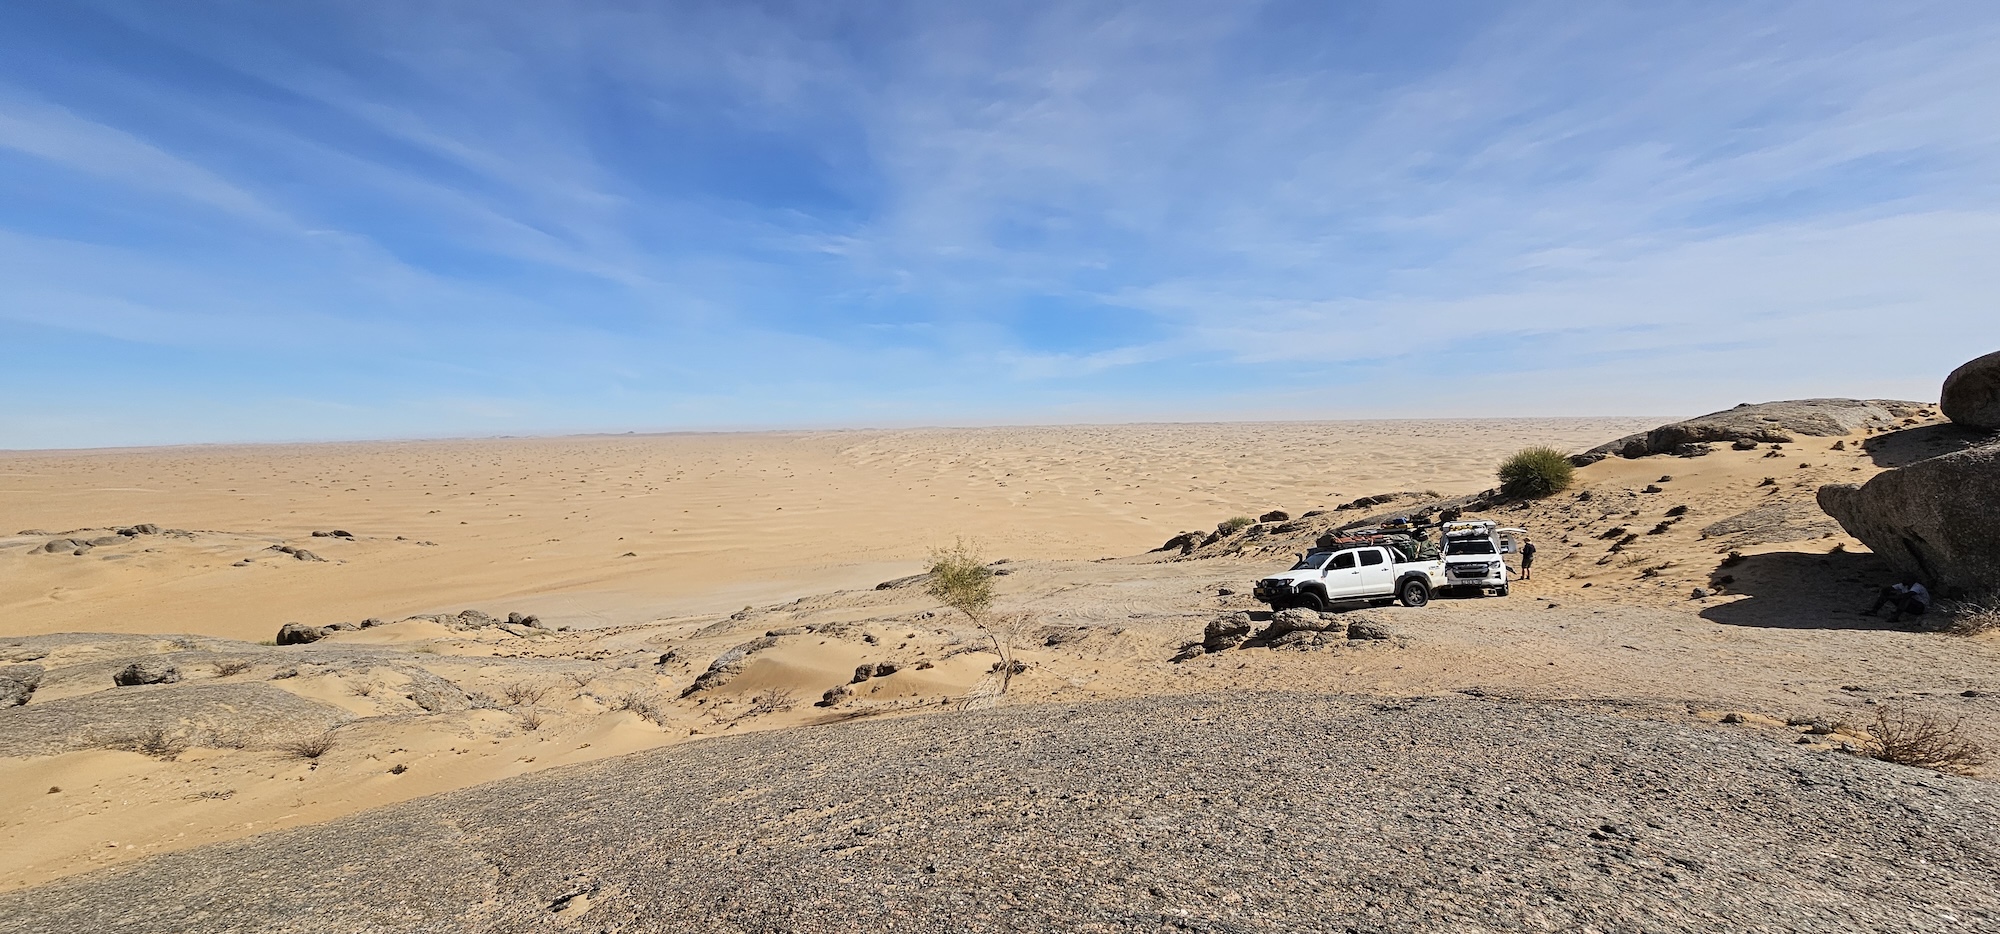
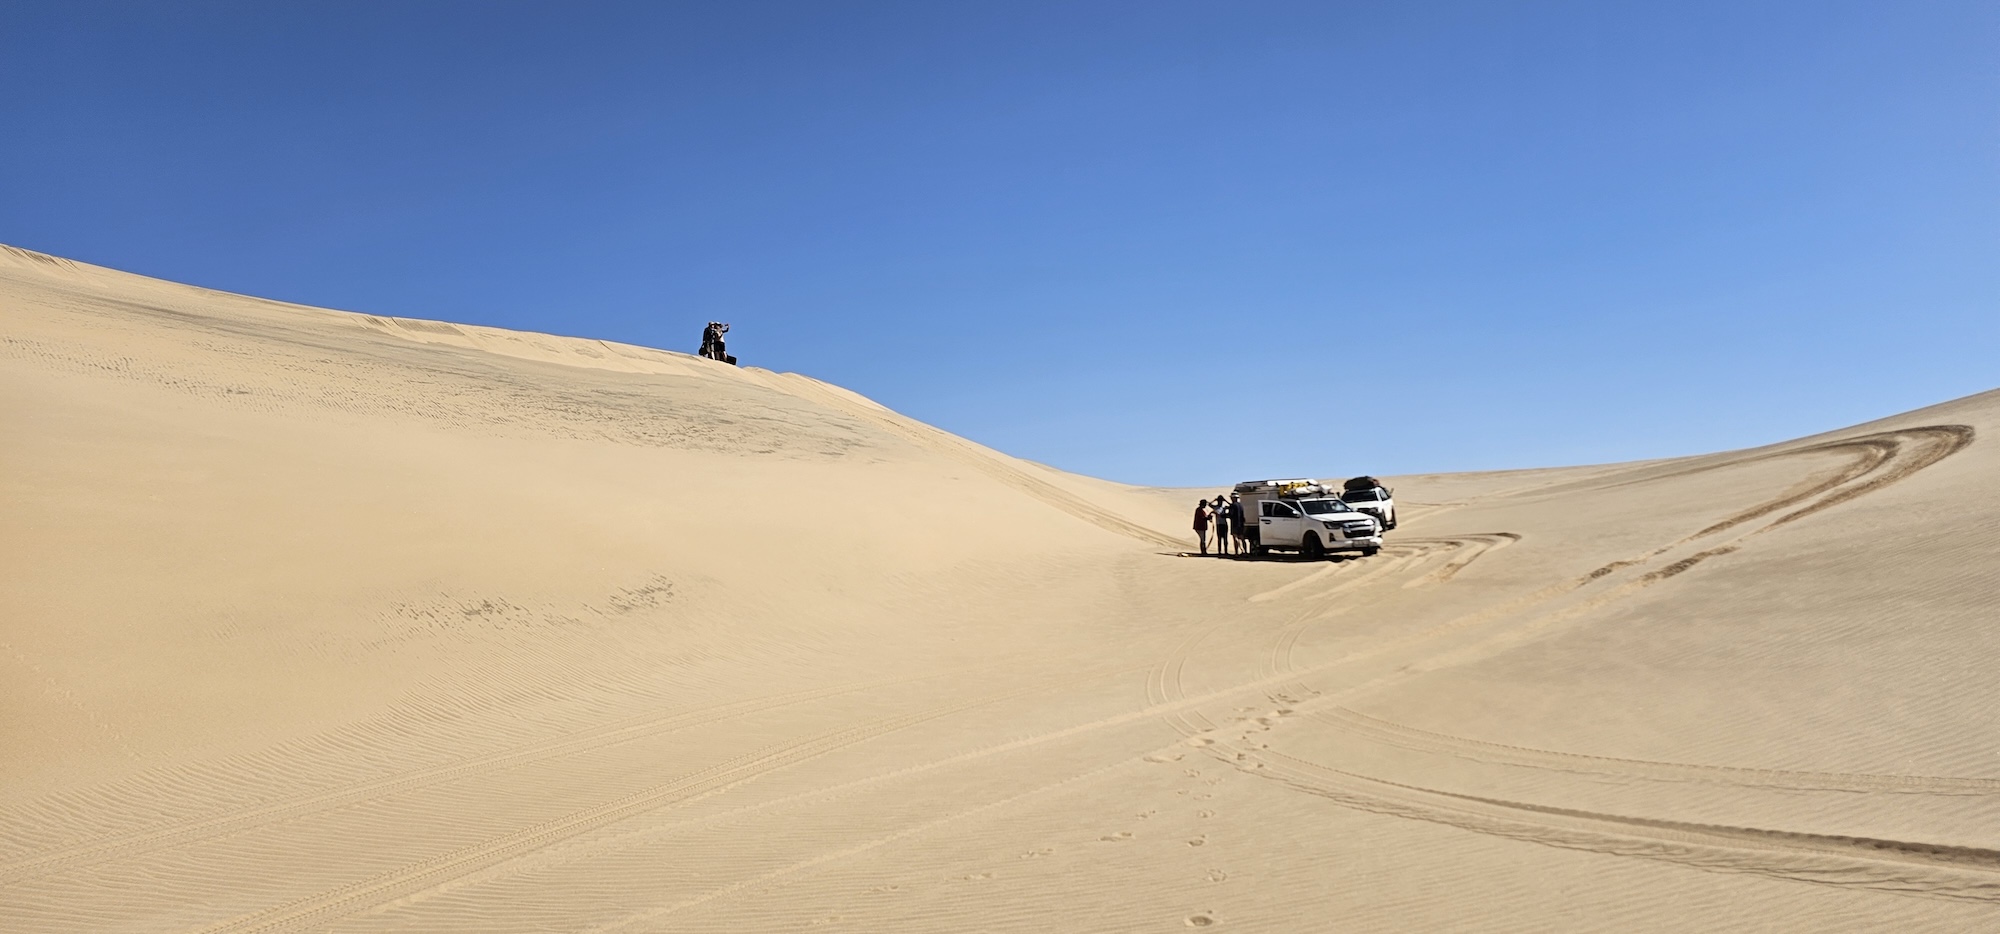
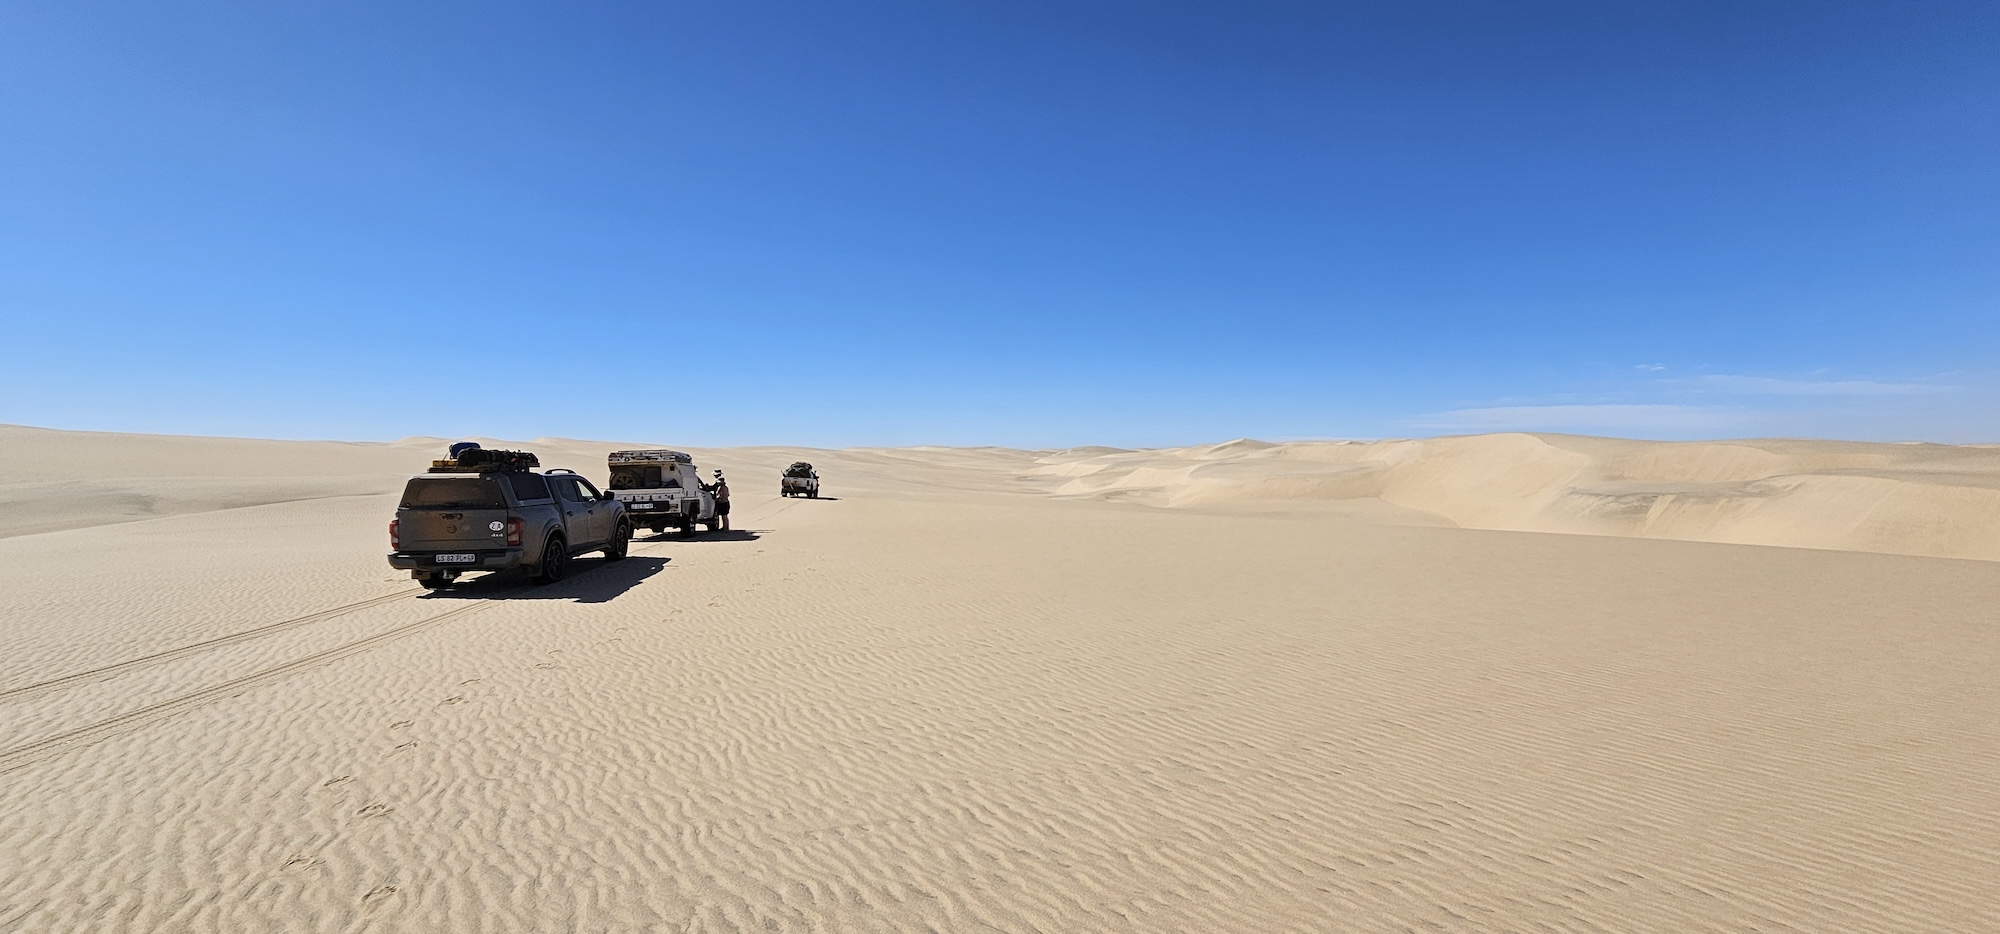
Do I need a 4×4 vehicle for this trip? There are sections in Tankwa where you will absolutely need 4×4. Other parts will be accessible with a 2×4 or even a normal sedan, but at your own peril. The shale rock on the road surface is a tyre slasher, so make sure you have at least one good spare. If you go in a regular vehicle, stay on the flat gravel and go in the dry season. Proper off-road tyres are more important than anything else on this trip.
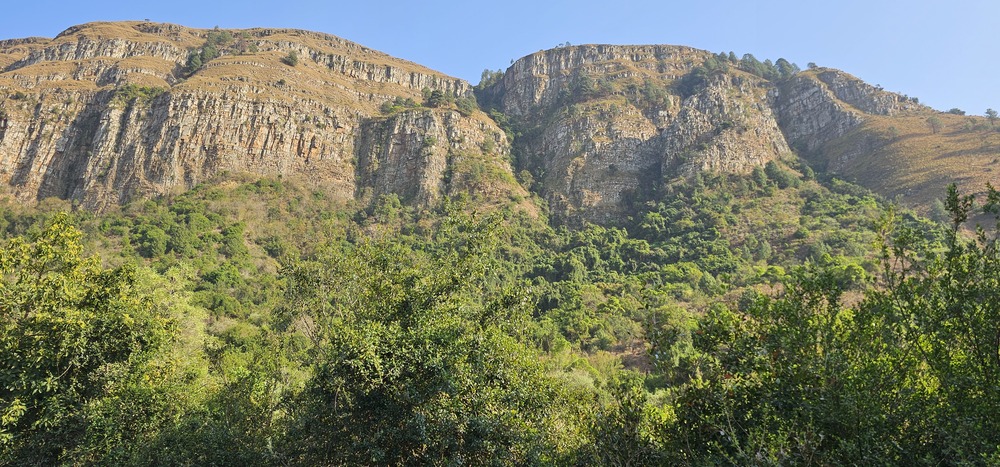
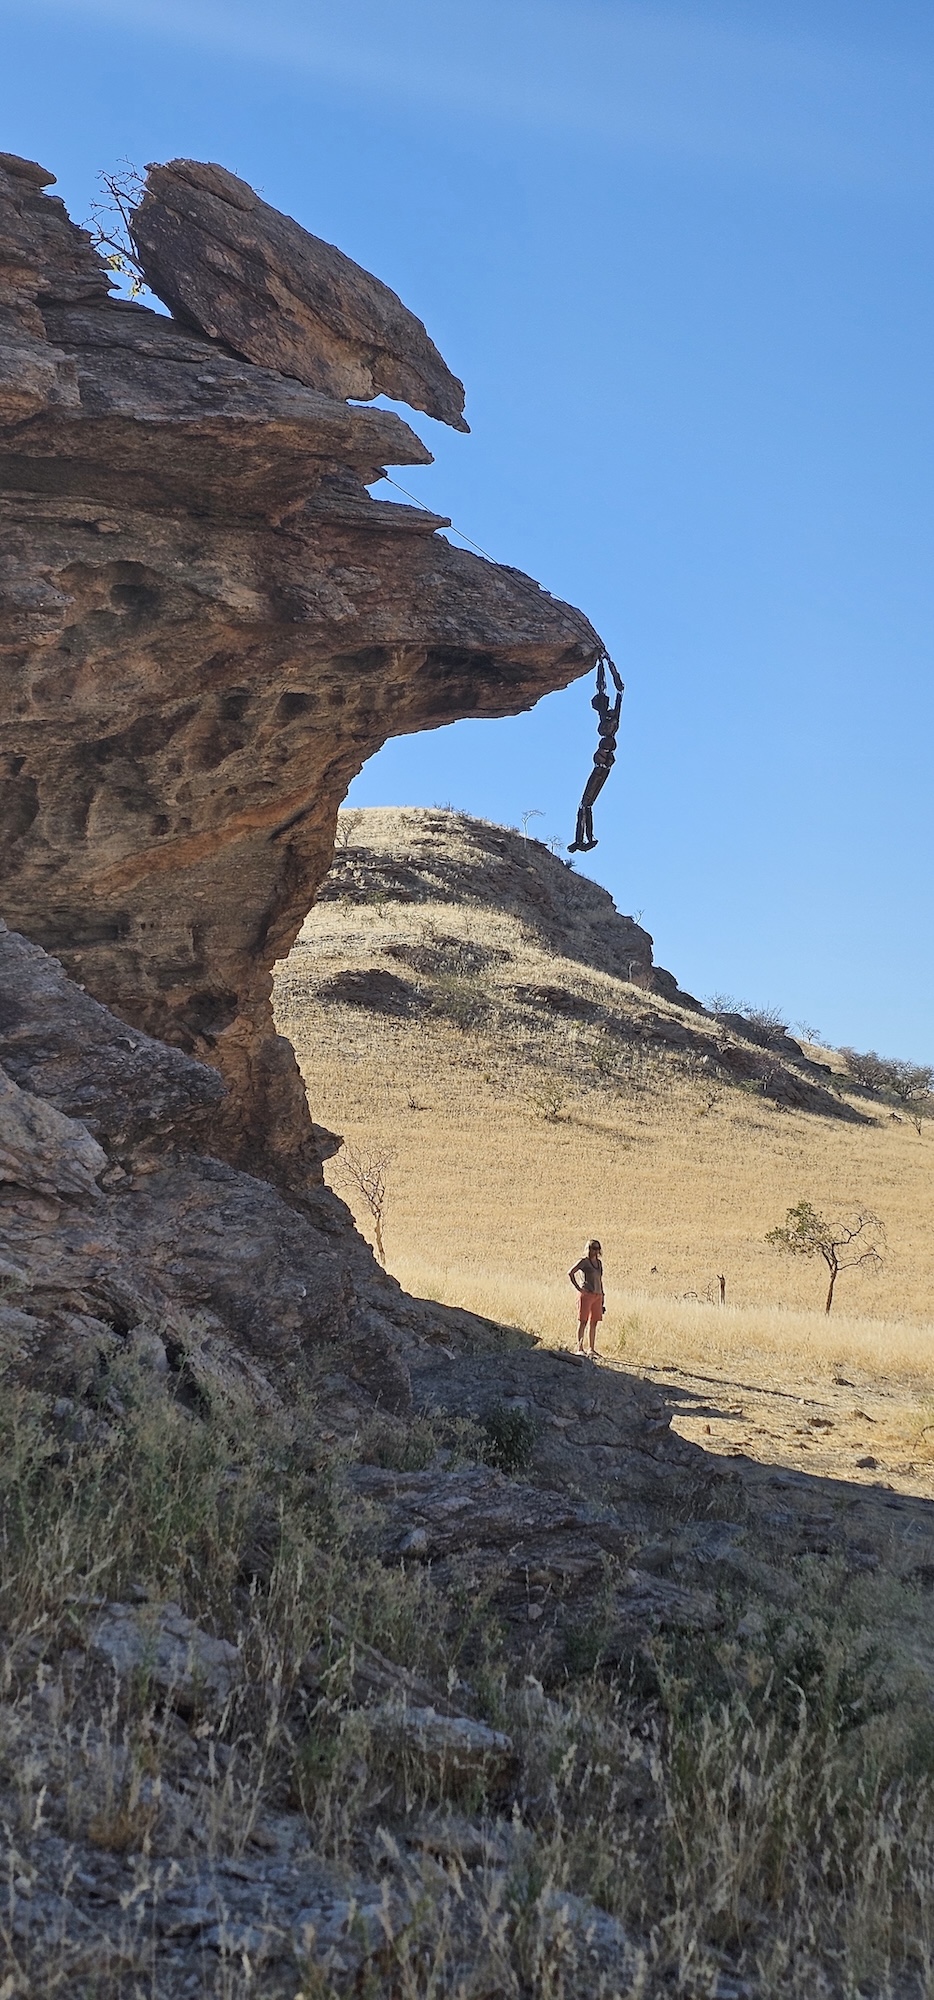
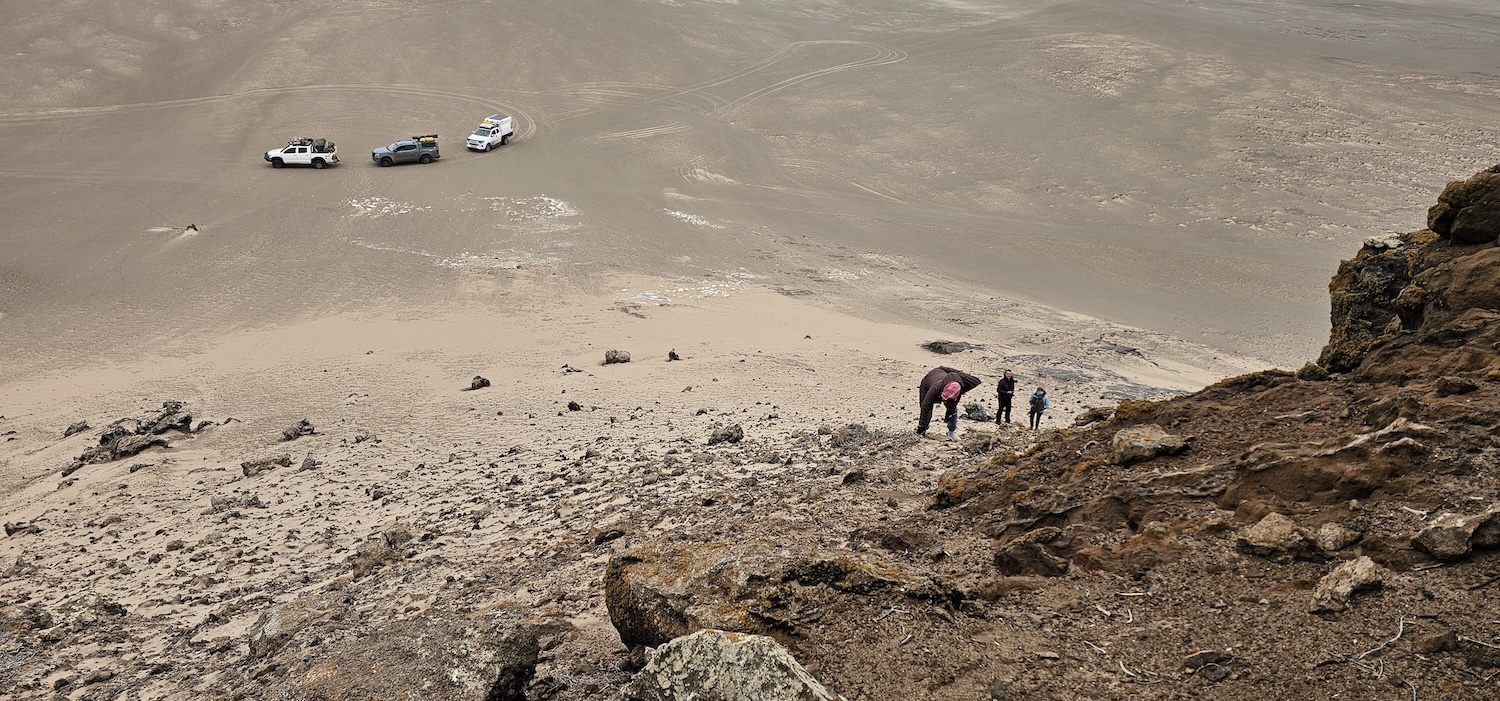
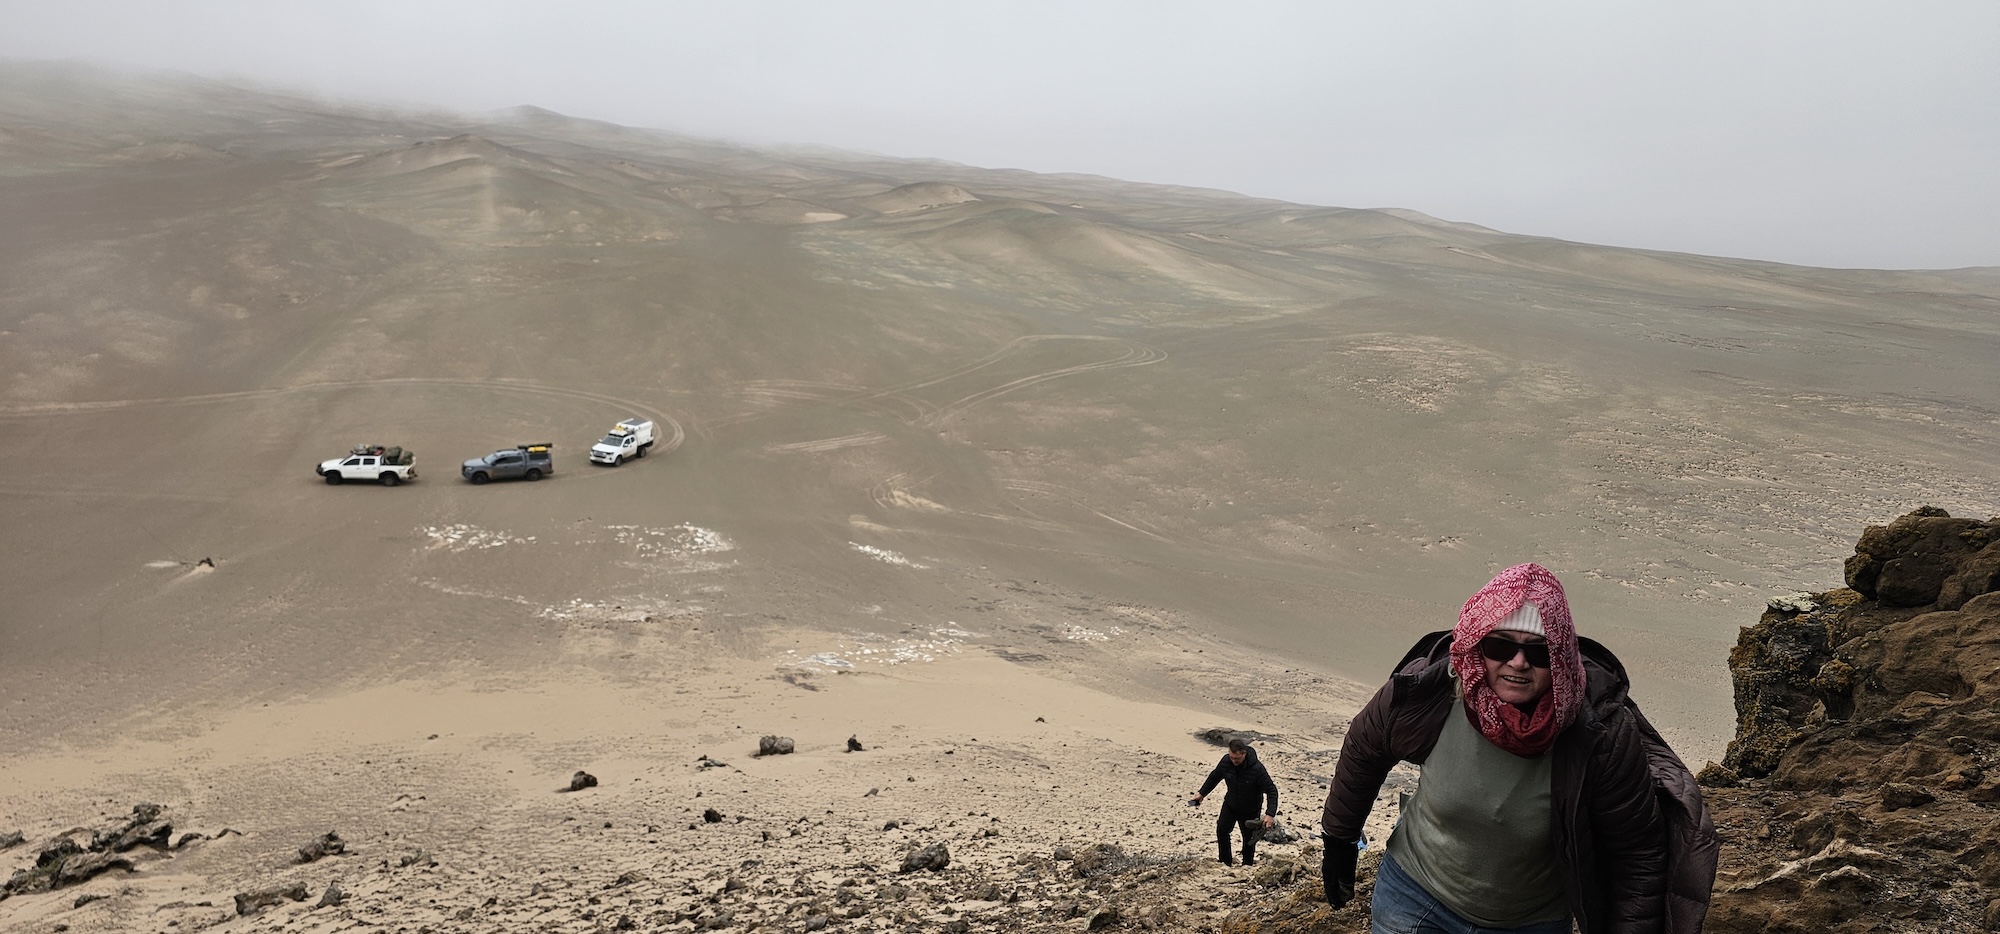
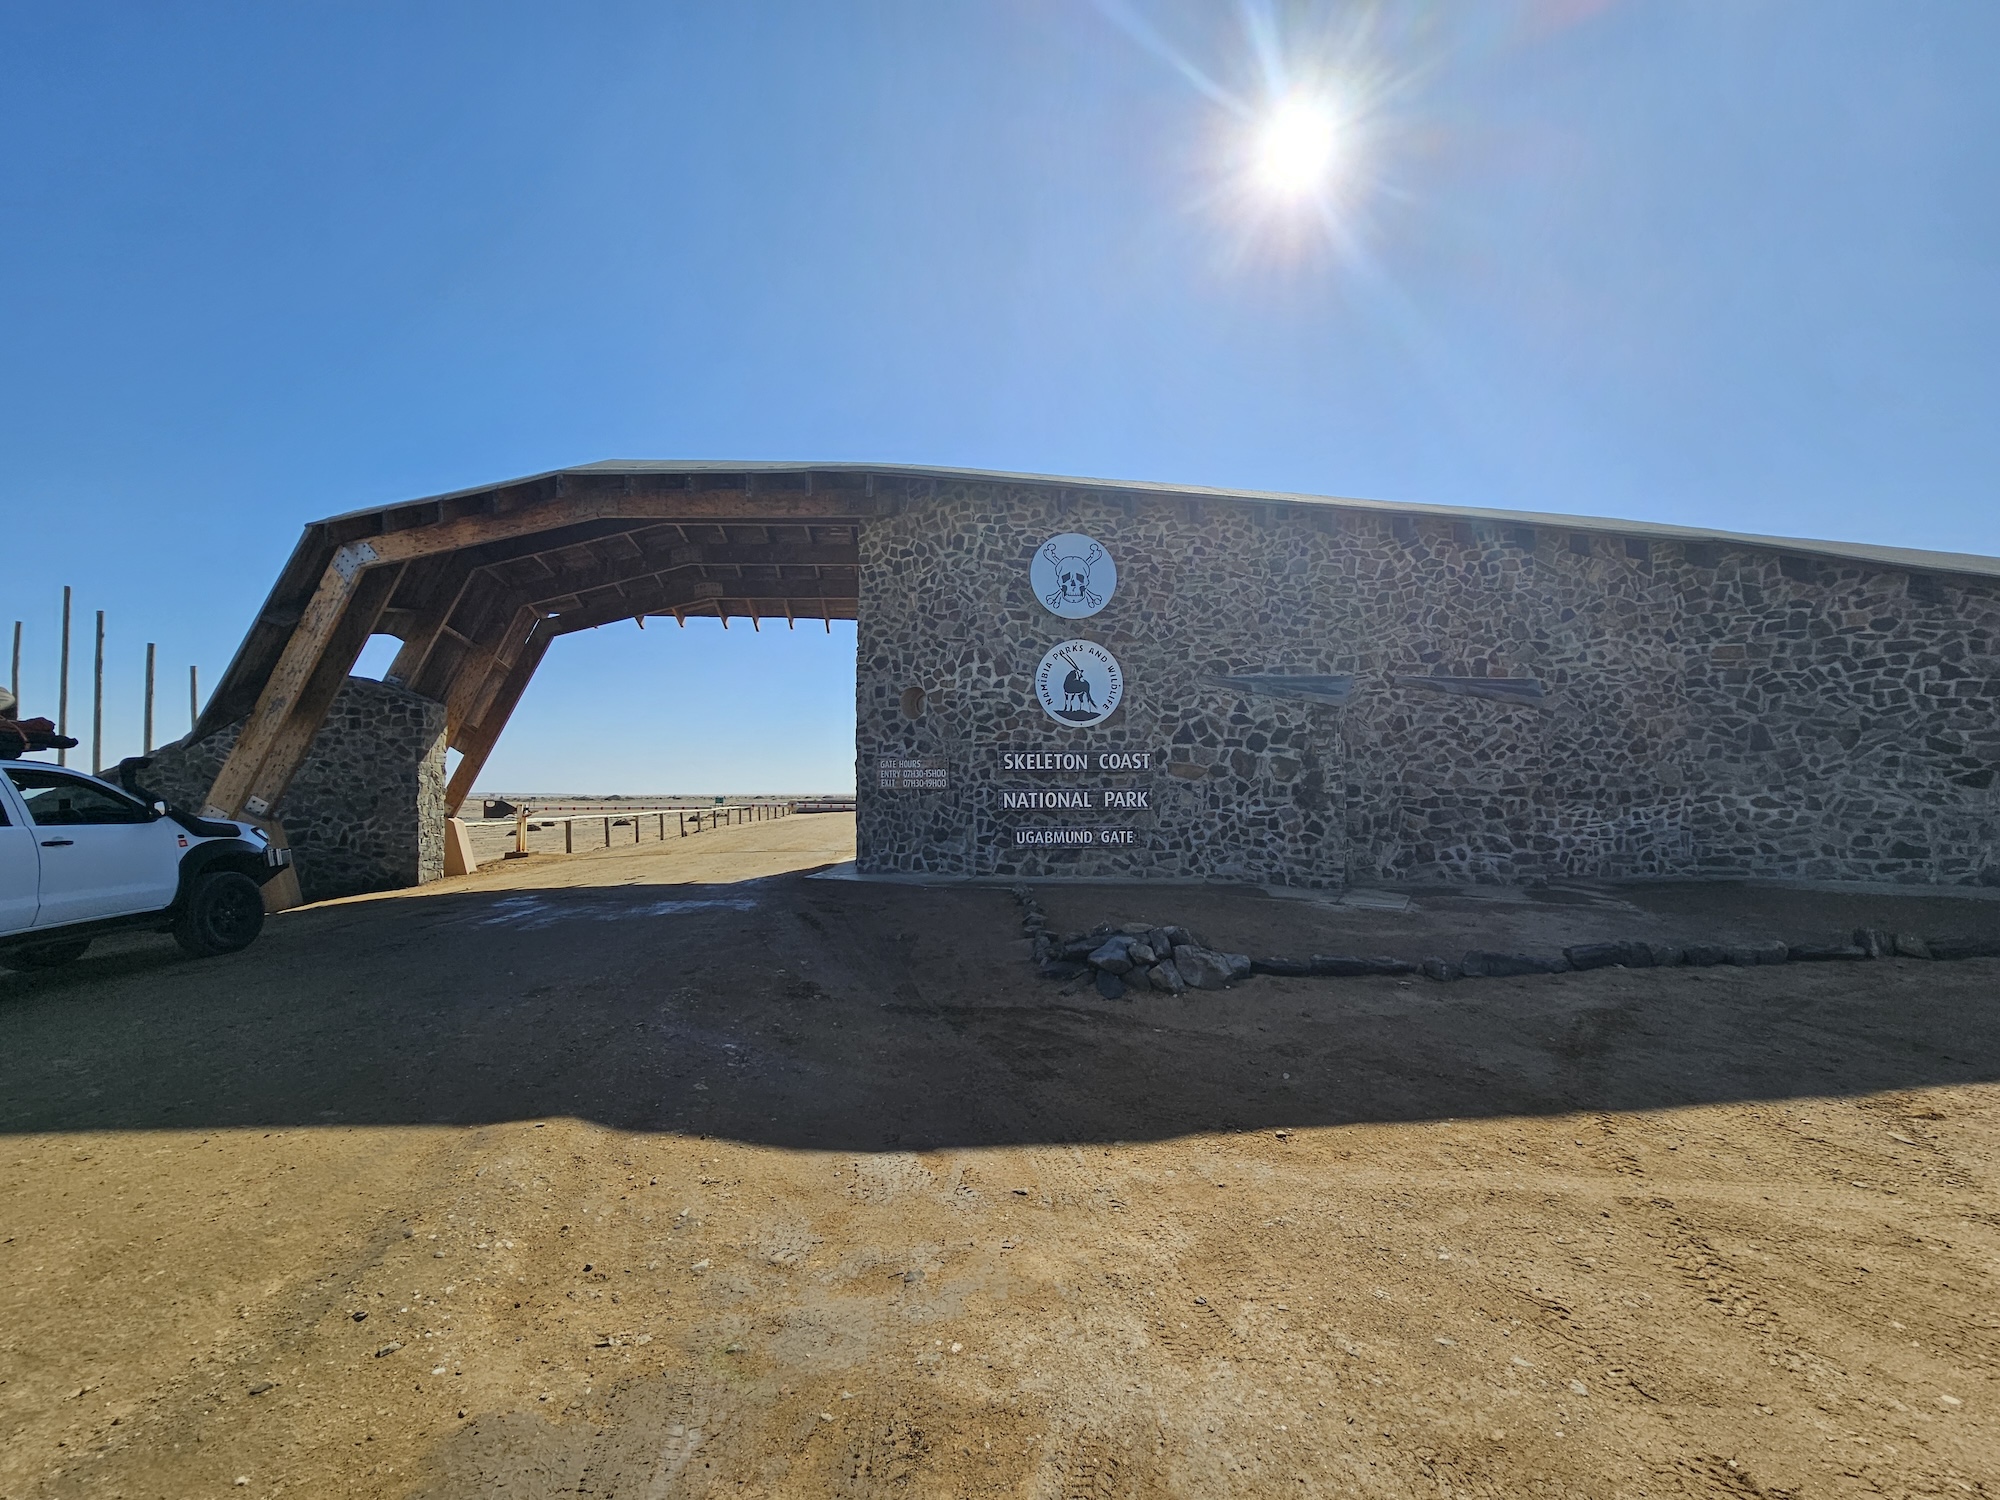
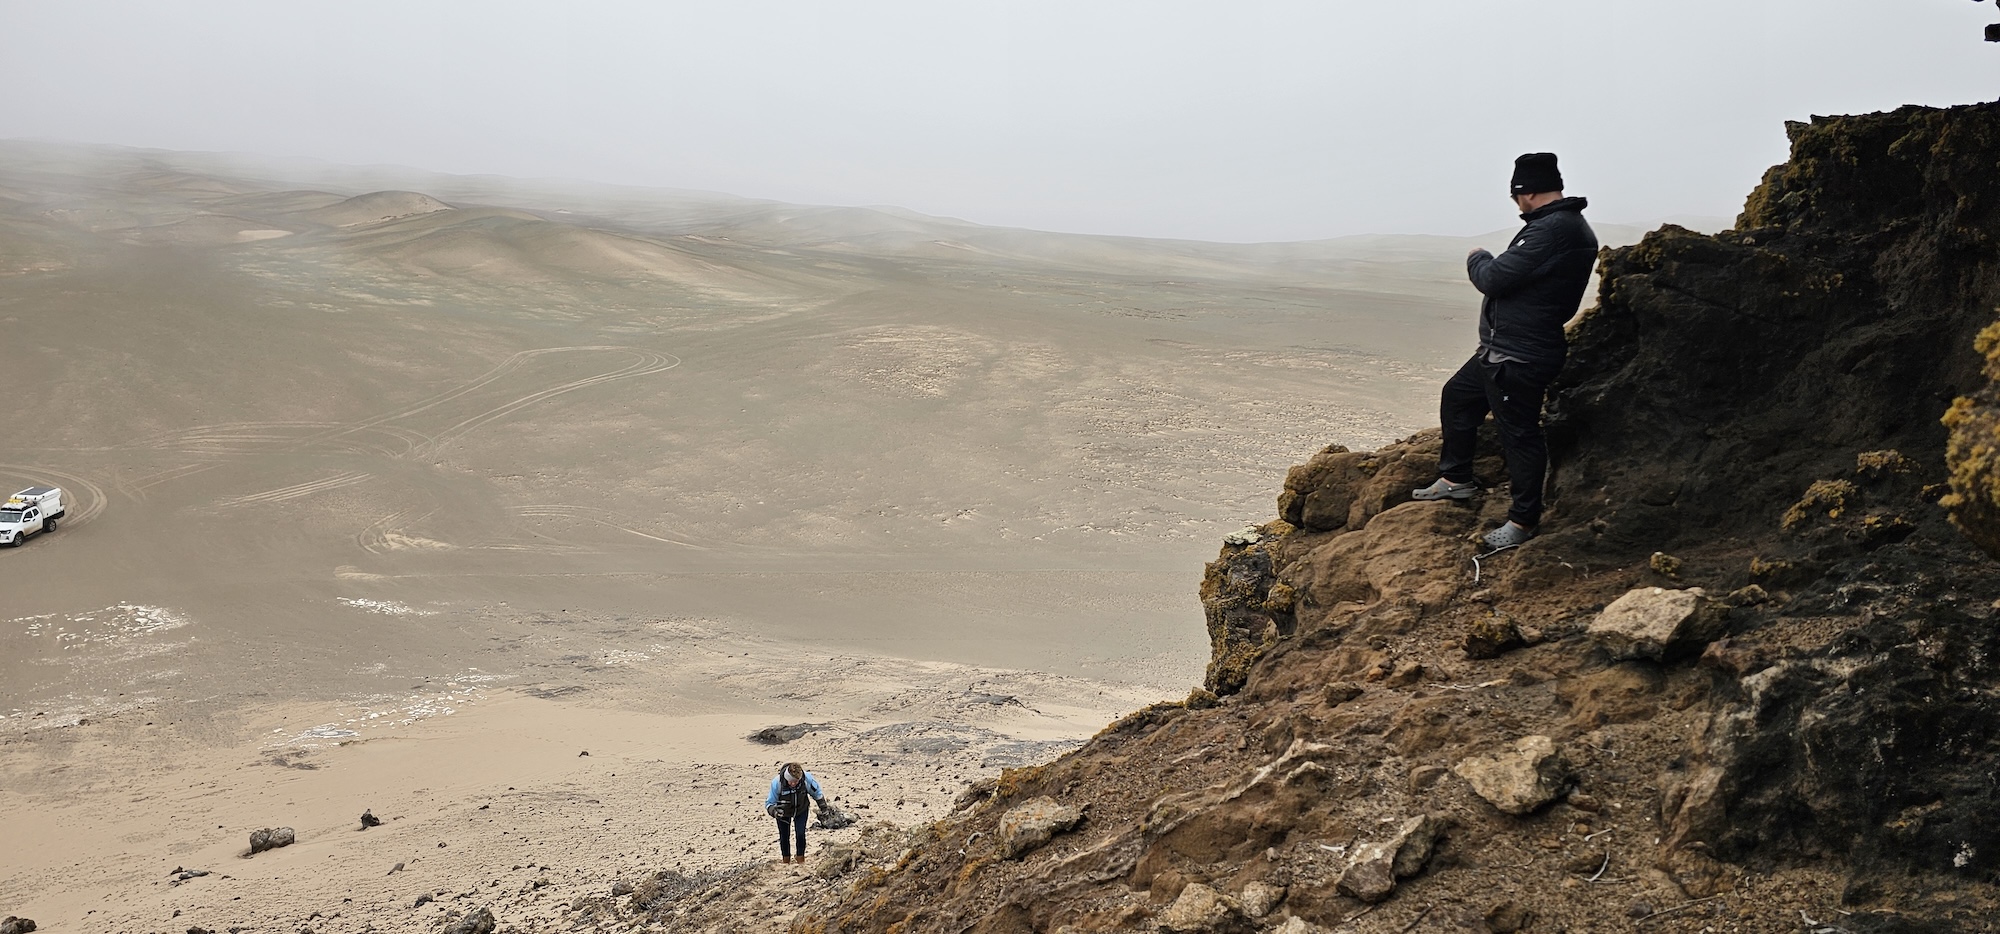
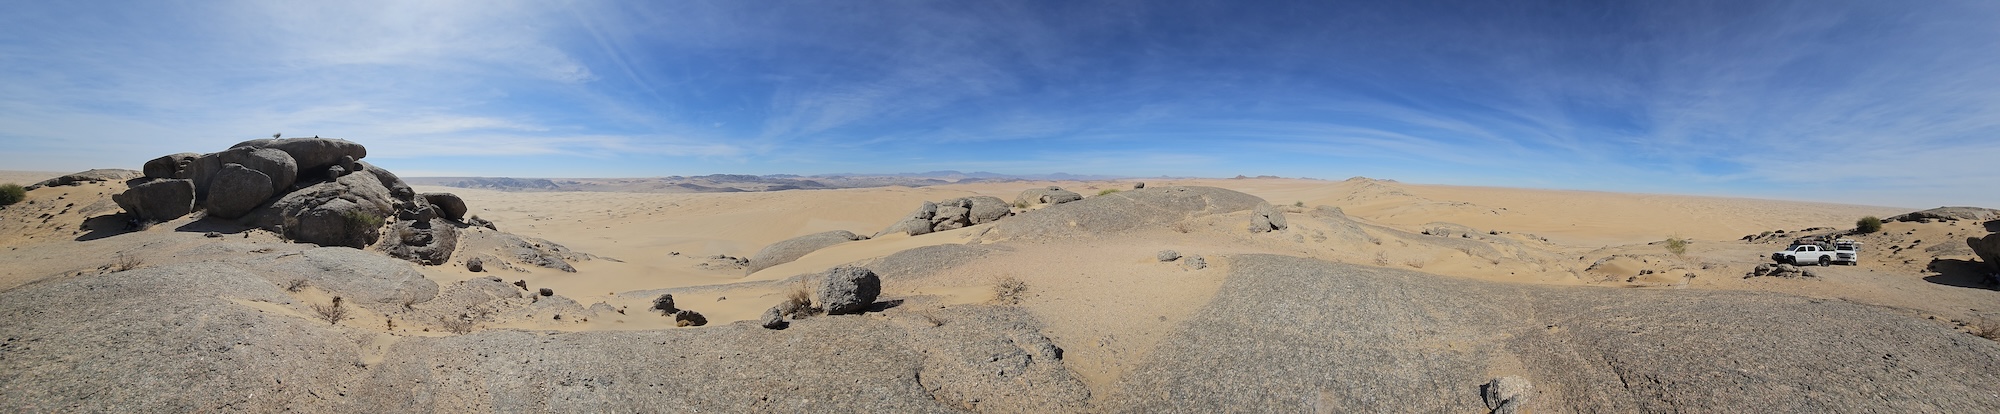
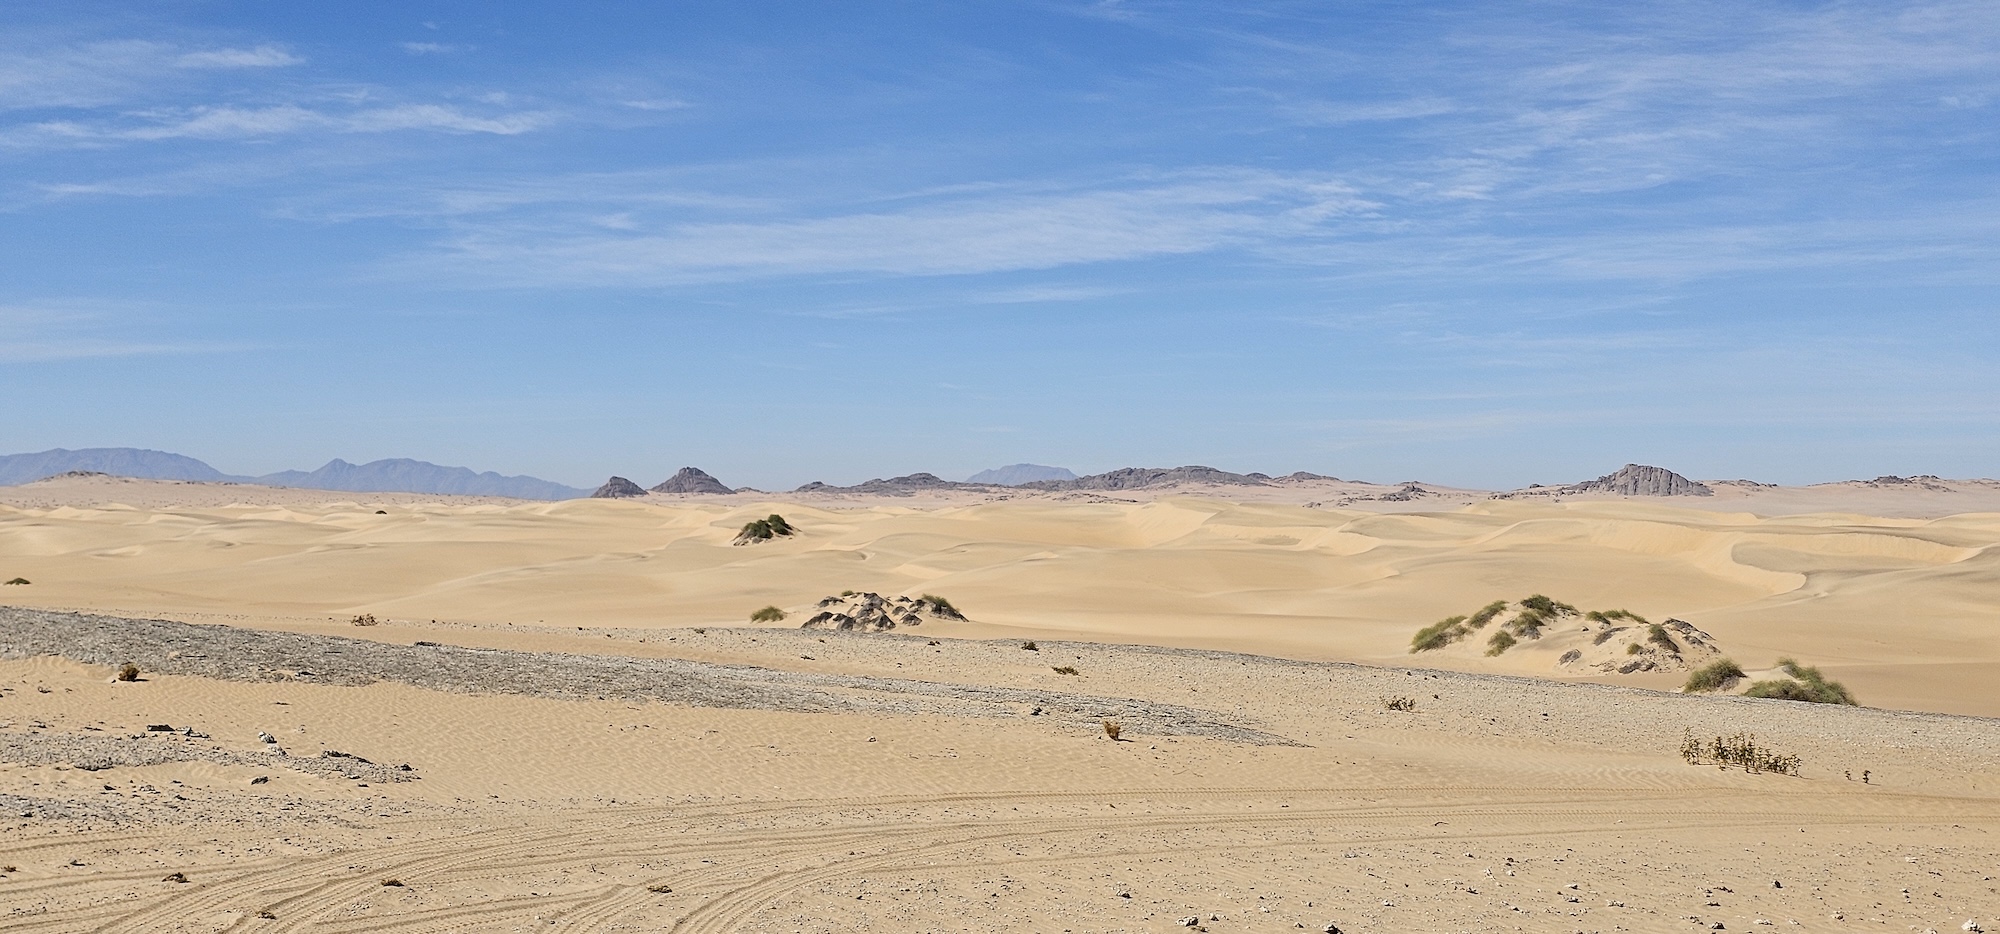
If you enter Tankwa from the Williston side, you are in for a nice surprise. Shortly after entering the park (just an unattended gate), you start descending the picturesque Ganaga pass. Built in 1896, this gravel road features 45 bends and 4 sharp hairpins along steep sections that are sometimes as narrow as an arrow. Be sure not to have a drink at the lodge just before the pass, because you need to be as dry as the surroundings for this one.
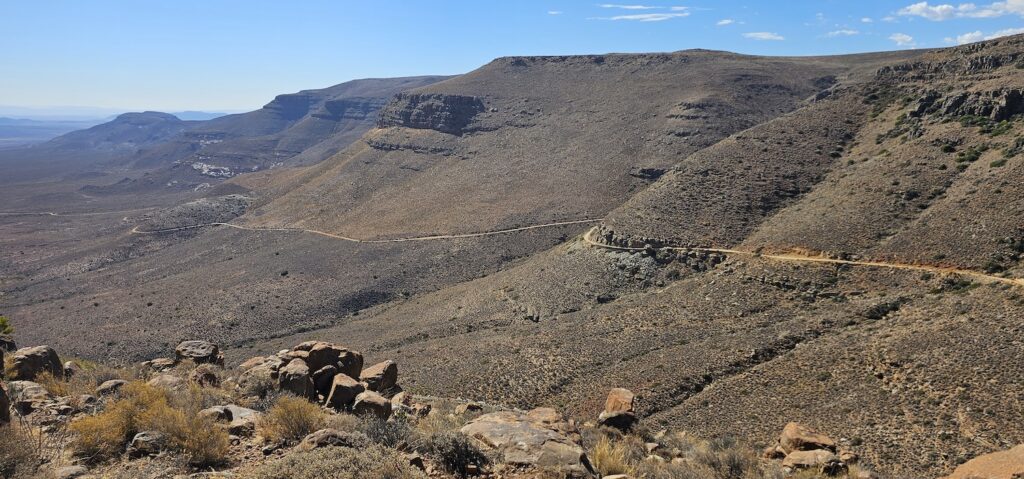
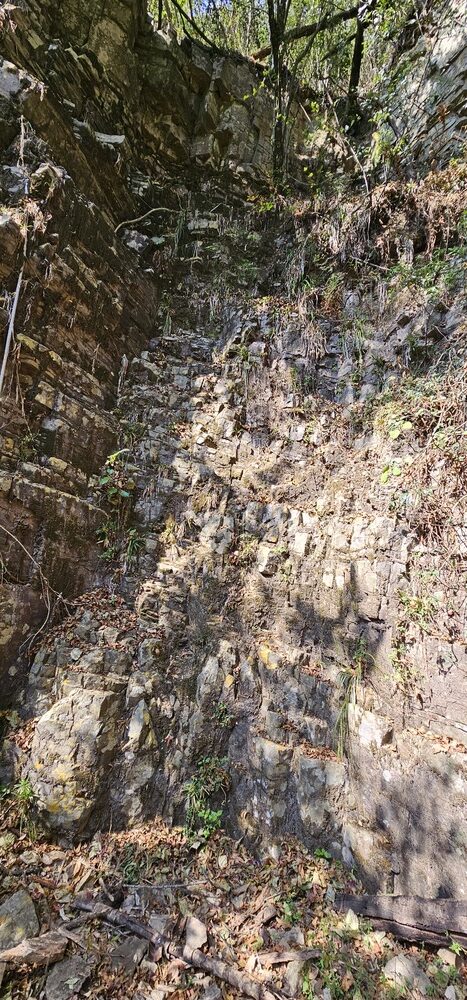
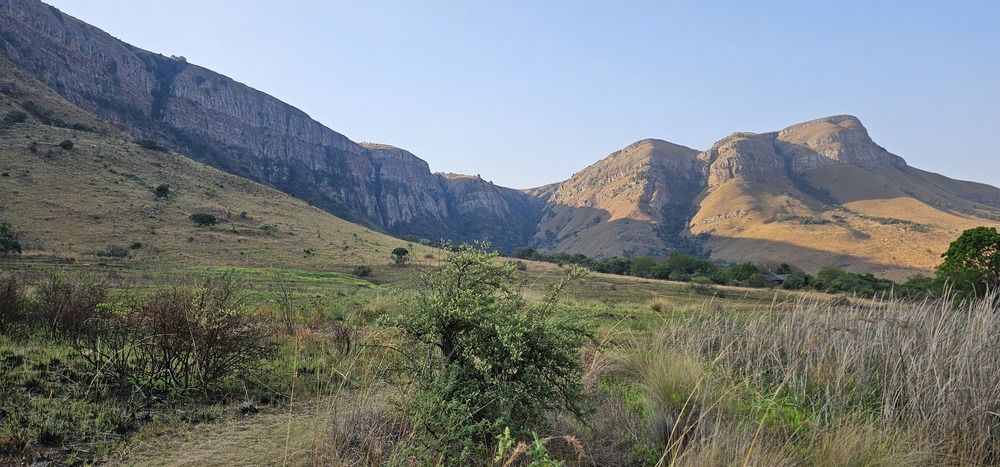
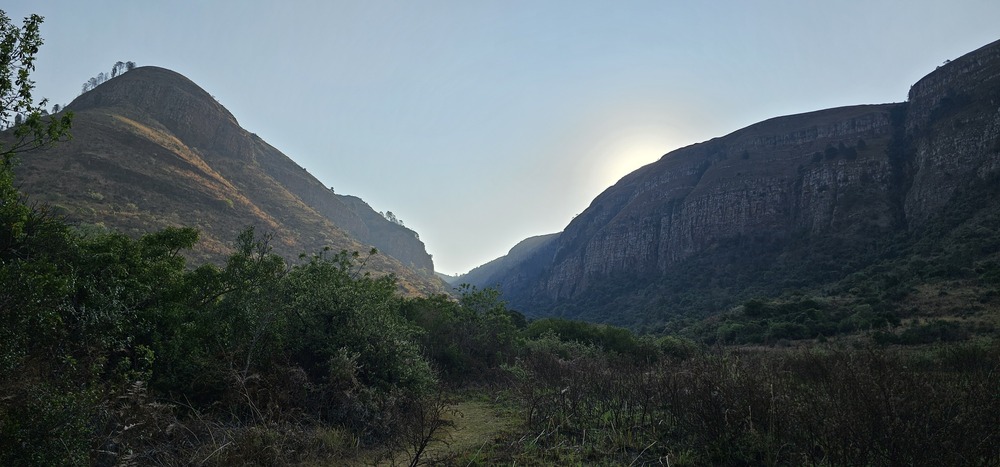
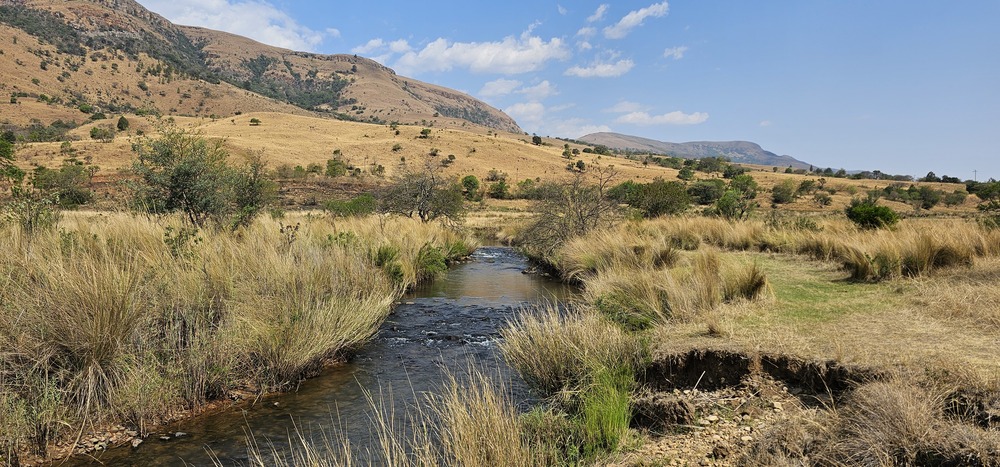
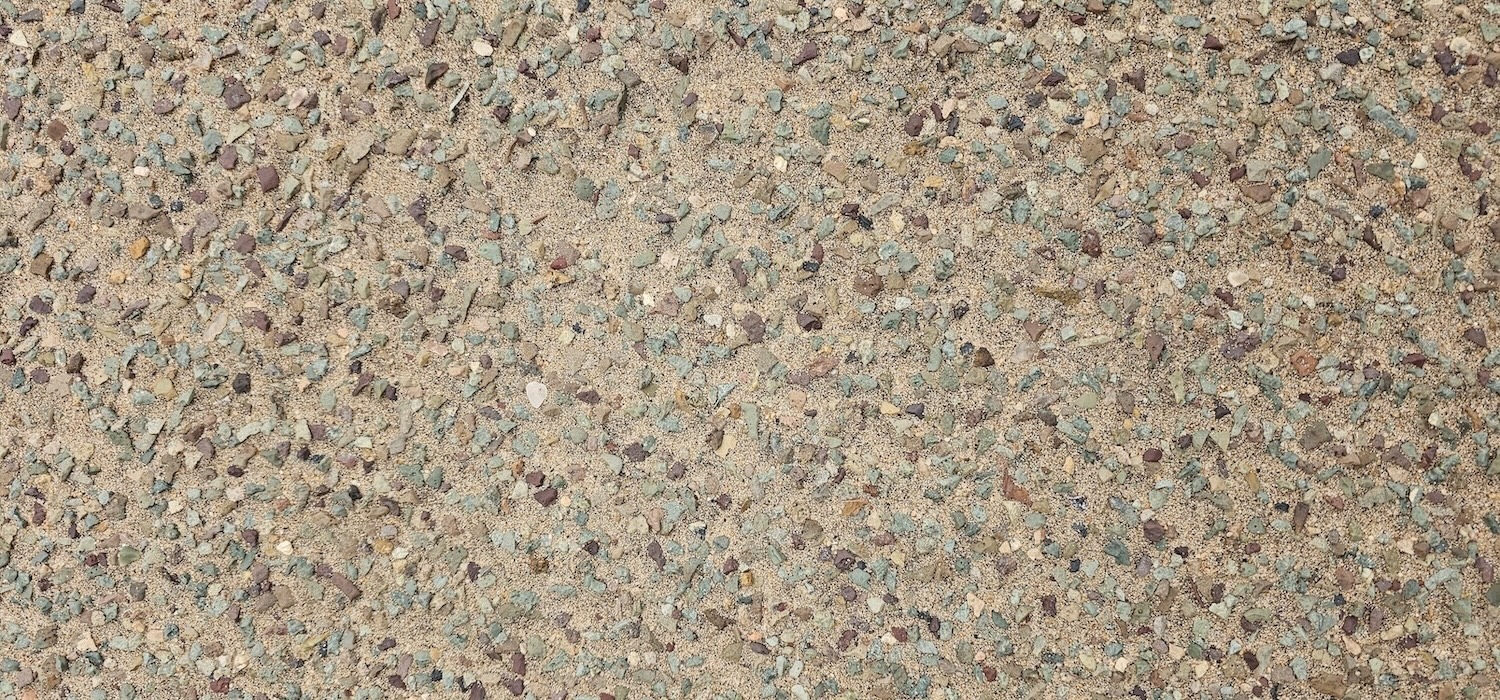
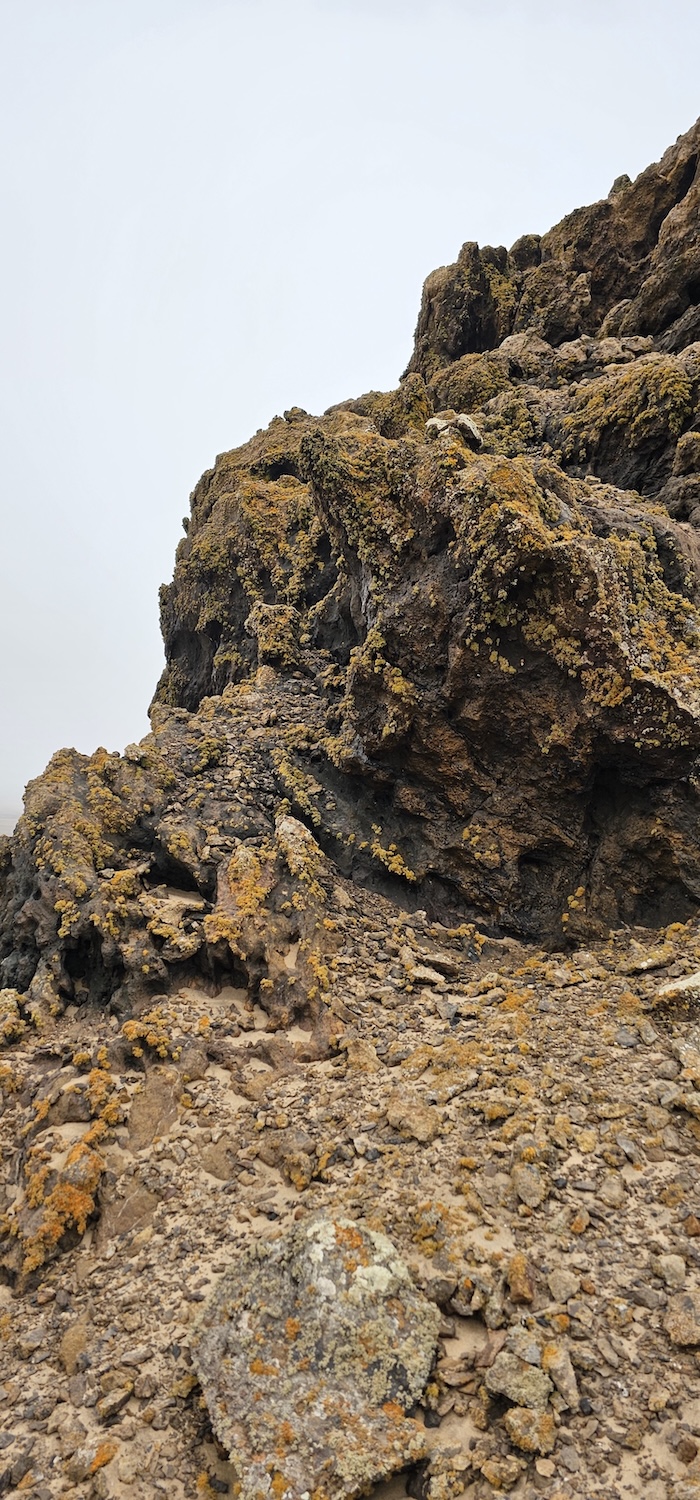
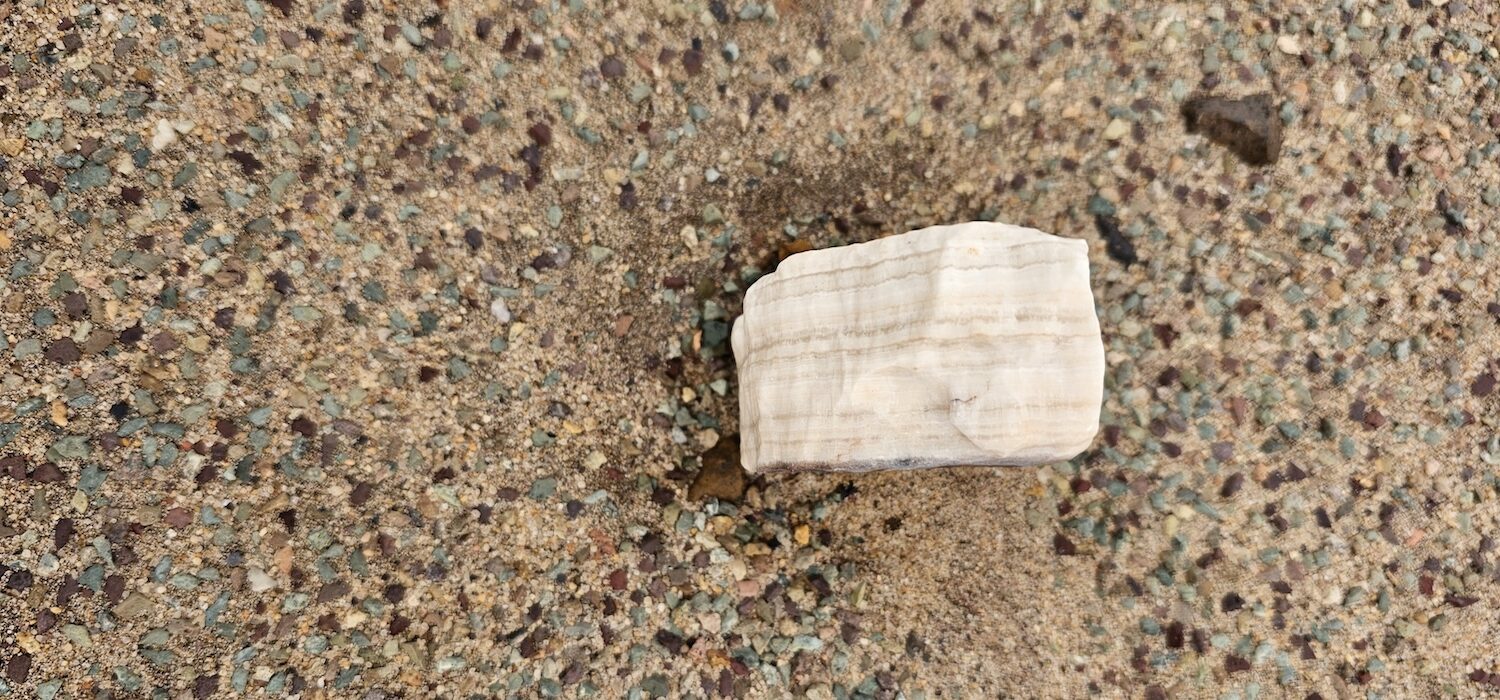
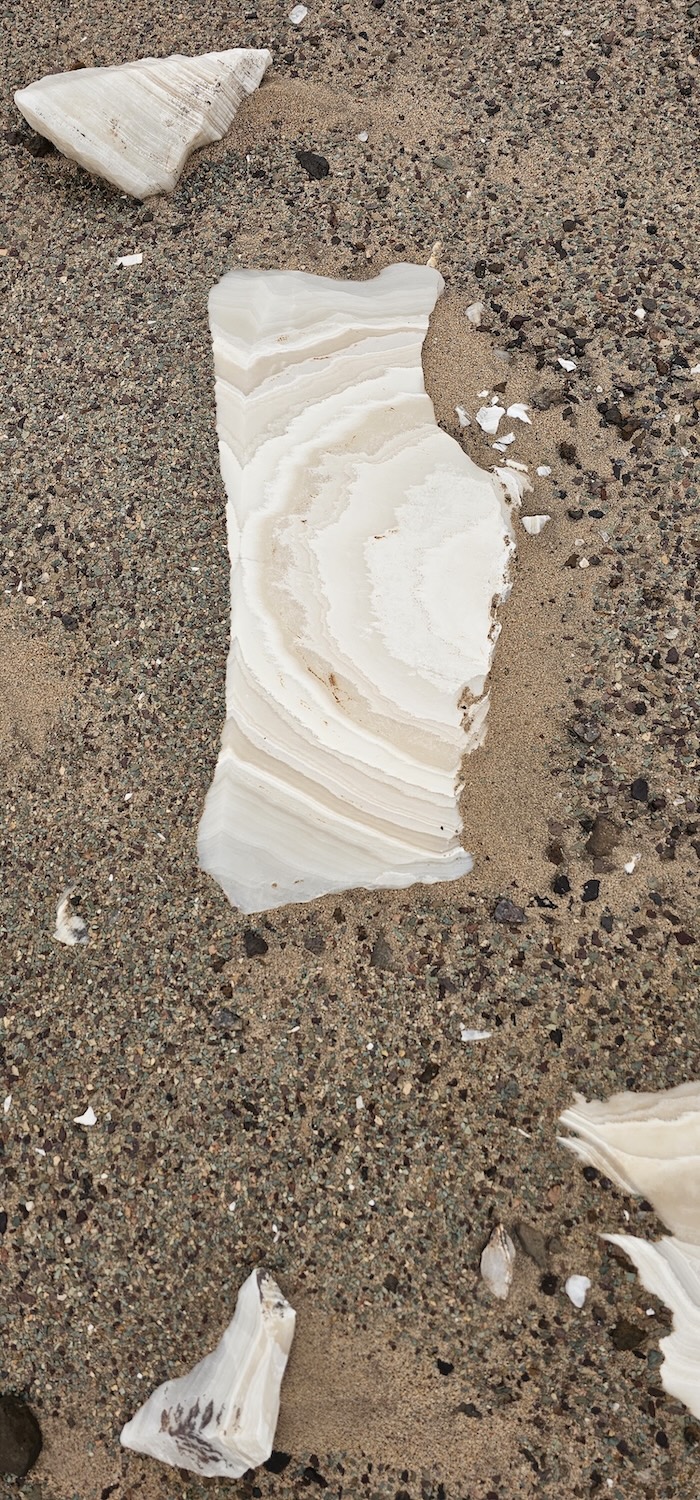
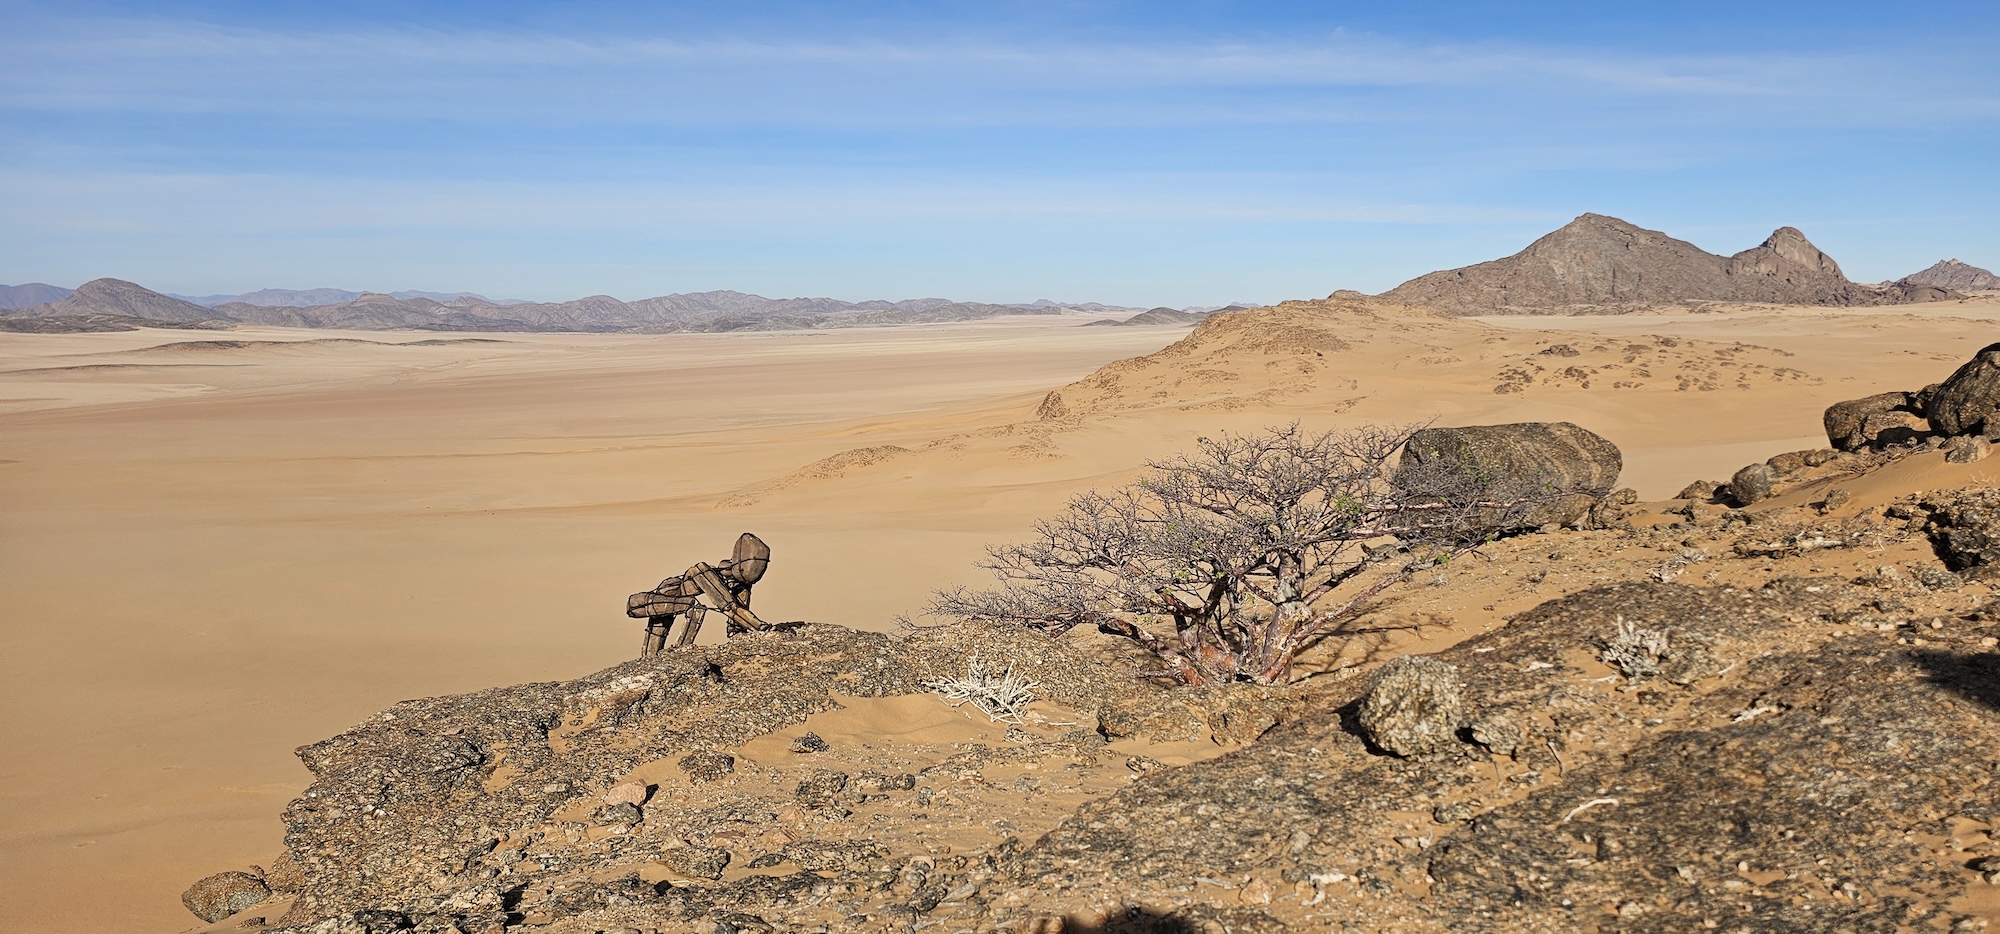
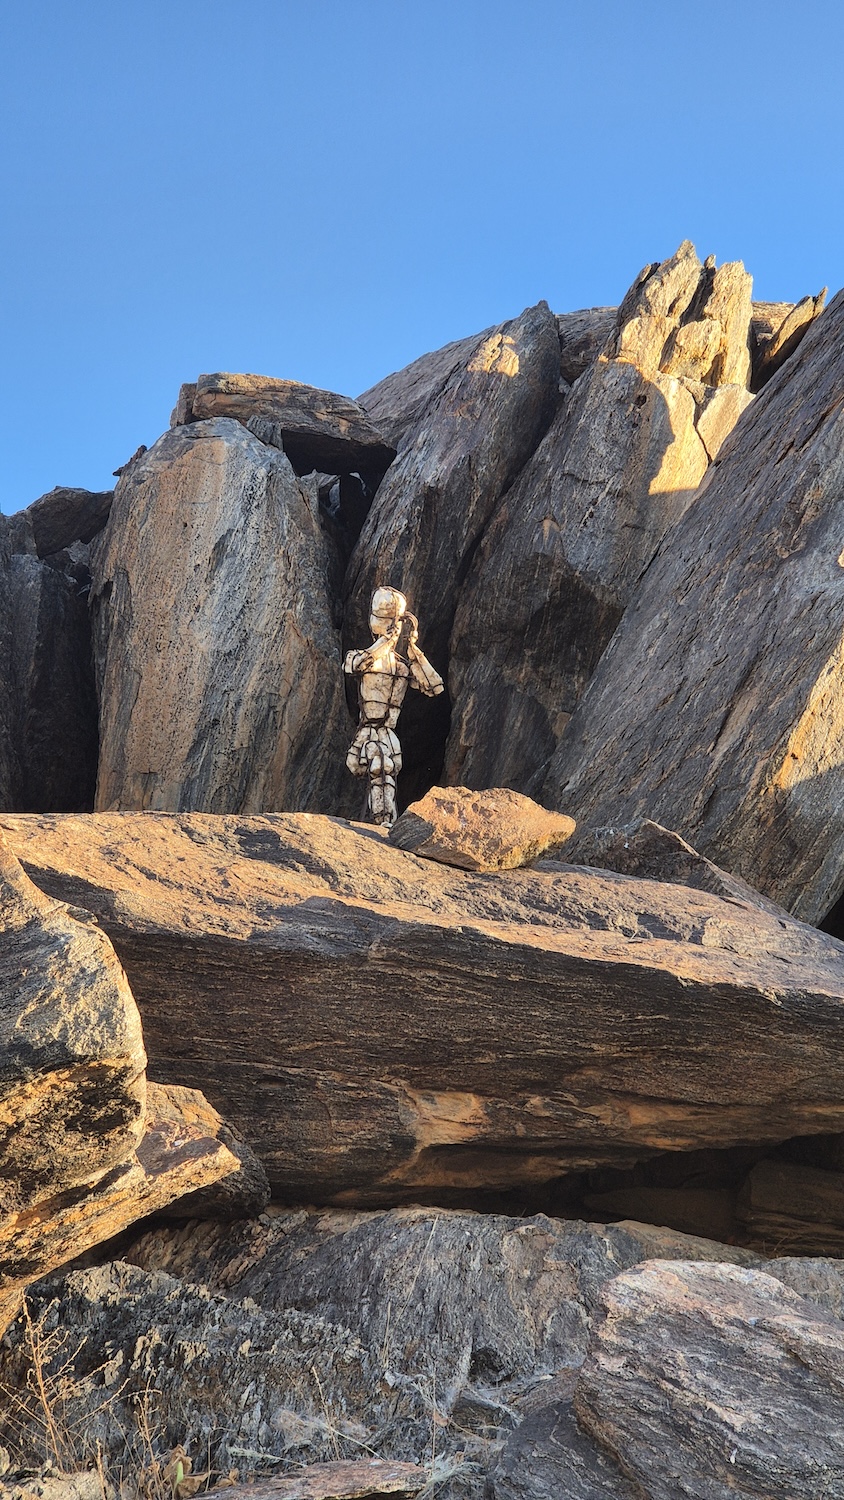
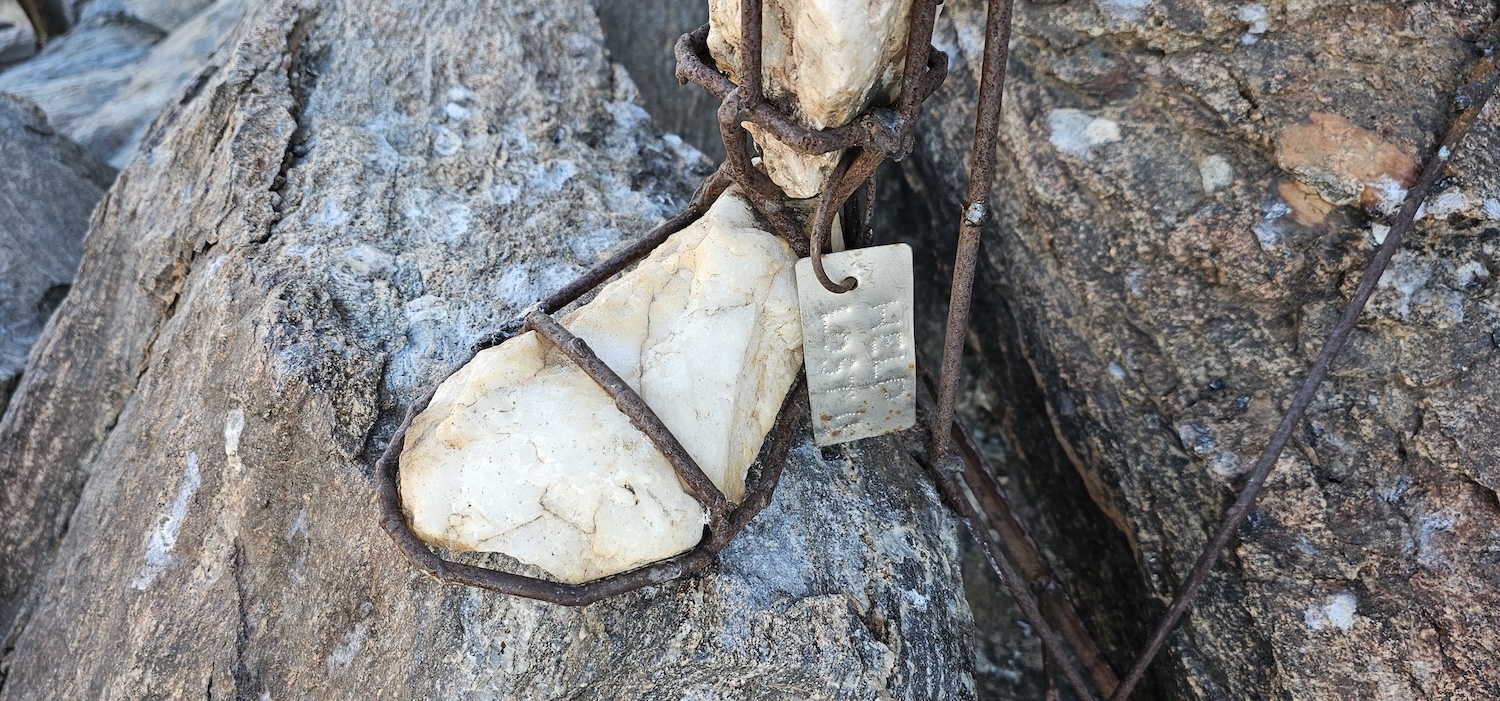
During the descent, it became clear to me that the geology of the region is quite special, and I decided to read up on it when I get a chance.
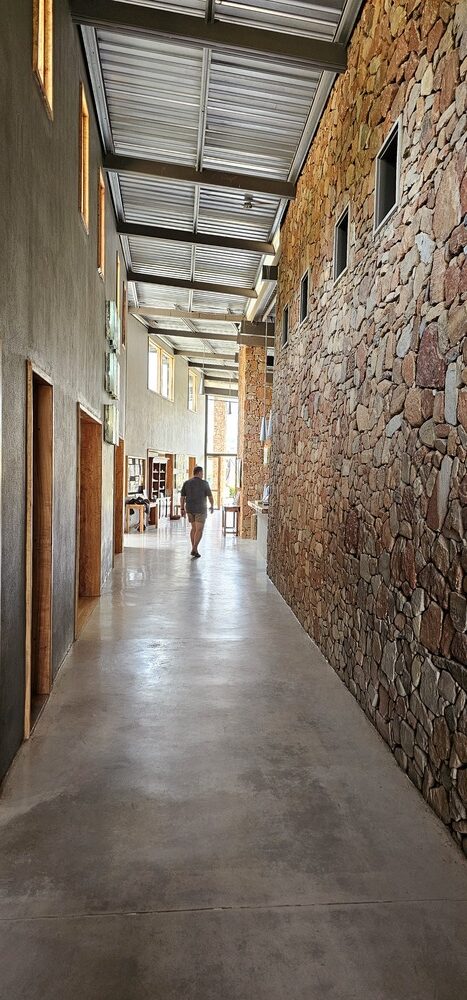
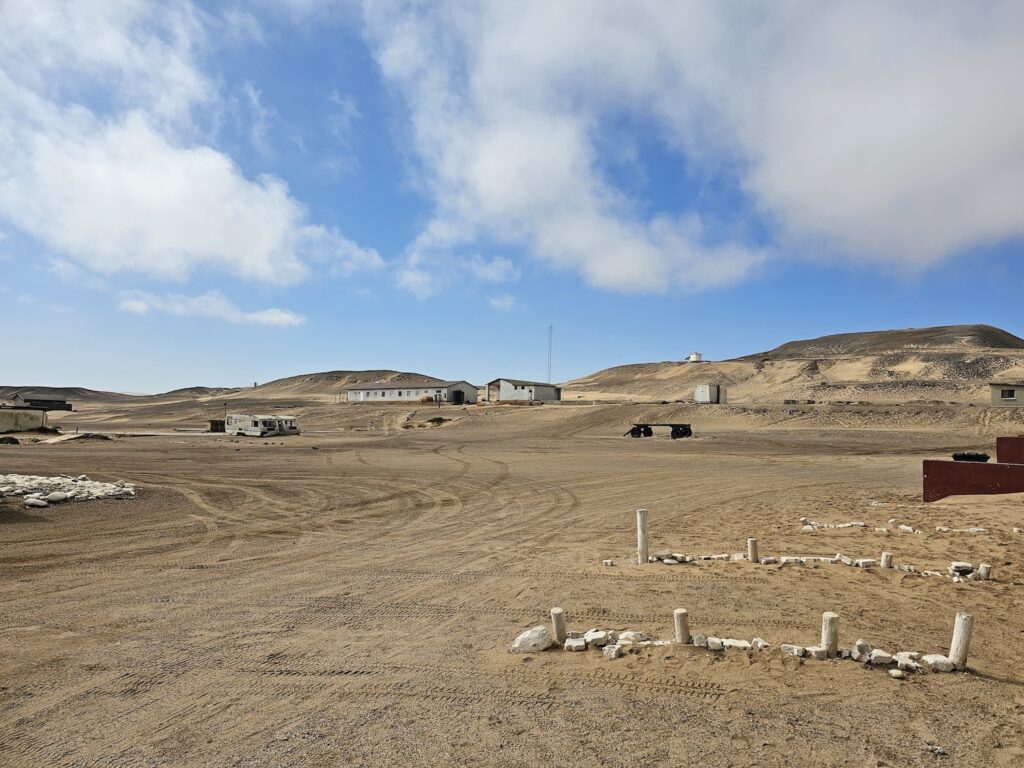
Once we reached the bottom, we followed the GPS (no cell signal) to the administration block. This is where you get your permit for the park, and where you check-in for accommodation. In the waiting room, we found a few Europeans lounging around. To my delight there was a small book for sale (R100 or so) on the geology of the park. However, payment for the book uses a different payment terminal that wasn’t online, and they don’t accept cash. I tried to cut a cash deal with someone who worked there, but no go. As we left, the Europeans (Dutch, from what I could make out) were still sitting. With the heat rushing past as I opened the door, I realised that they were probably just enjoying the air-conditioned space inside.
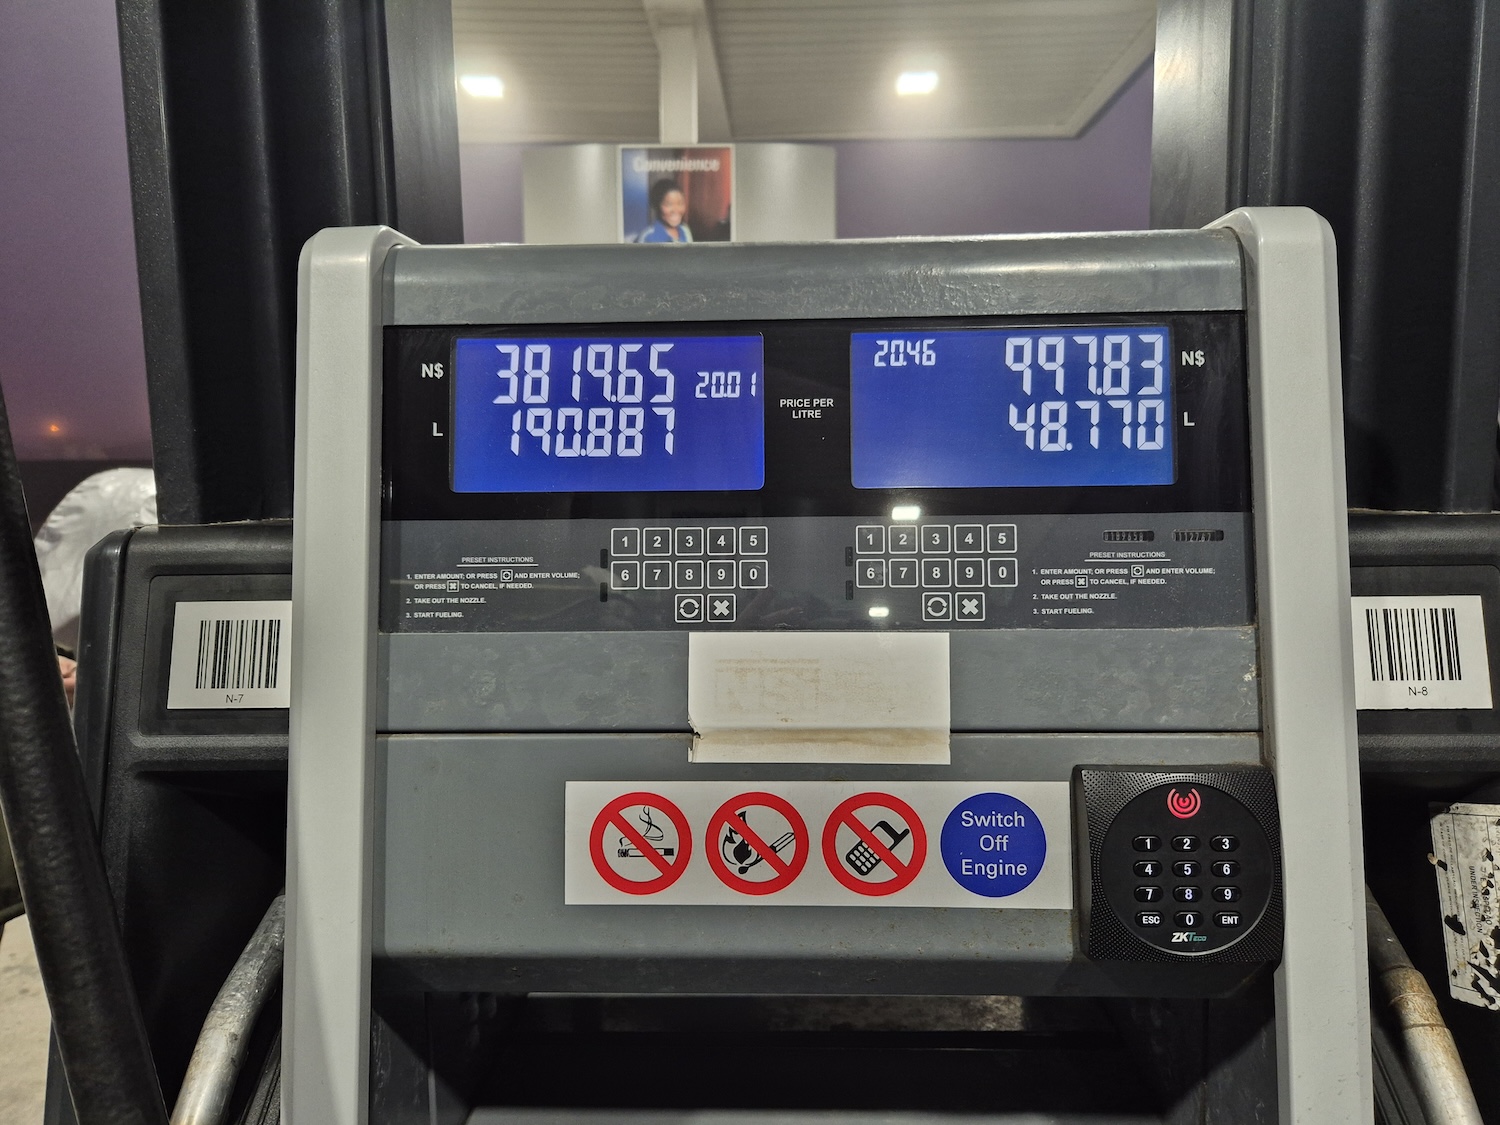
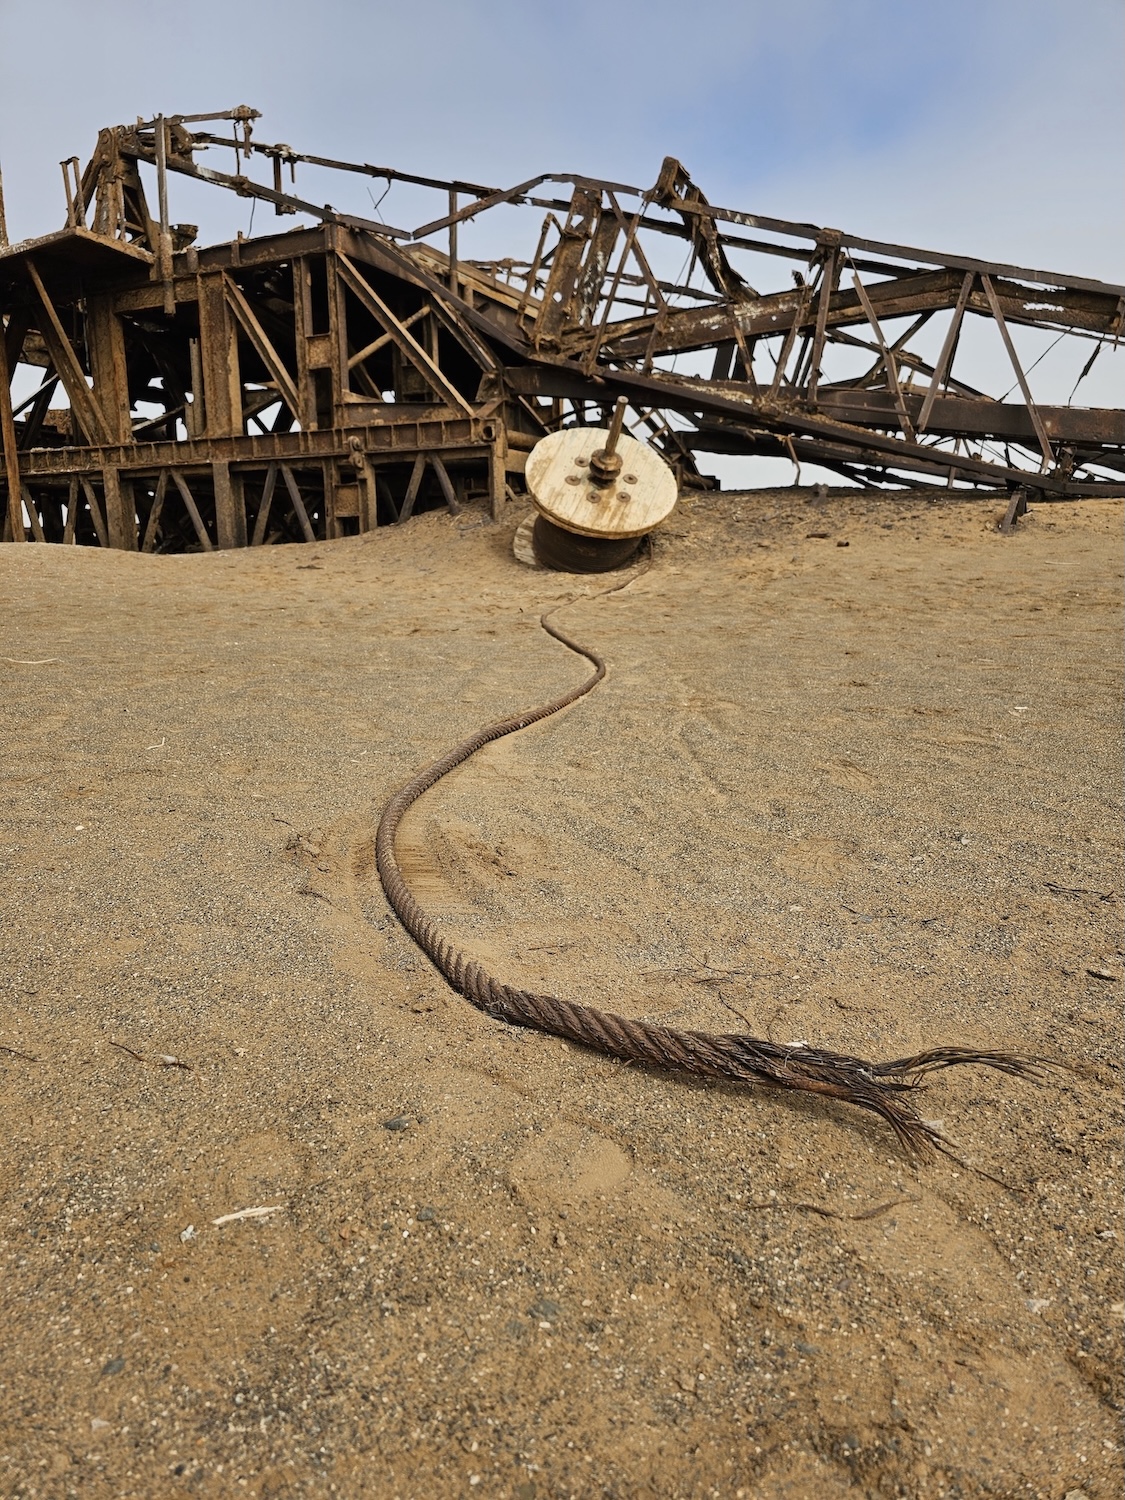
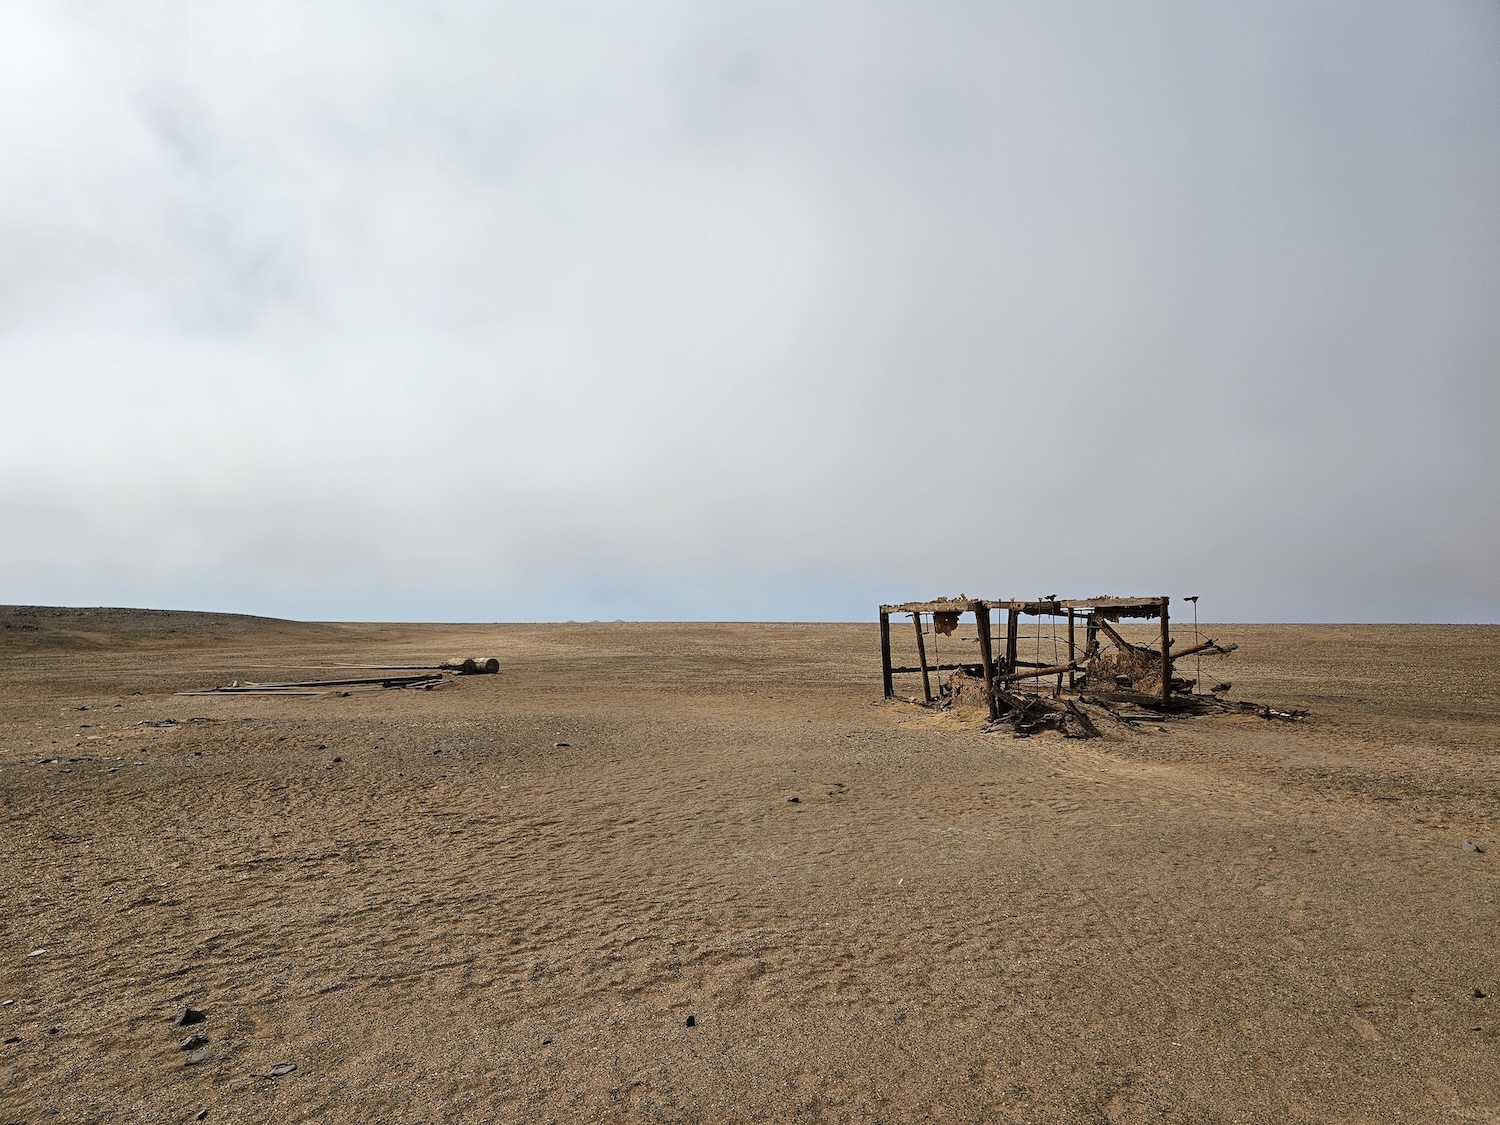
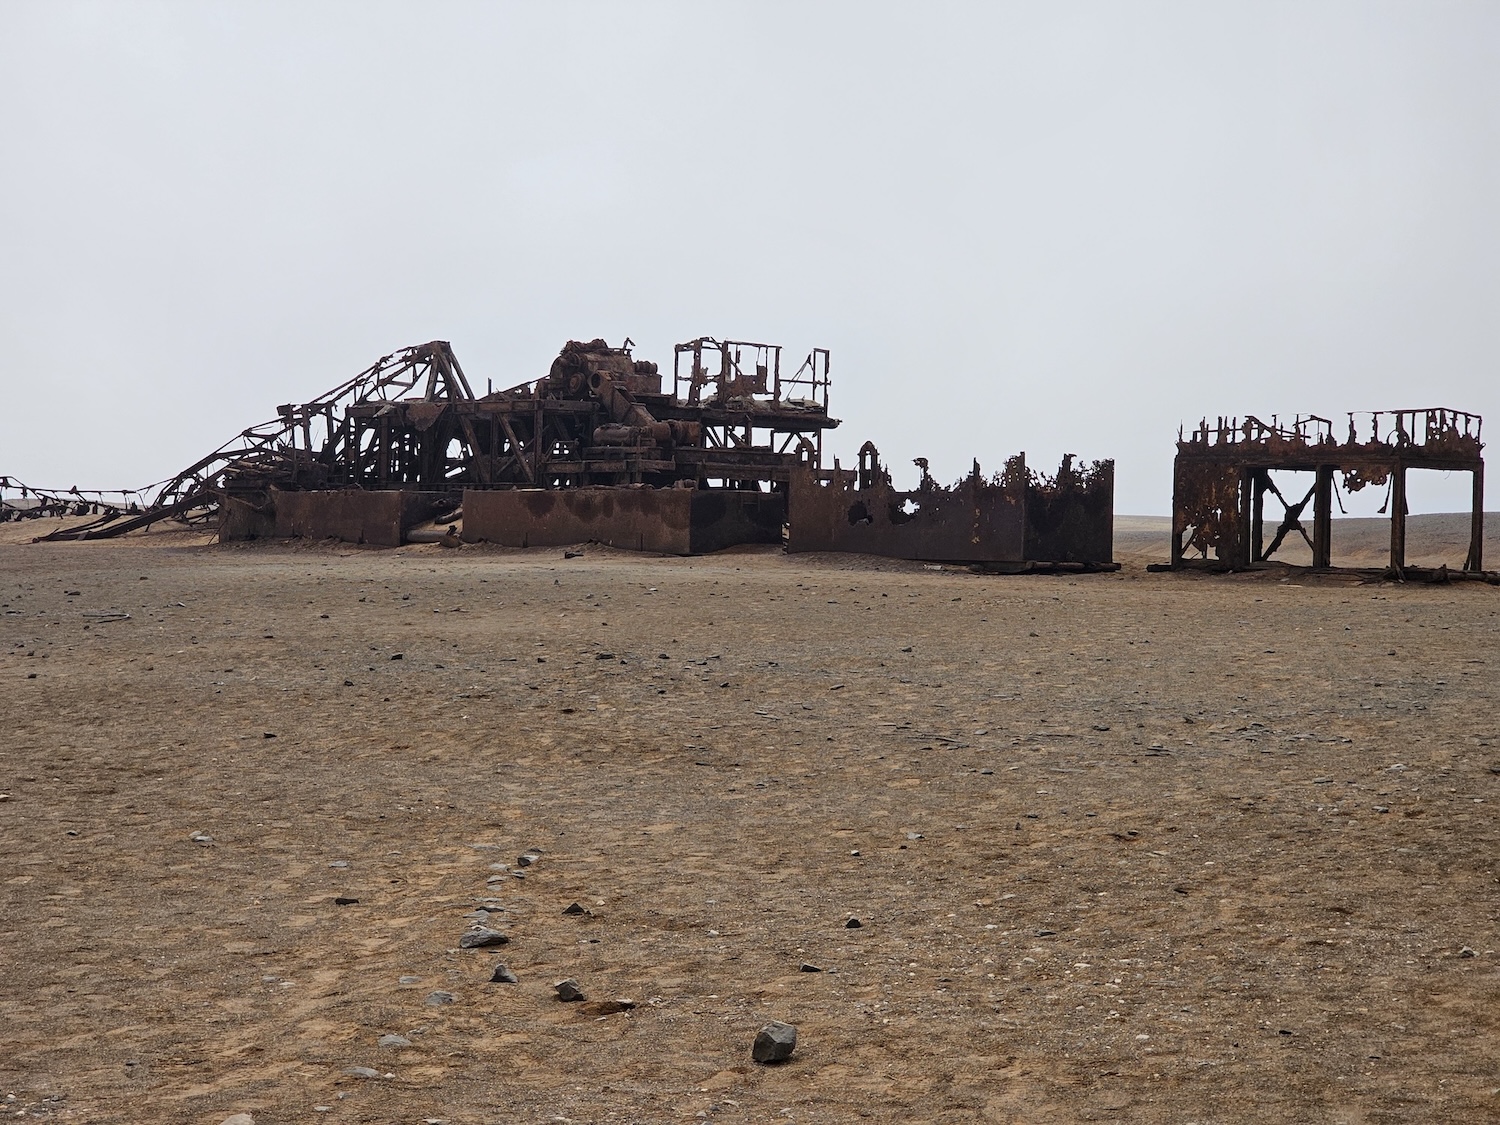
I couldn’t buy a book, but bear in mind that there is also nothing else for sale. There is no shop, no bottled water, no fuel, no tyres, nothing. It is extremely important to remember to fuel up at the last place that you can. If you don’t know where that is, just fill up everywhere you get a chance to. You don’t want to end up in a situation where you need to drive 100km+ to the nearest town!
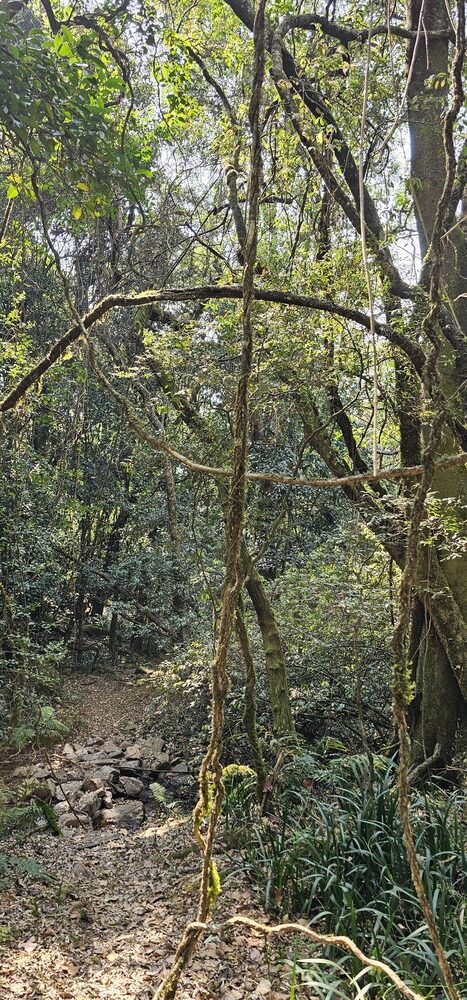
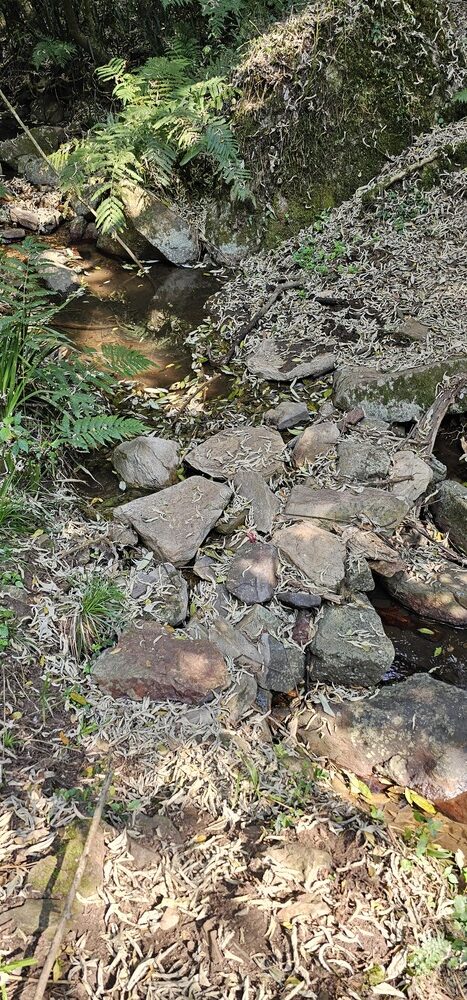
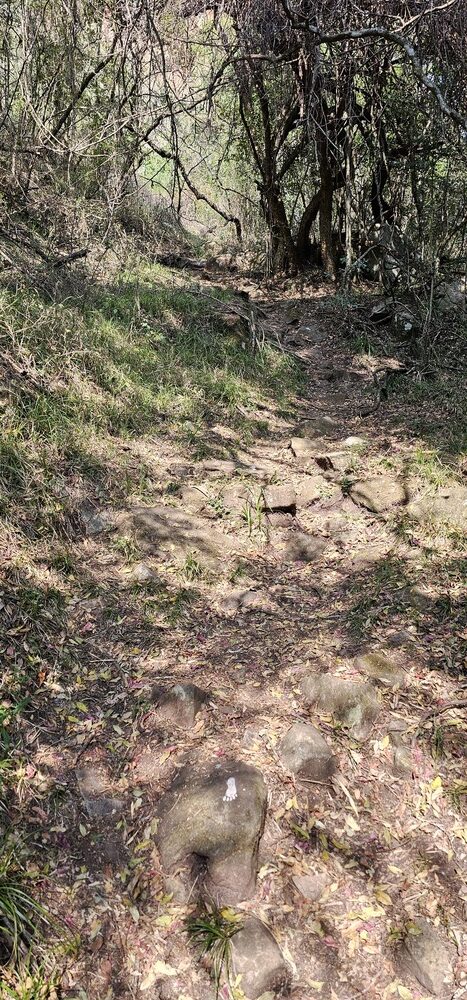
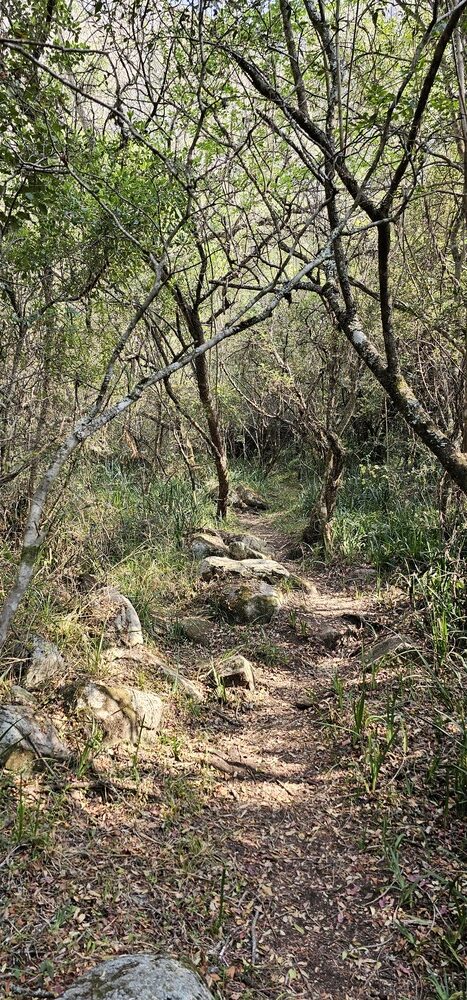
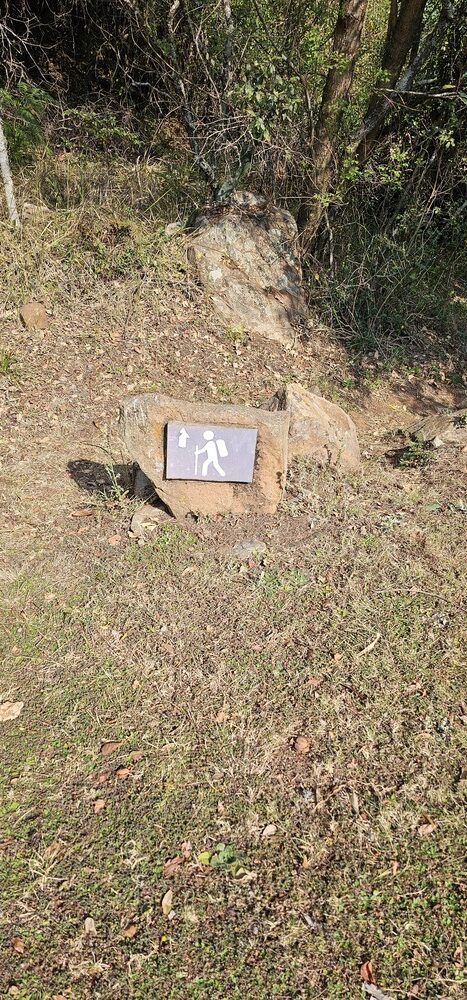
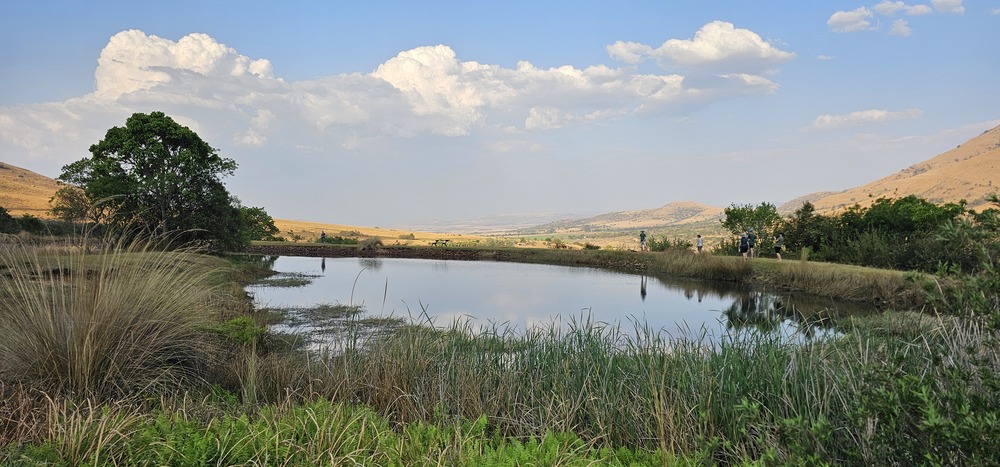
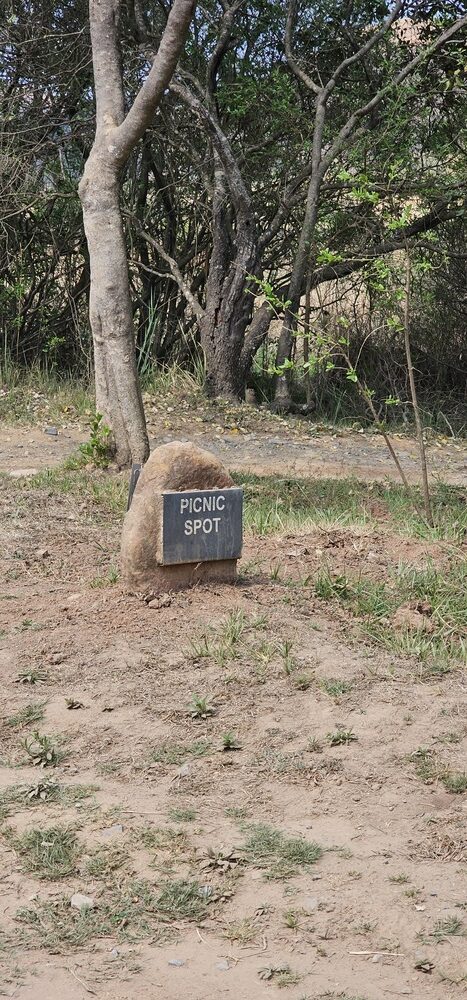
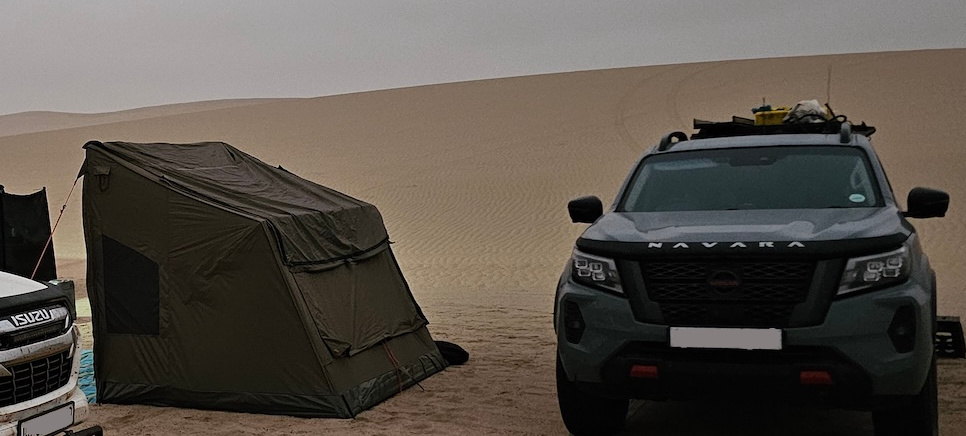
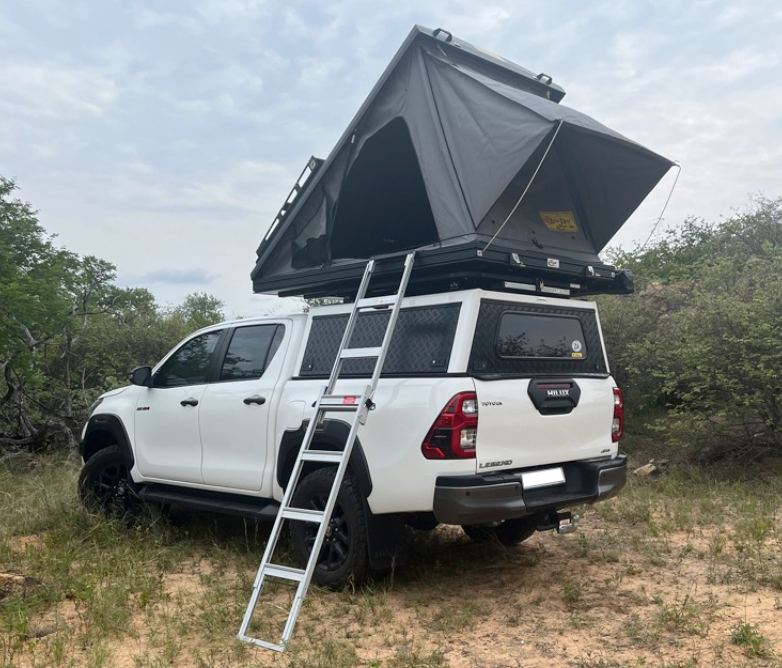
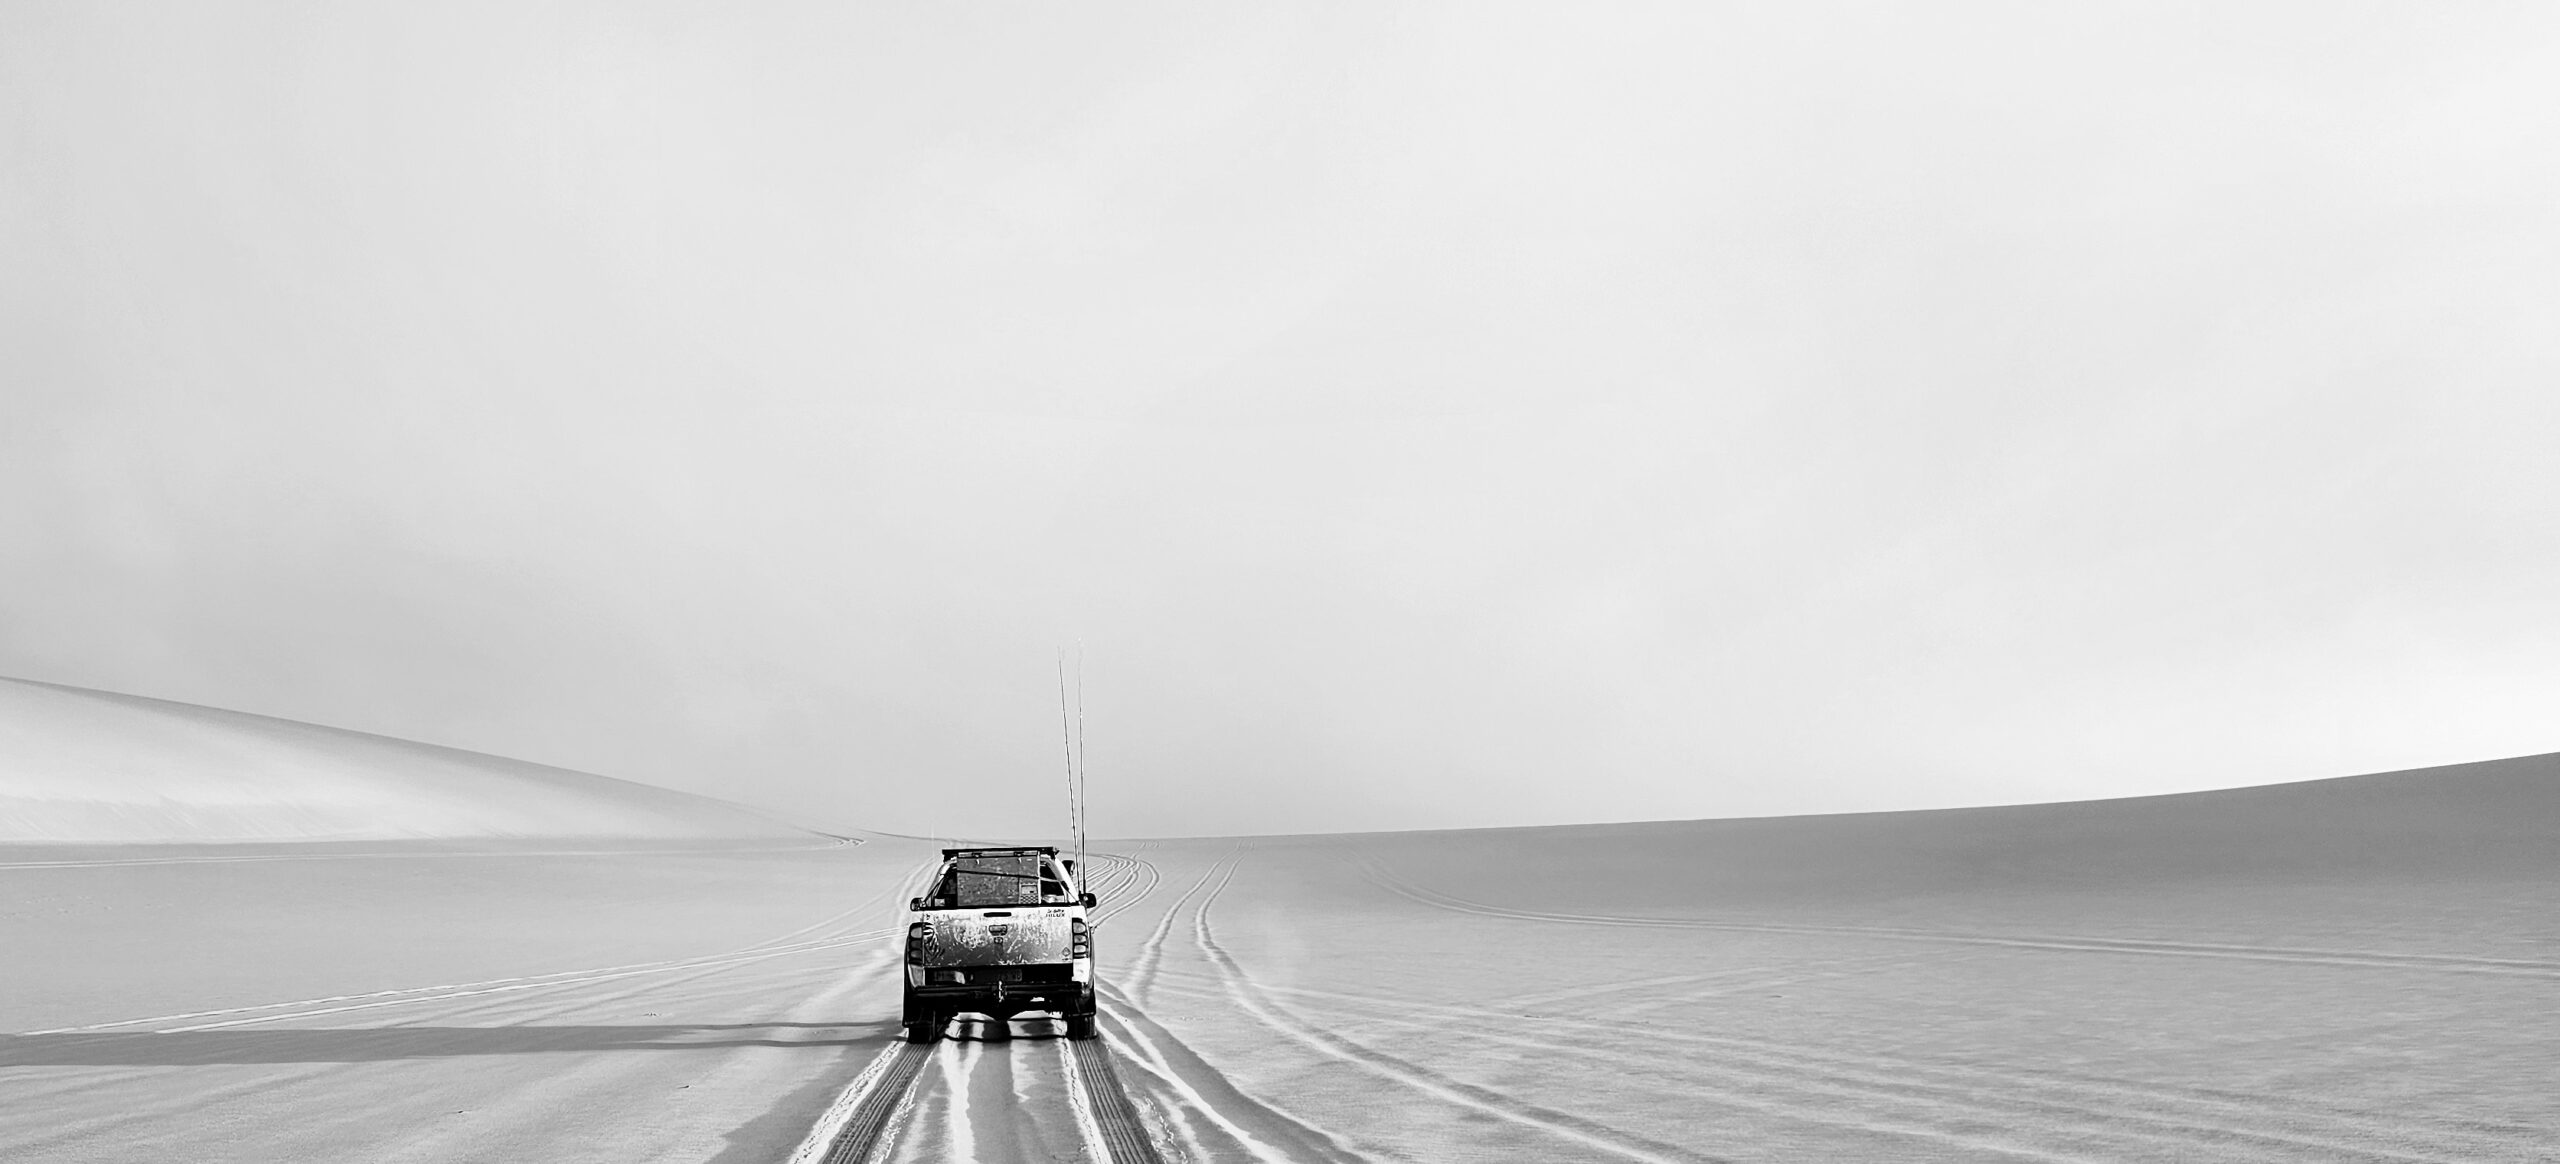
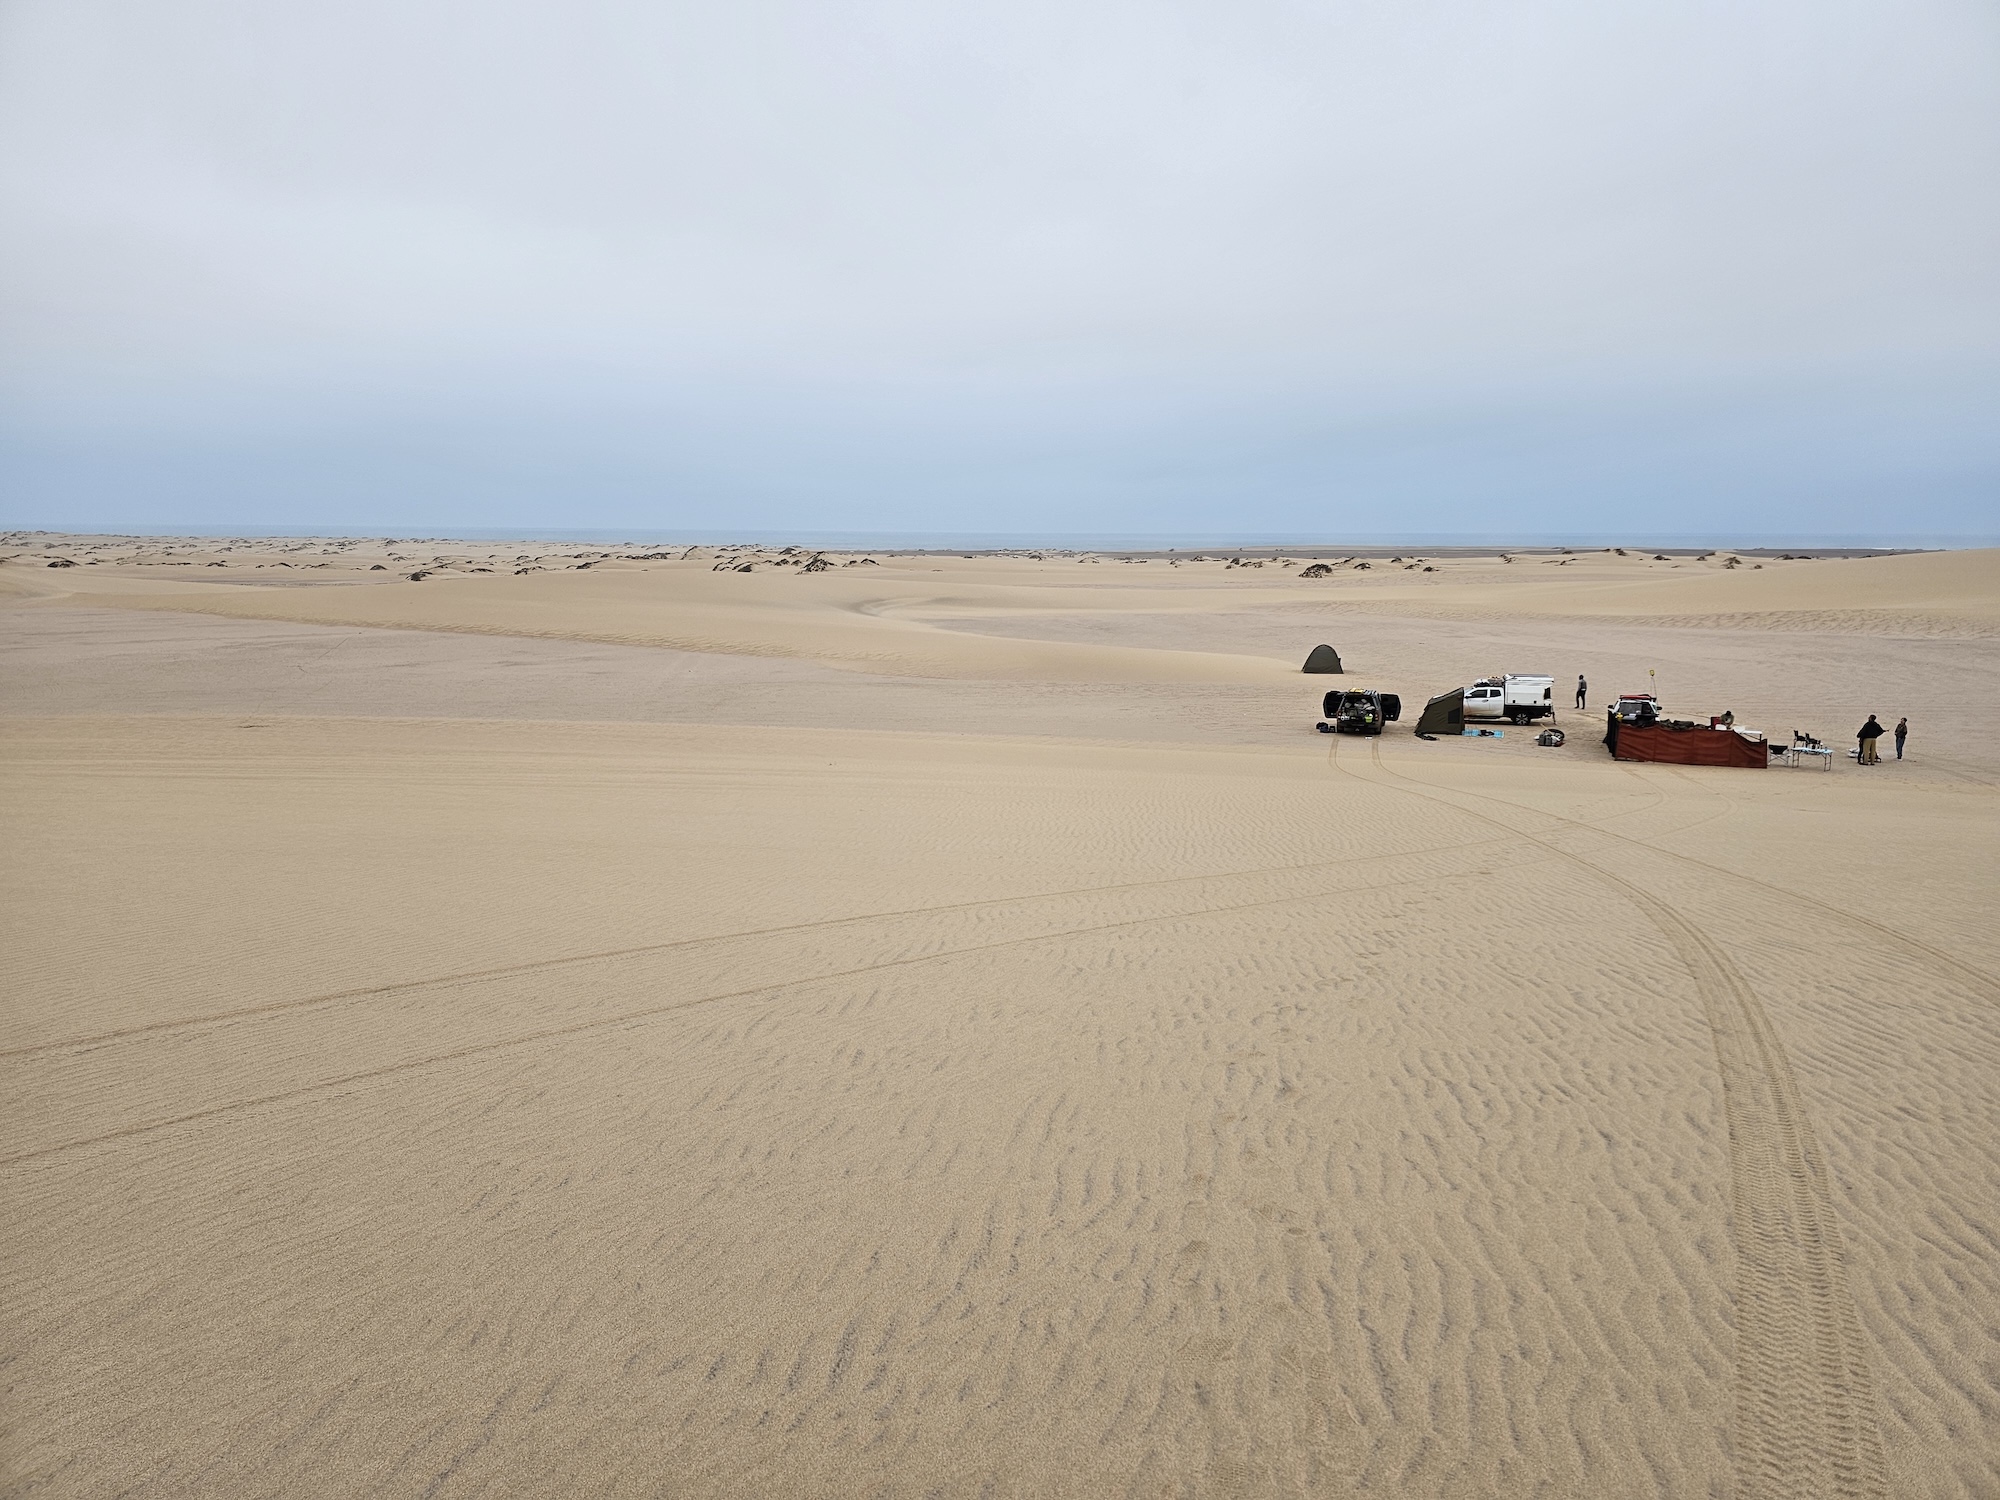
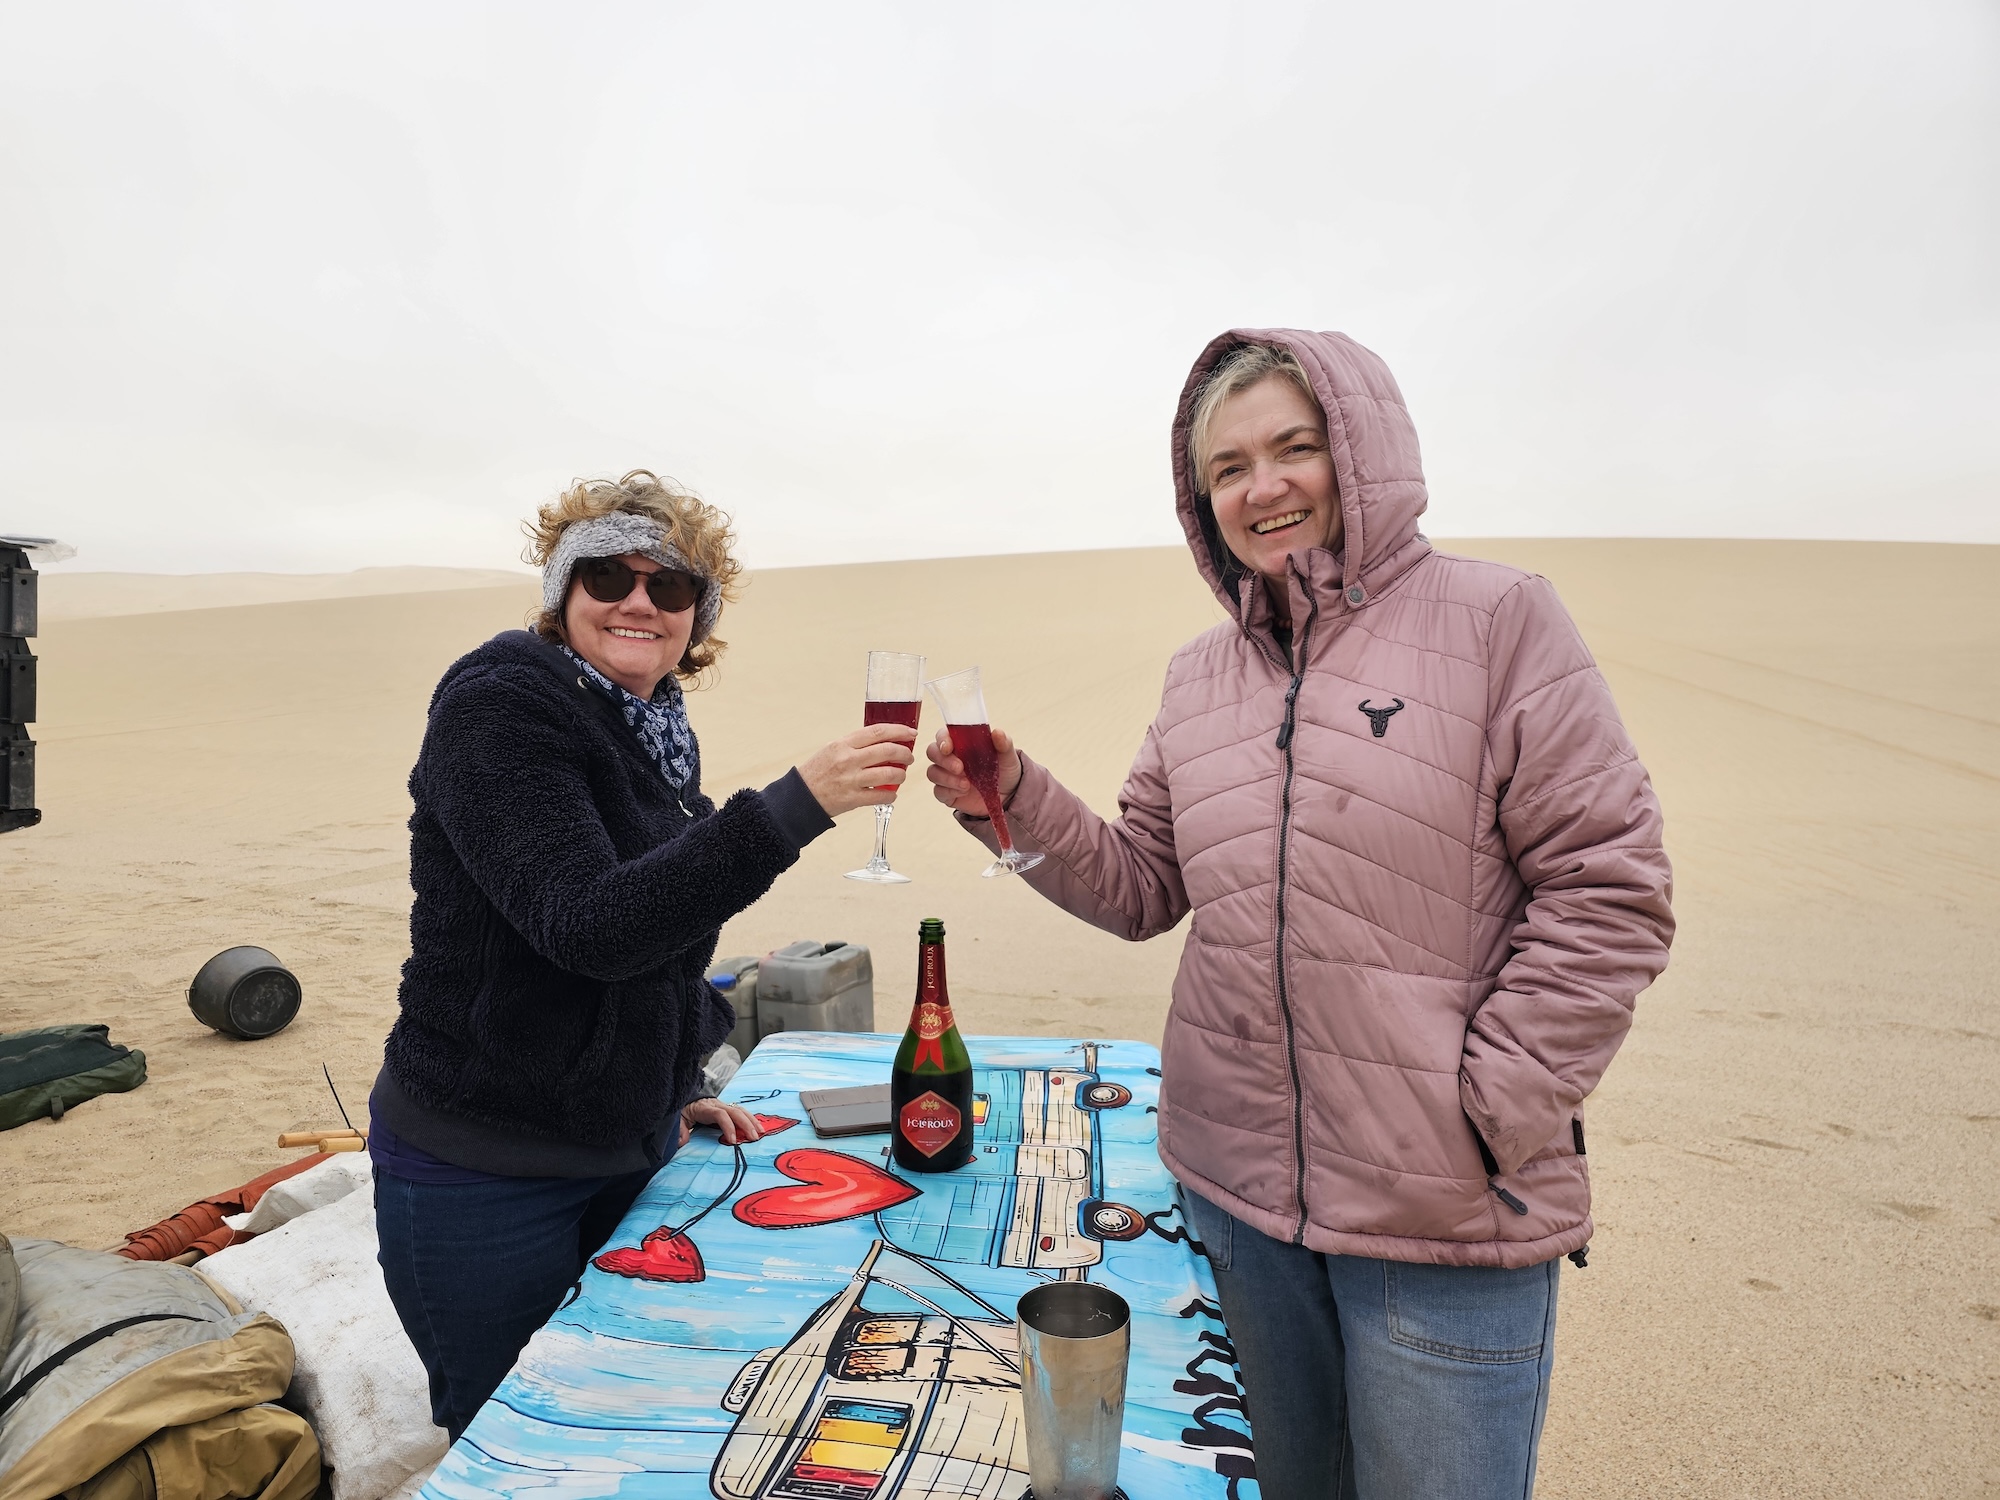
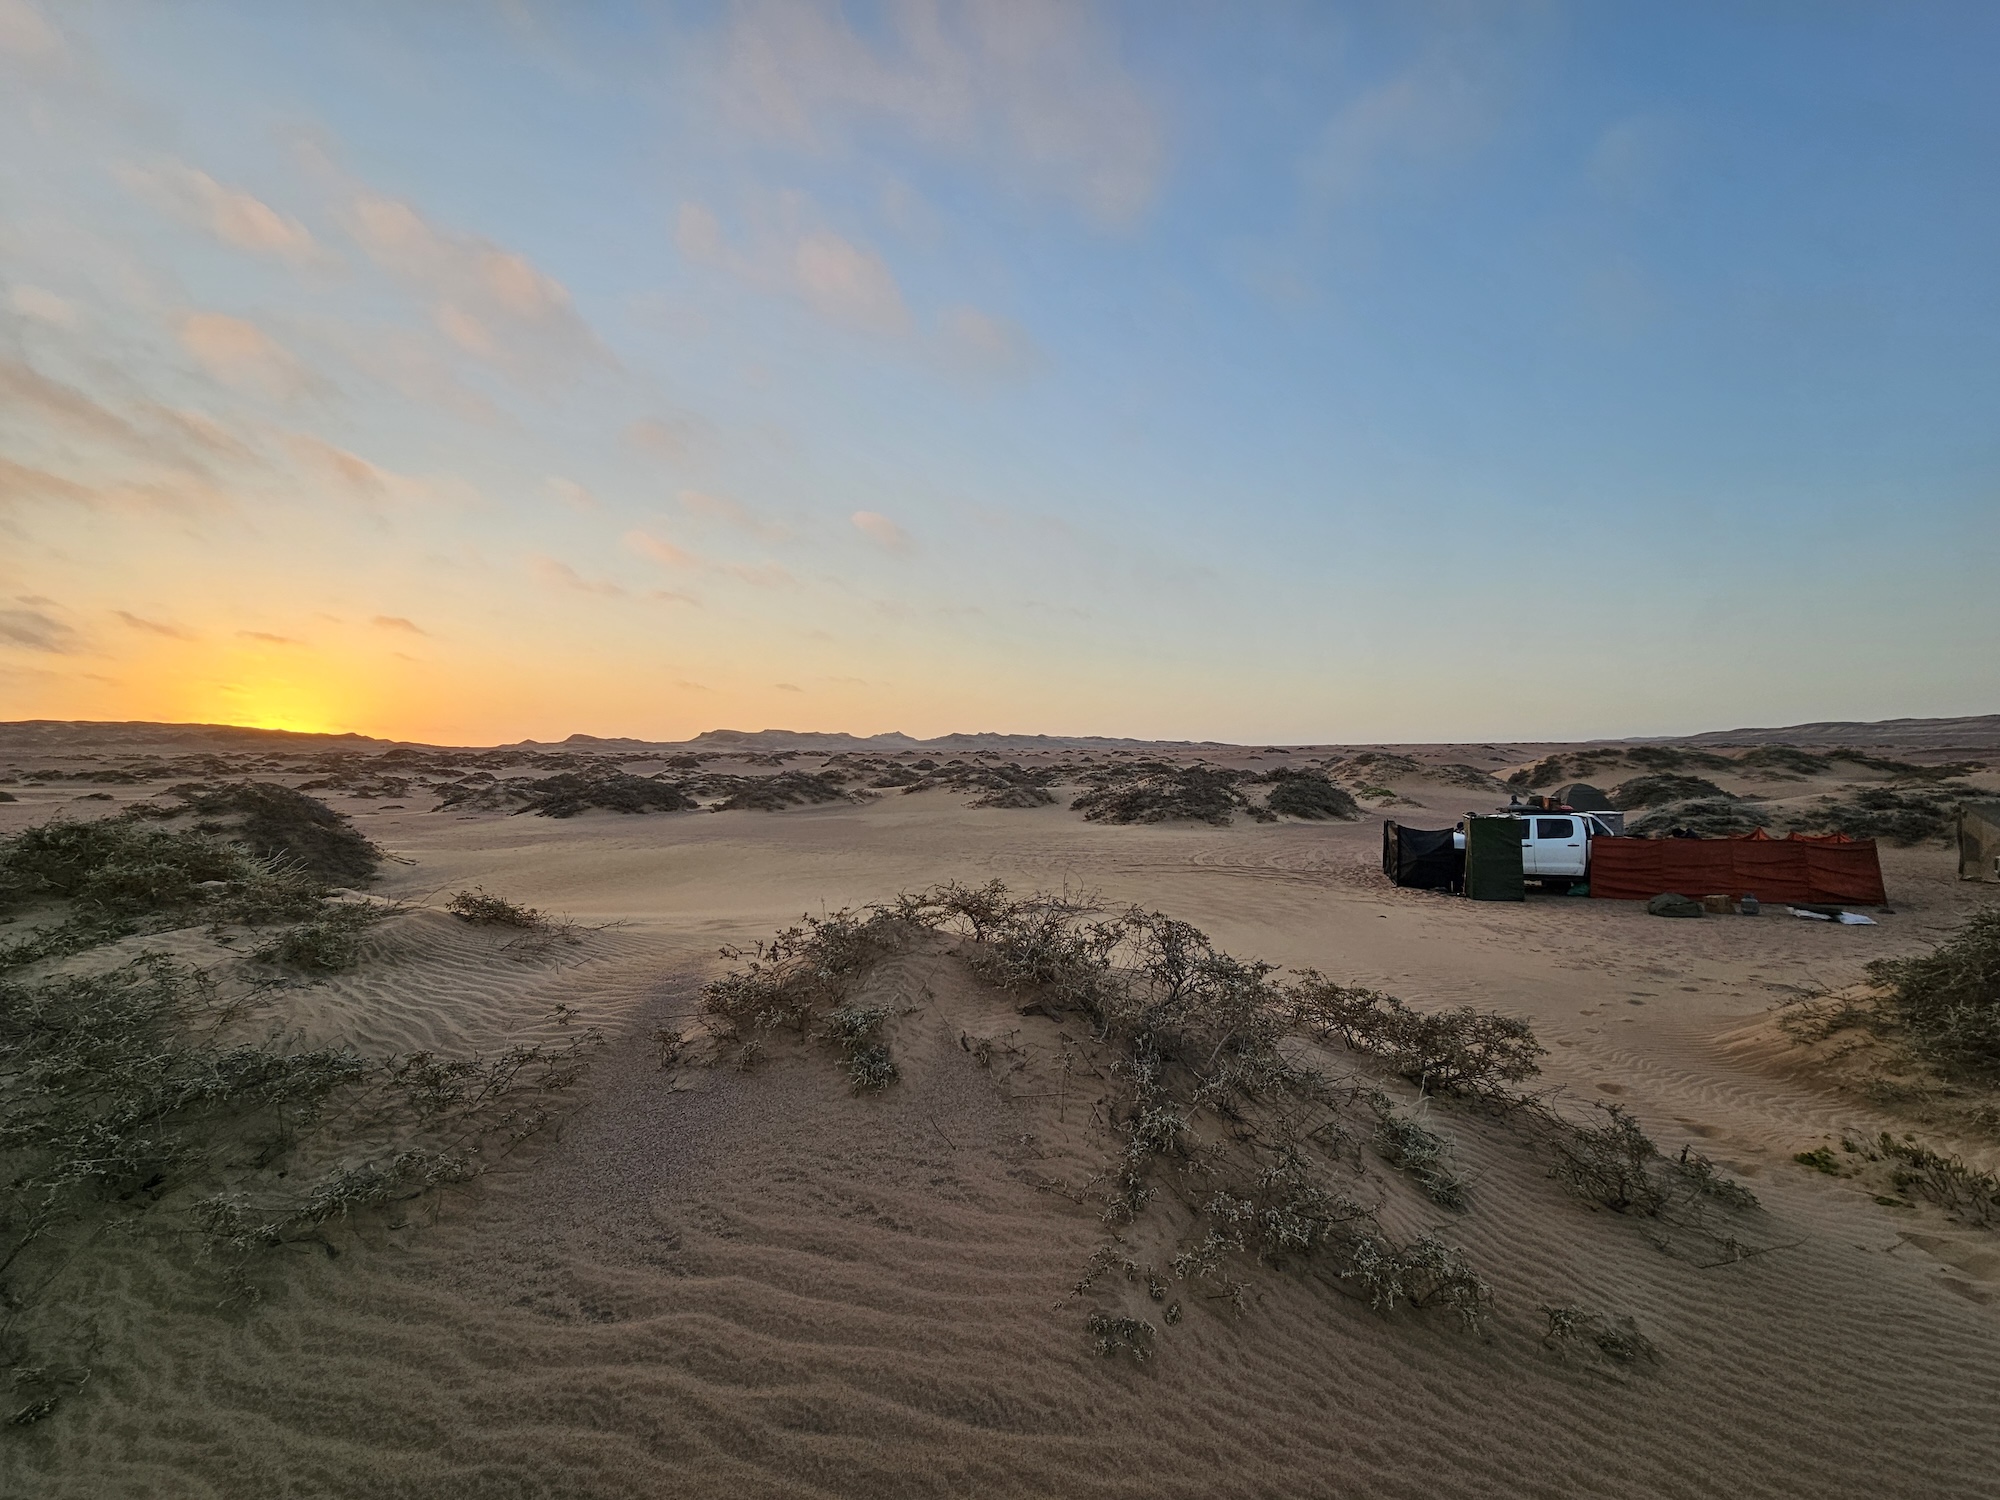
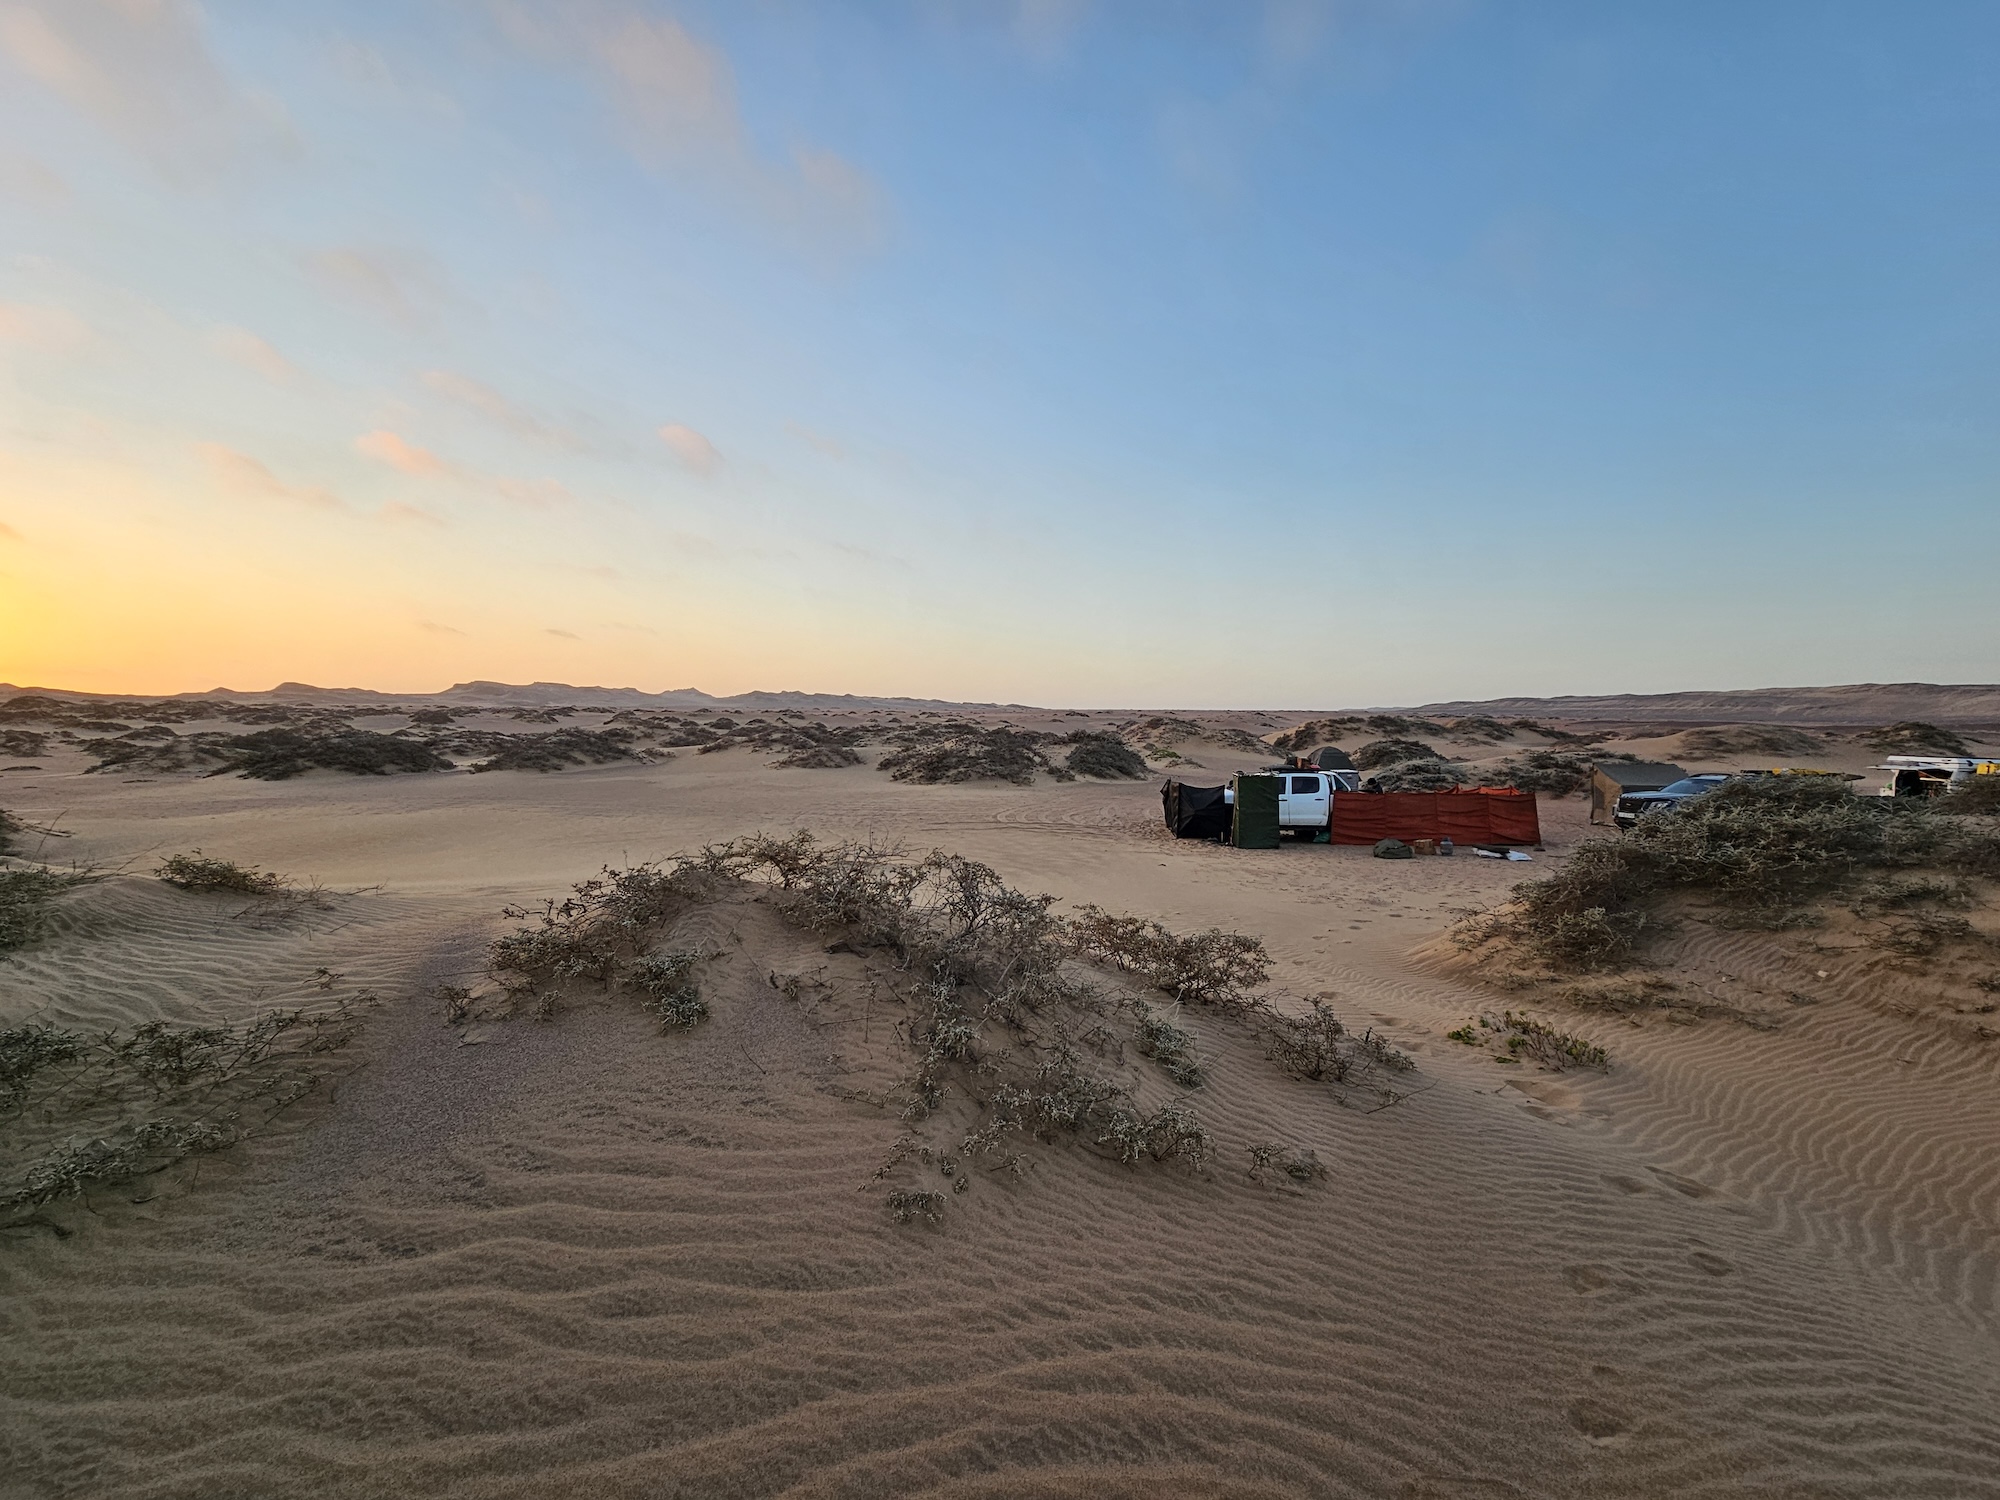
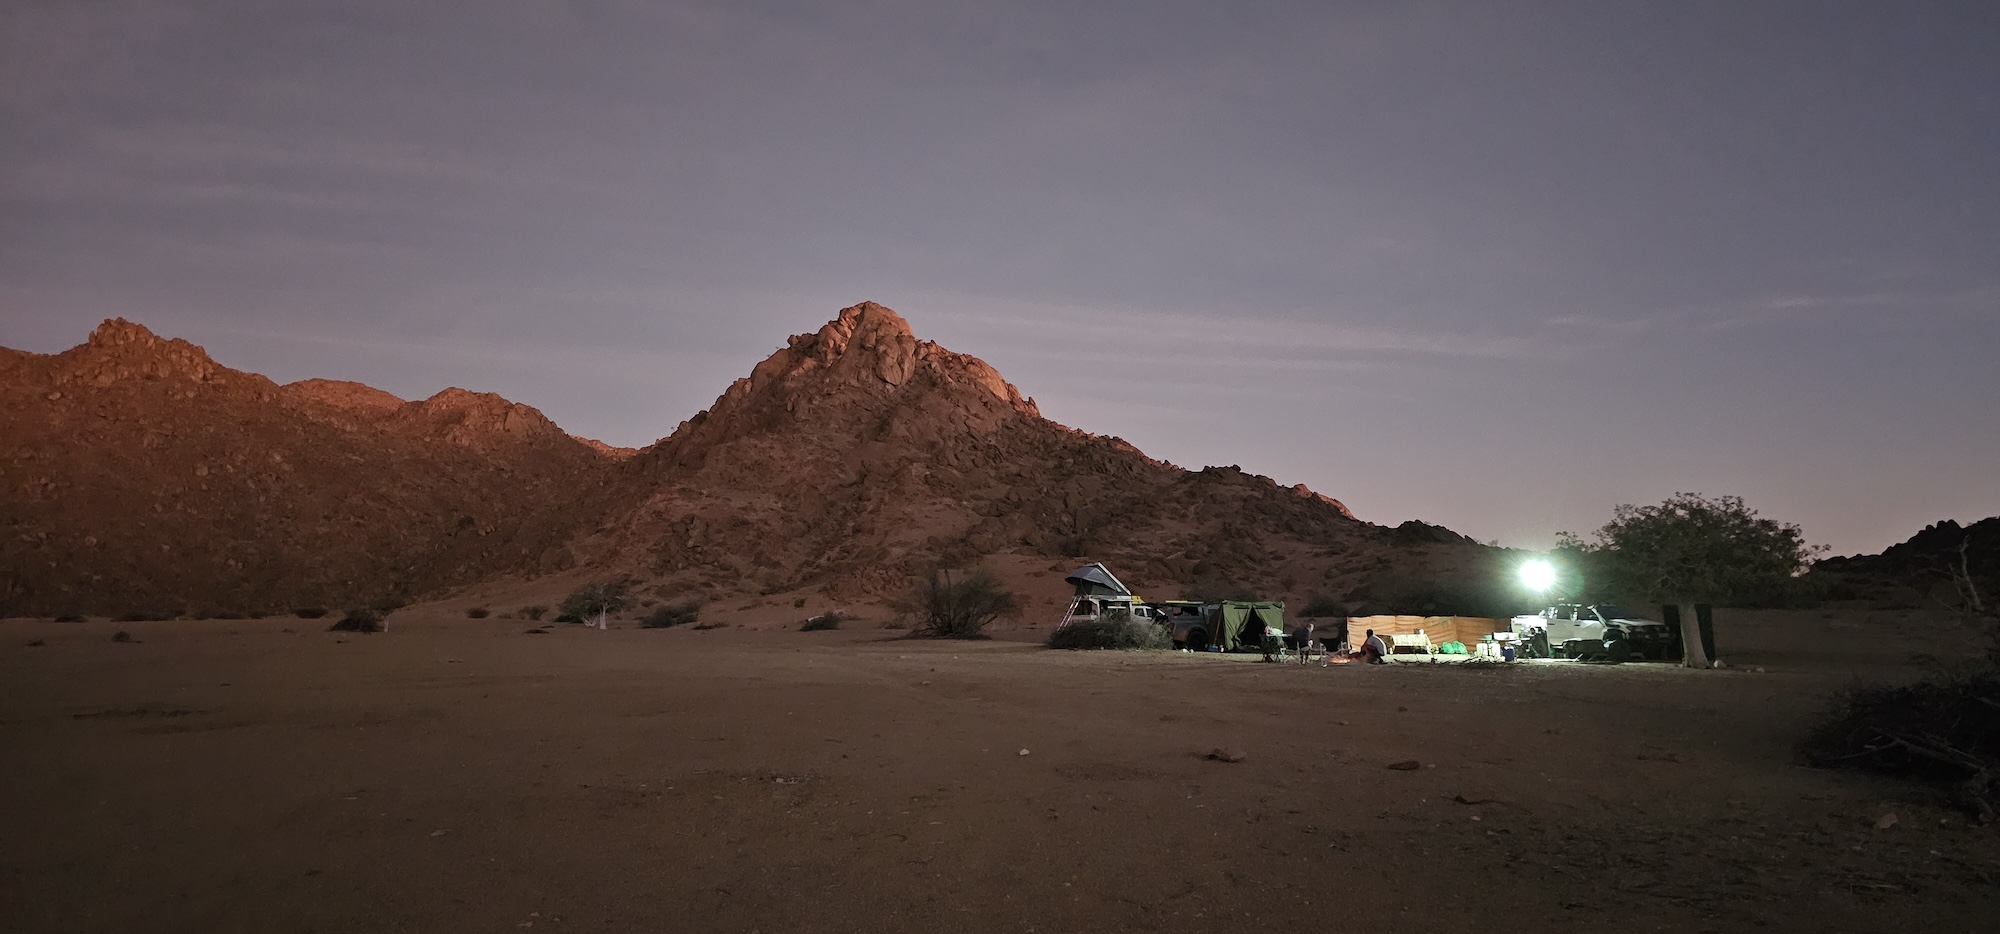
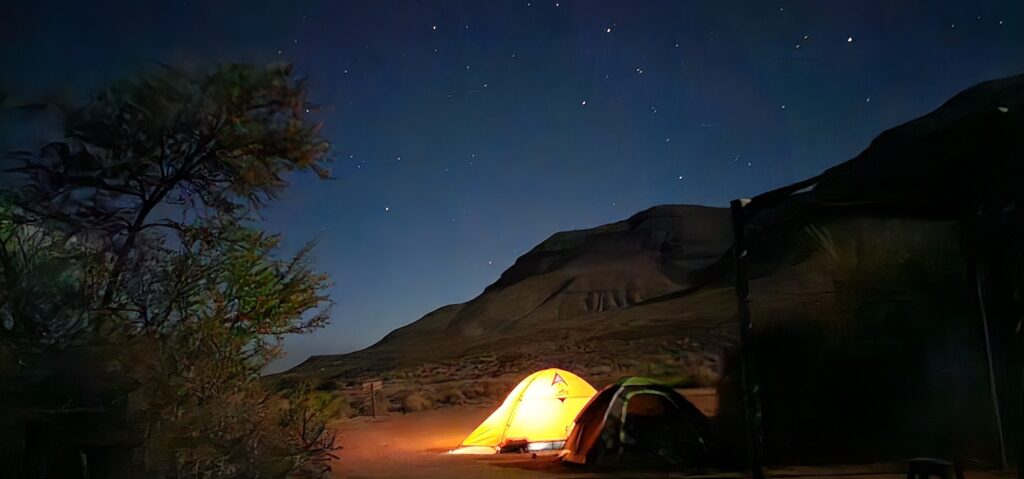
Our first night of camping was at the Langkloof campsite. The road to get there is mild, but rough towards the end. We engaged 4×4H but ground clearance will be more important. There is a dry river crossing, but I would guess that there would be water in the rainy season.
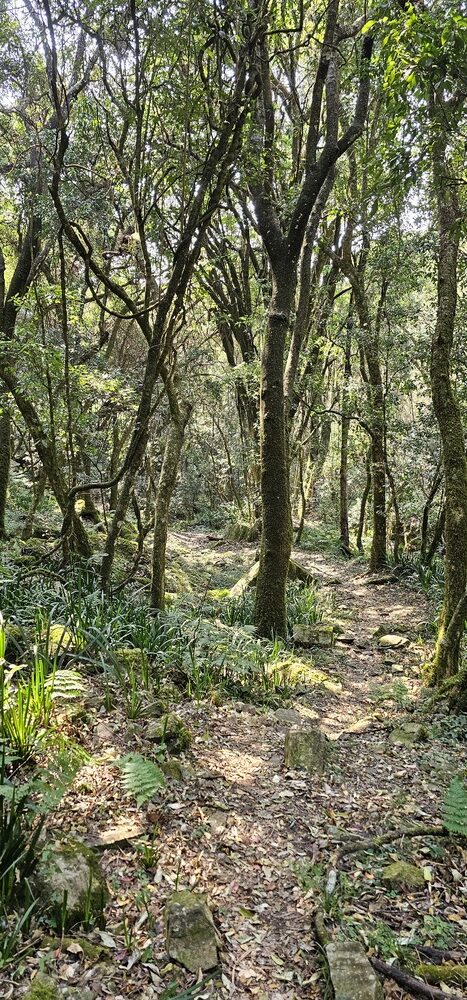
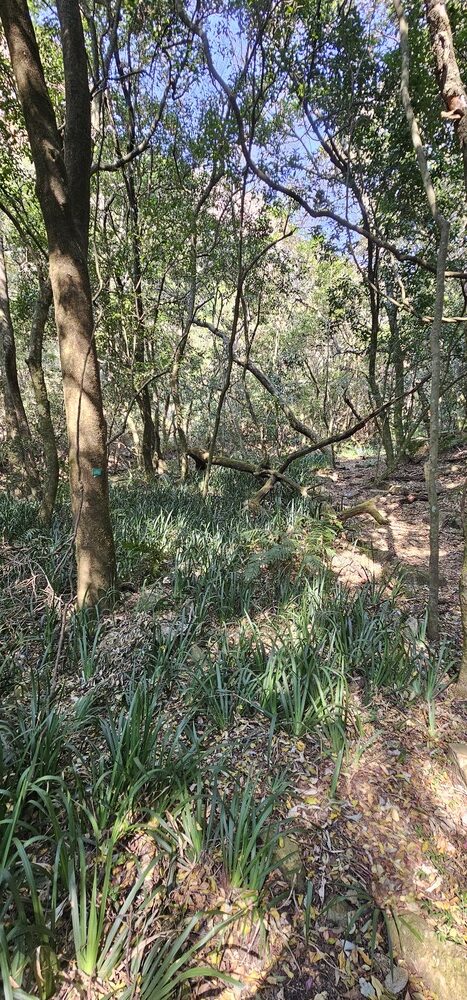
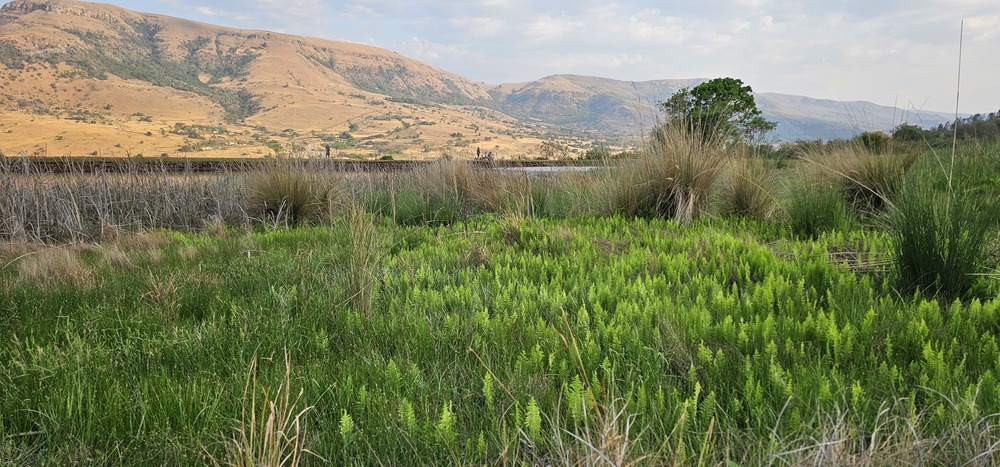
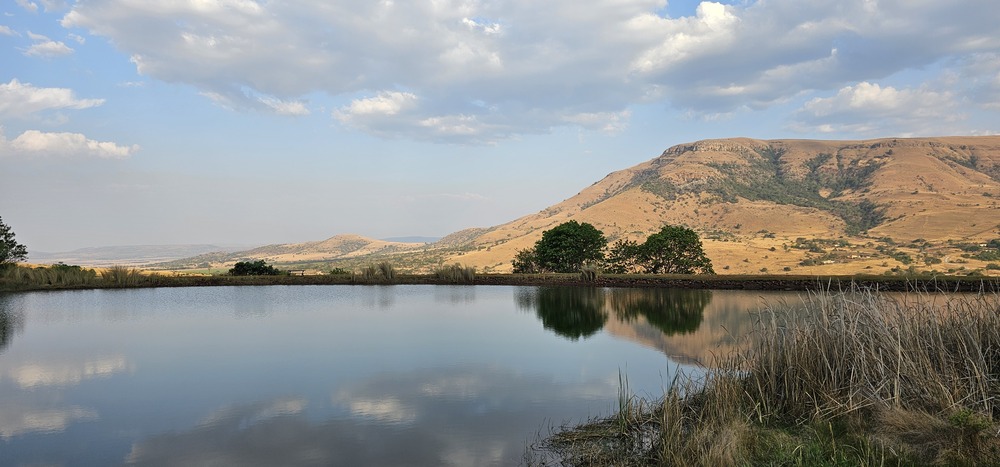
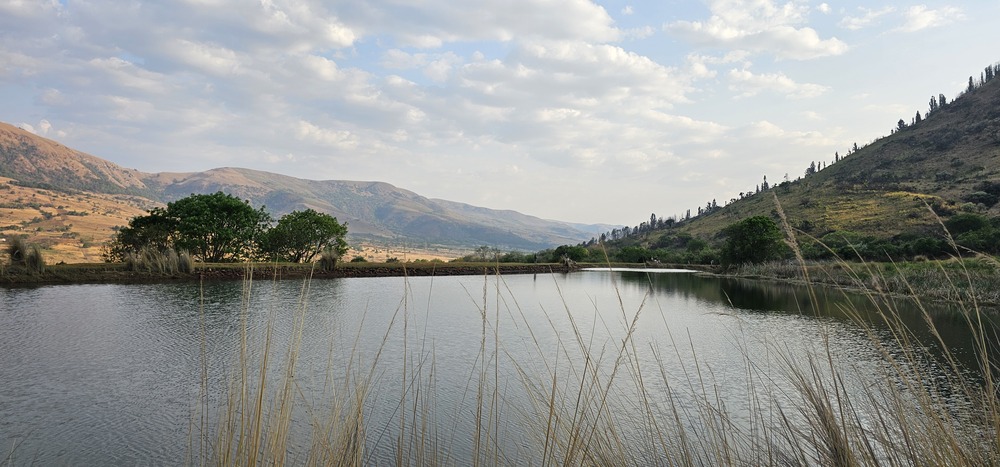
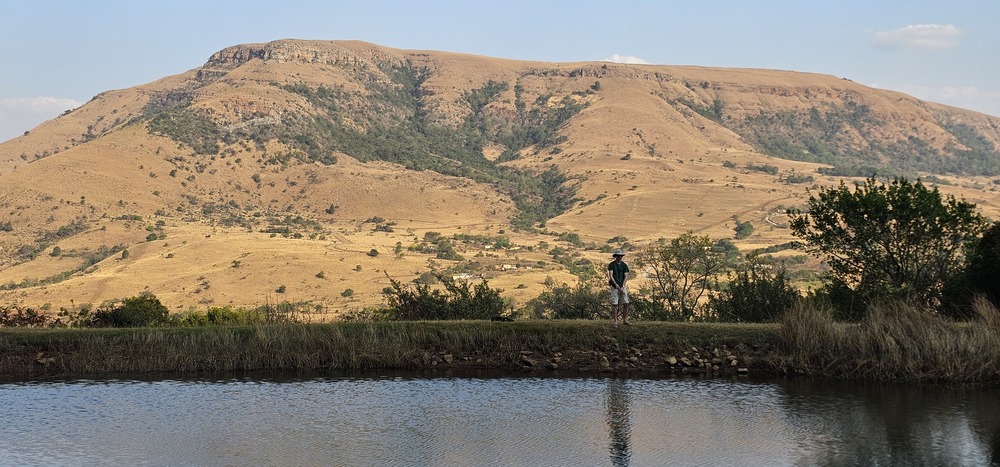
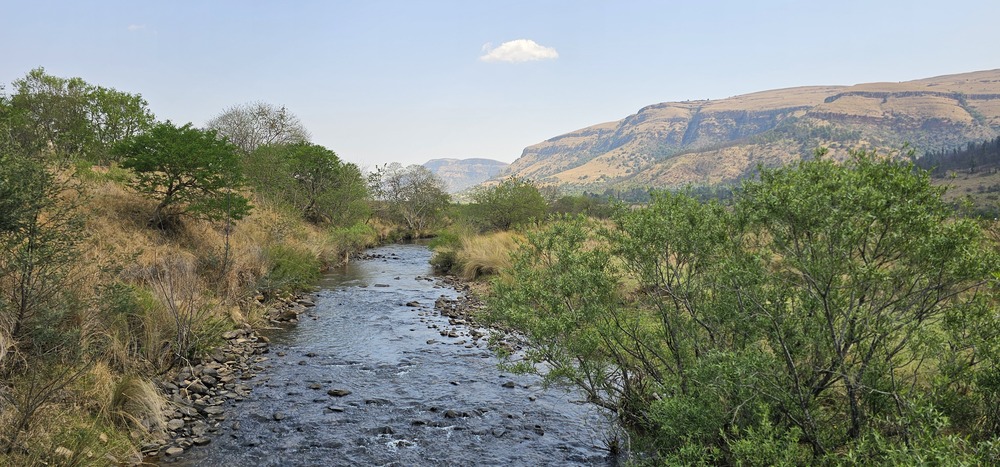
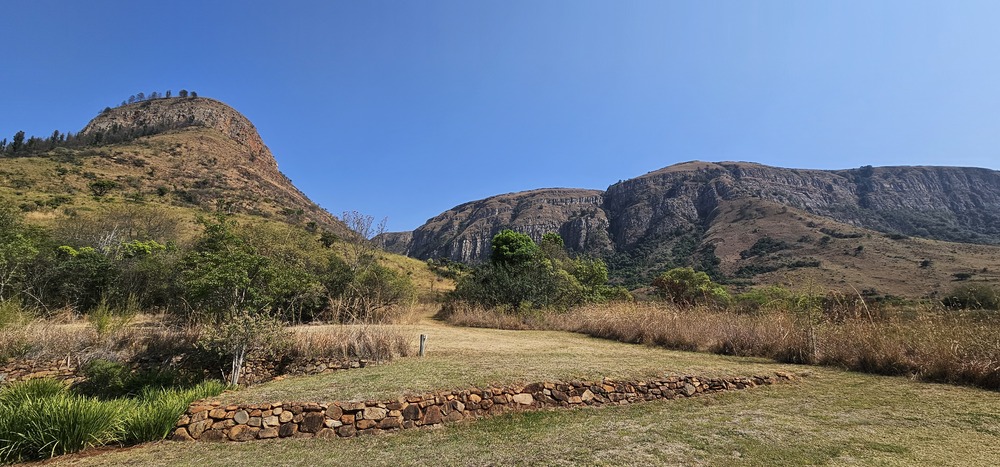
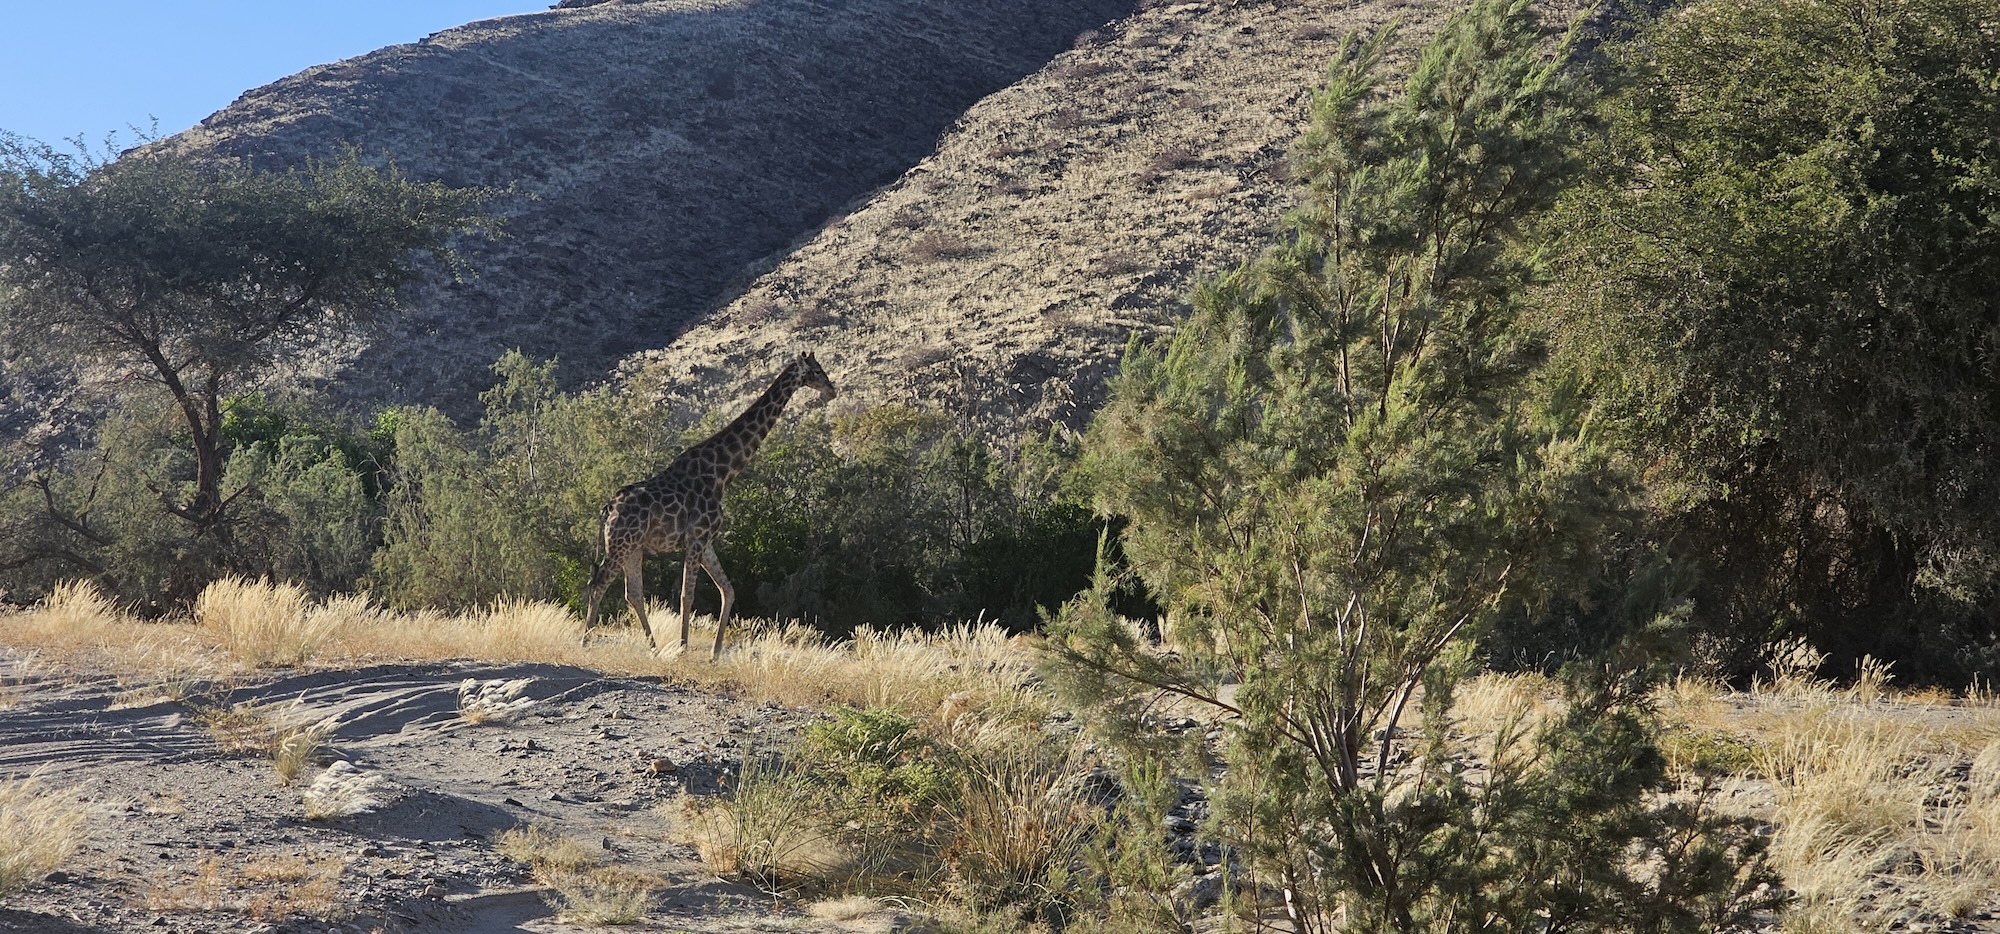
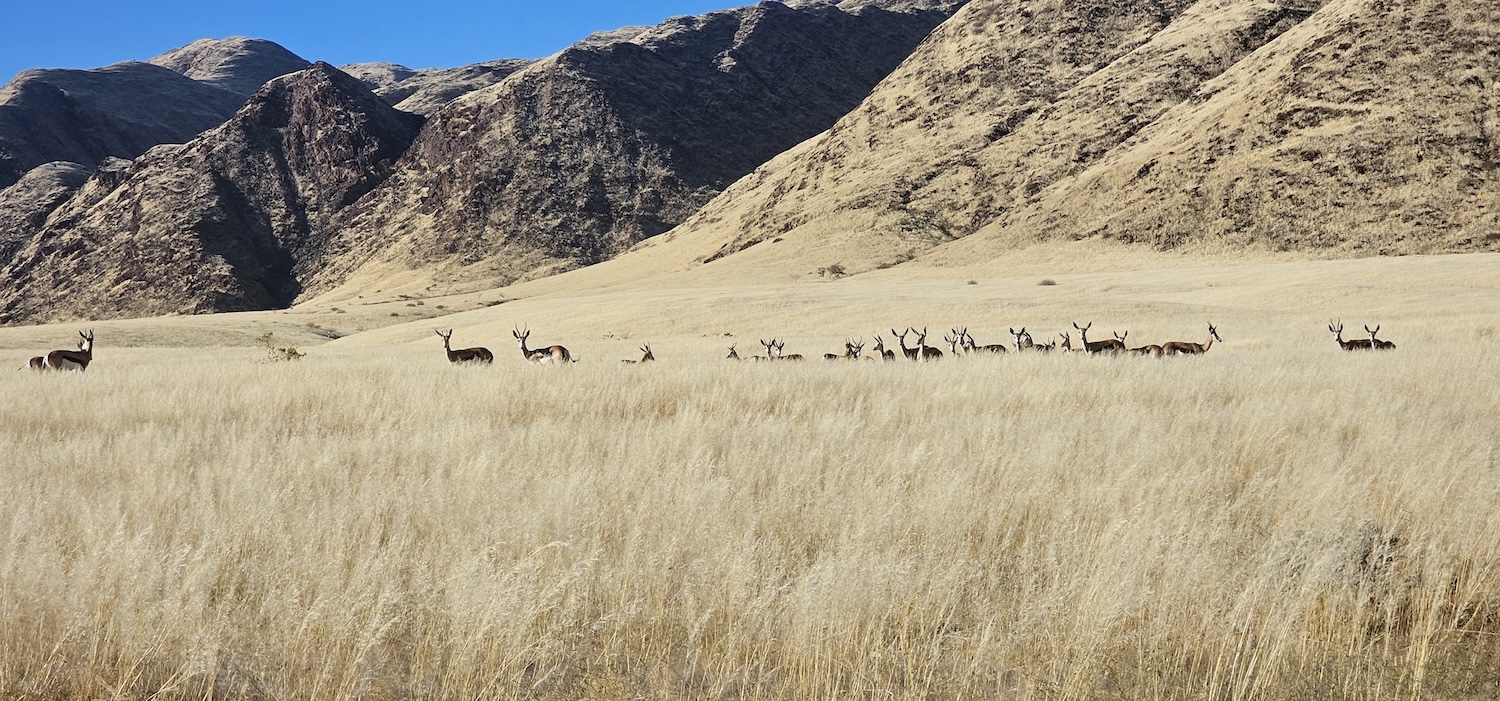
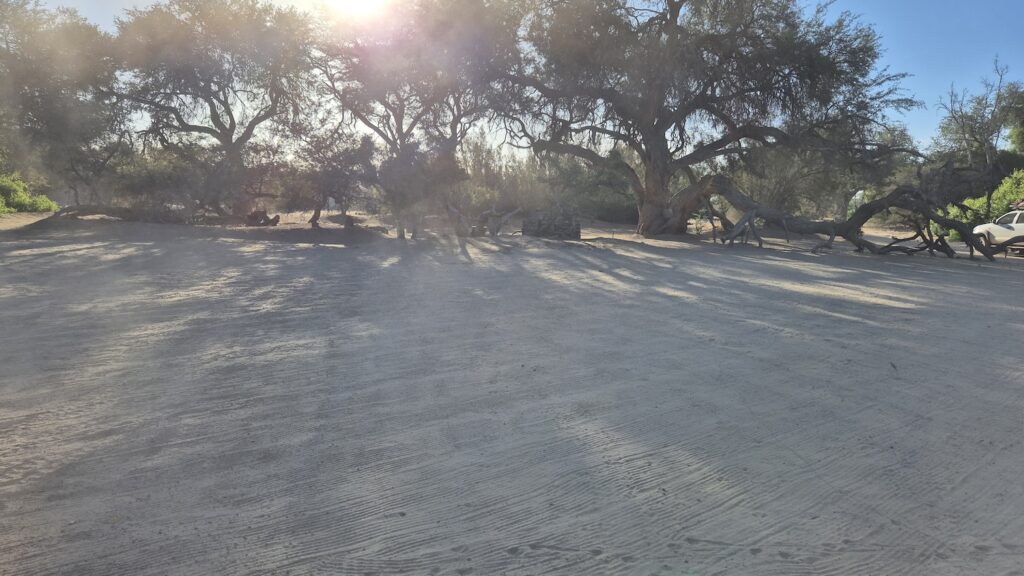
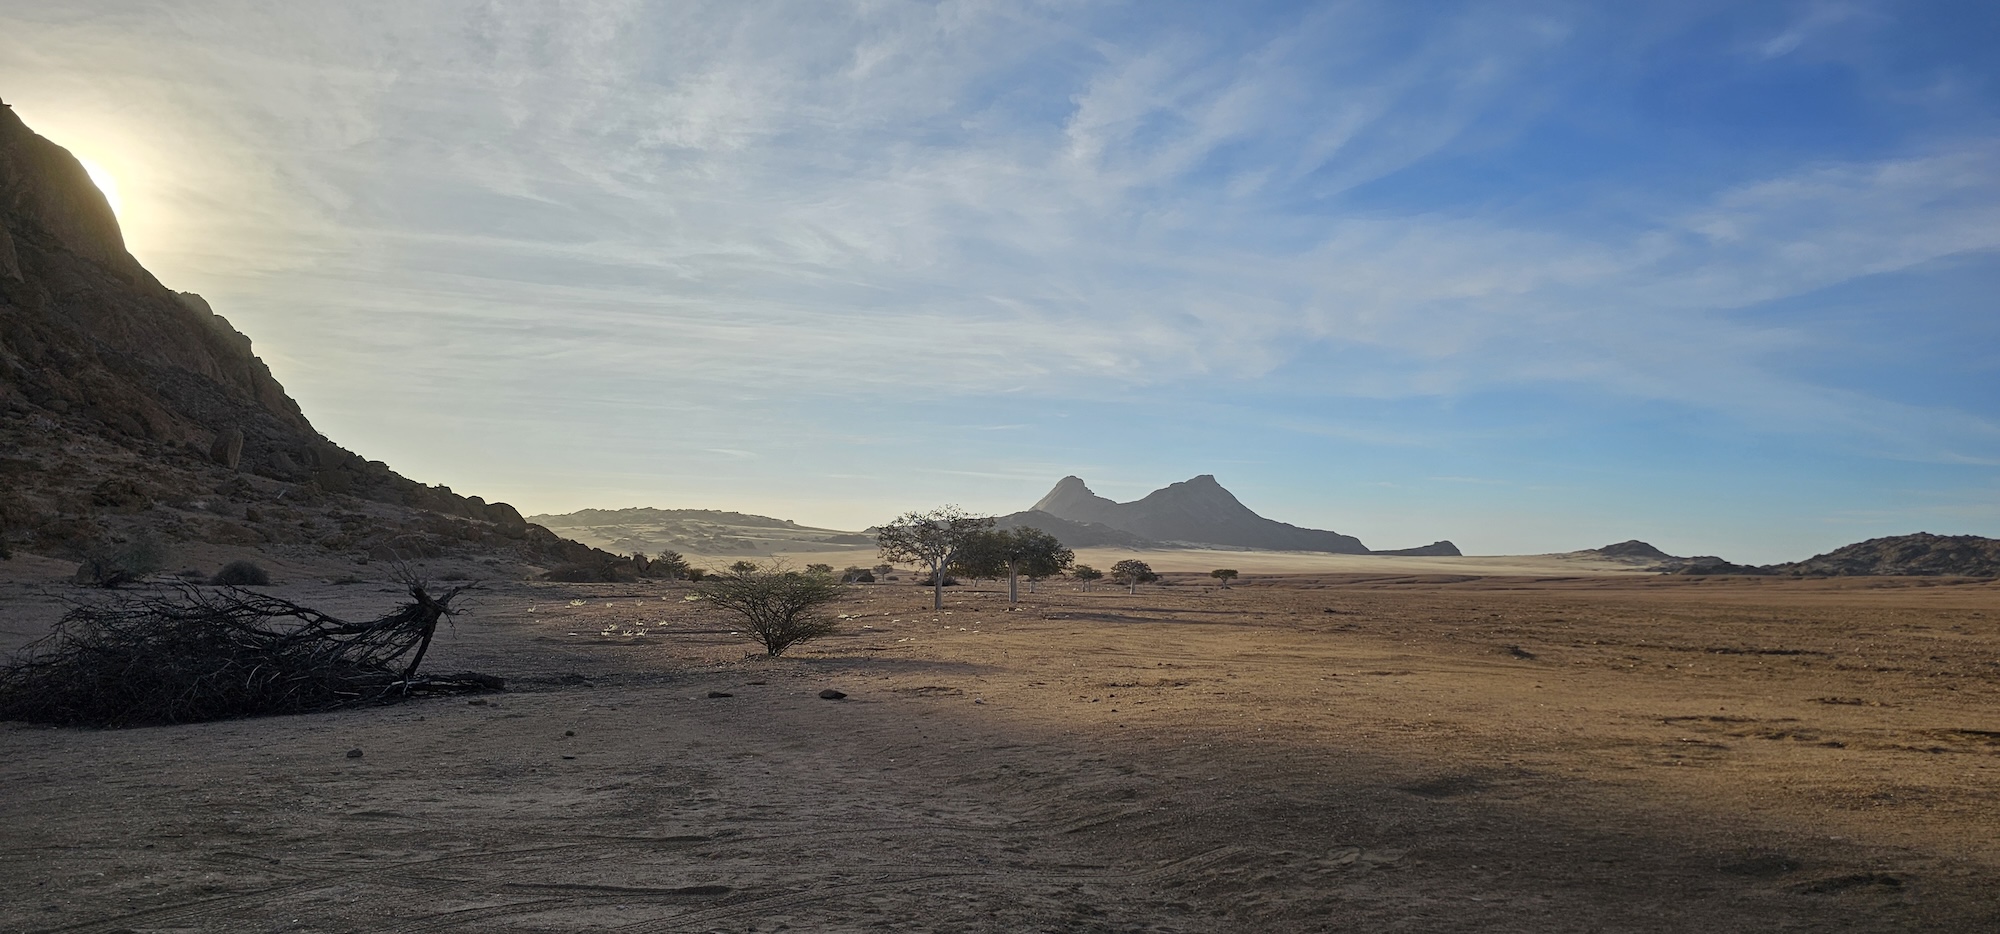
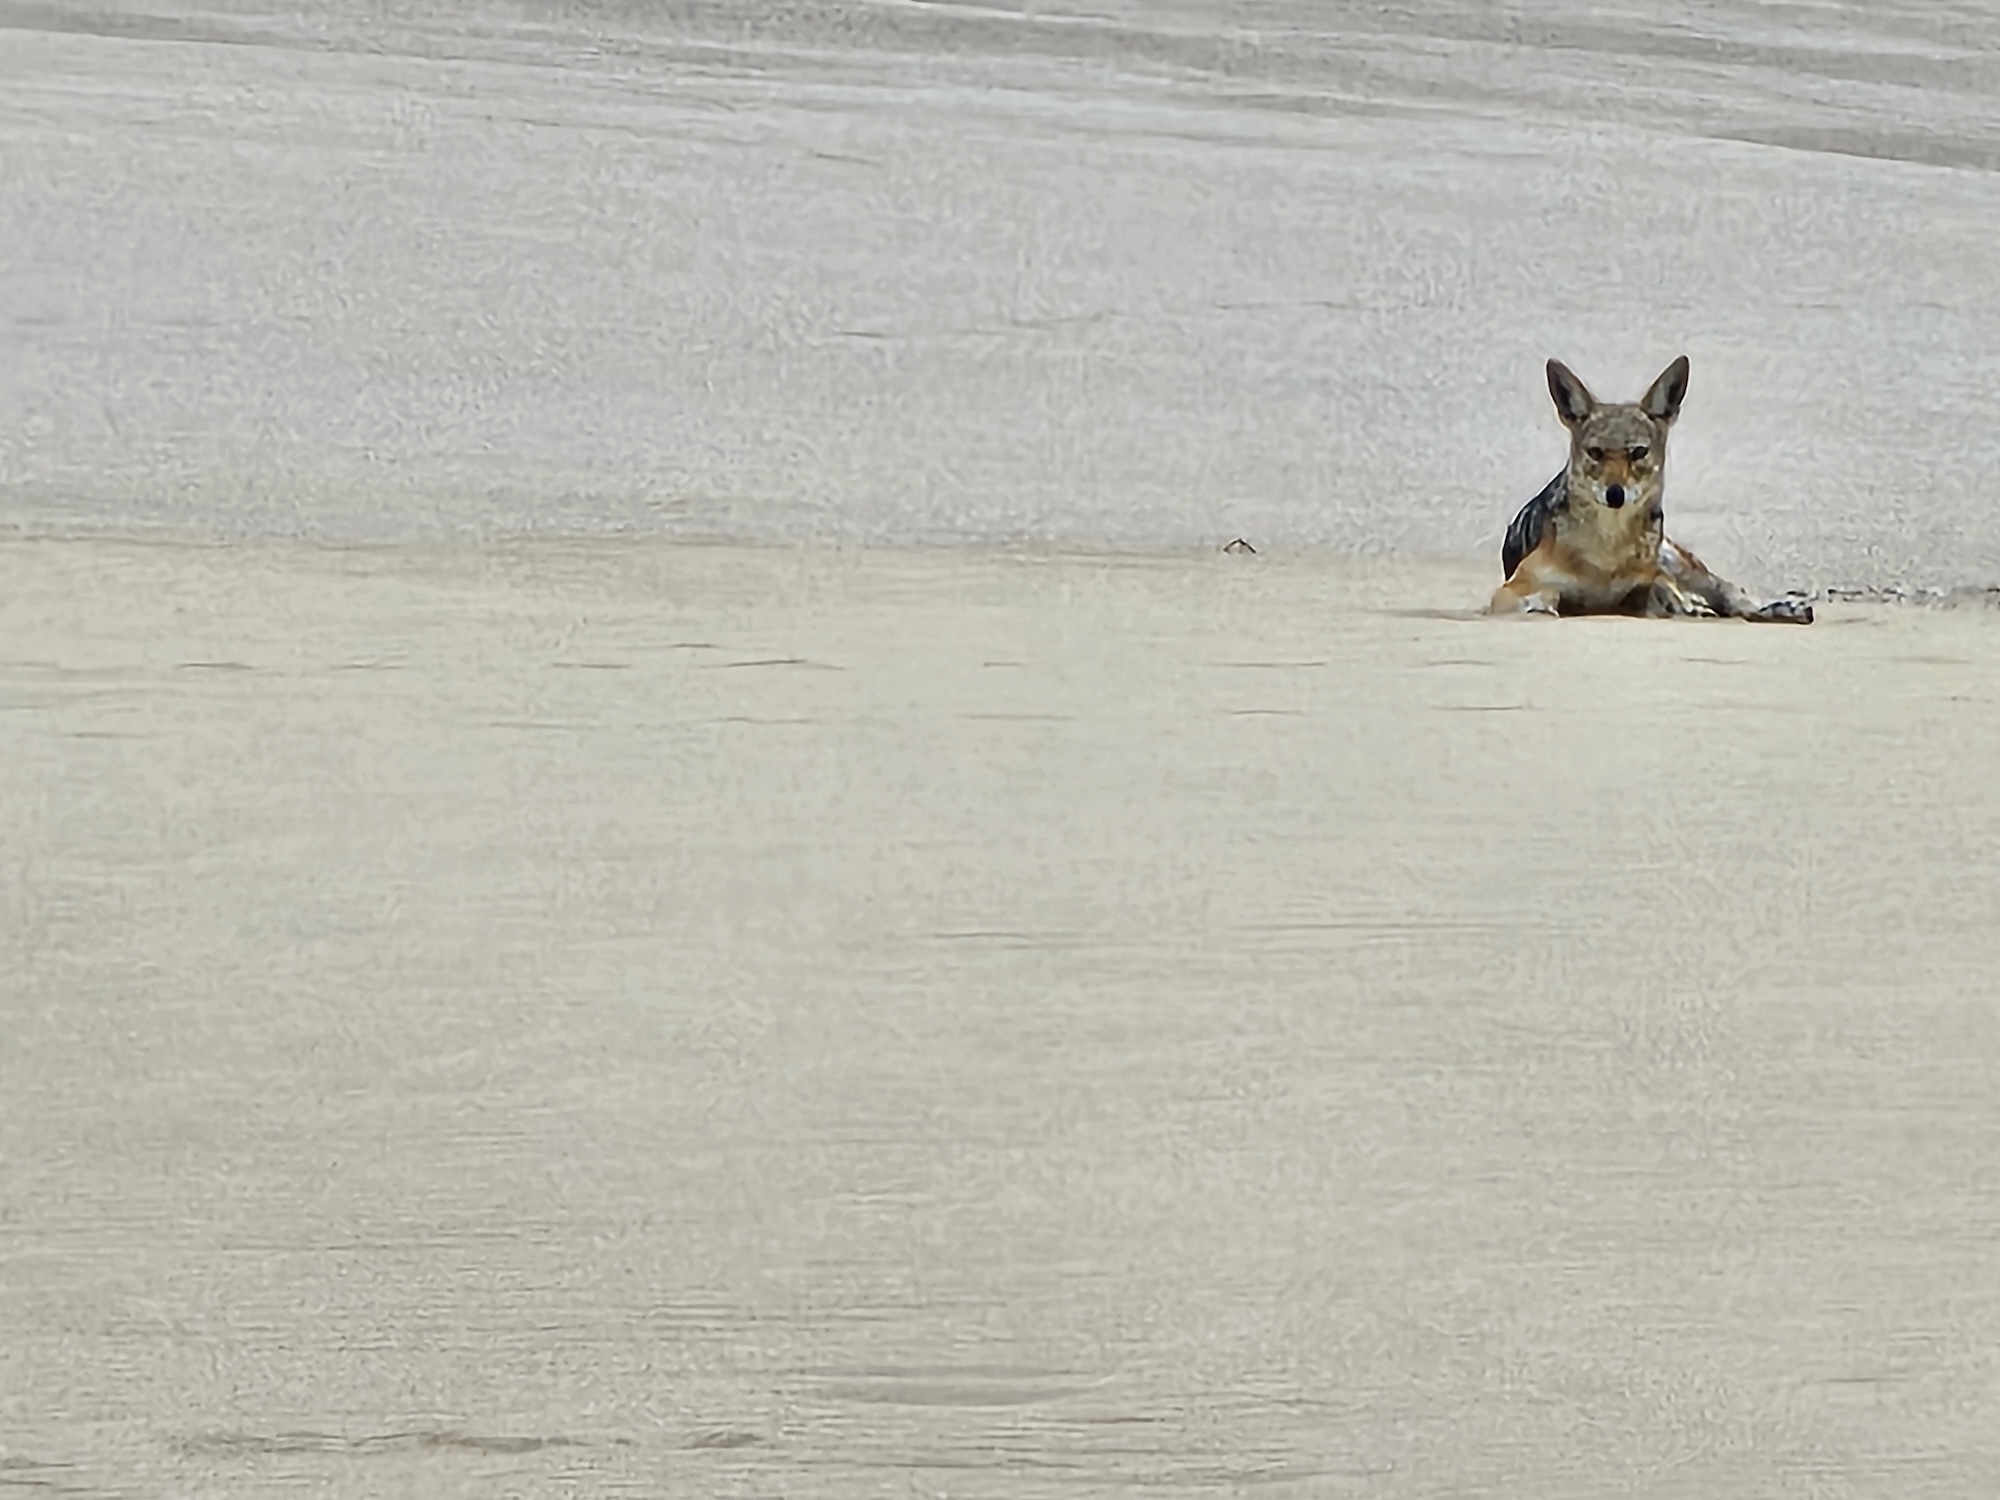
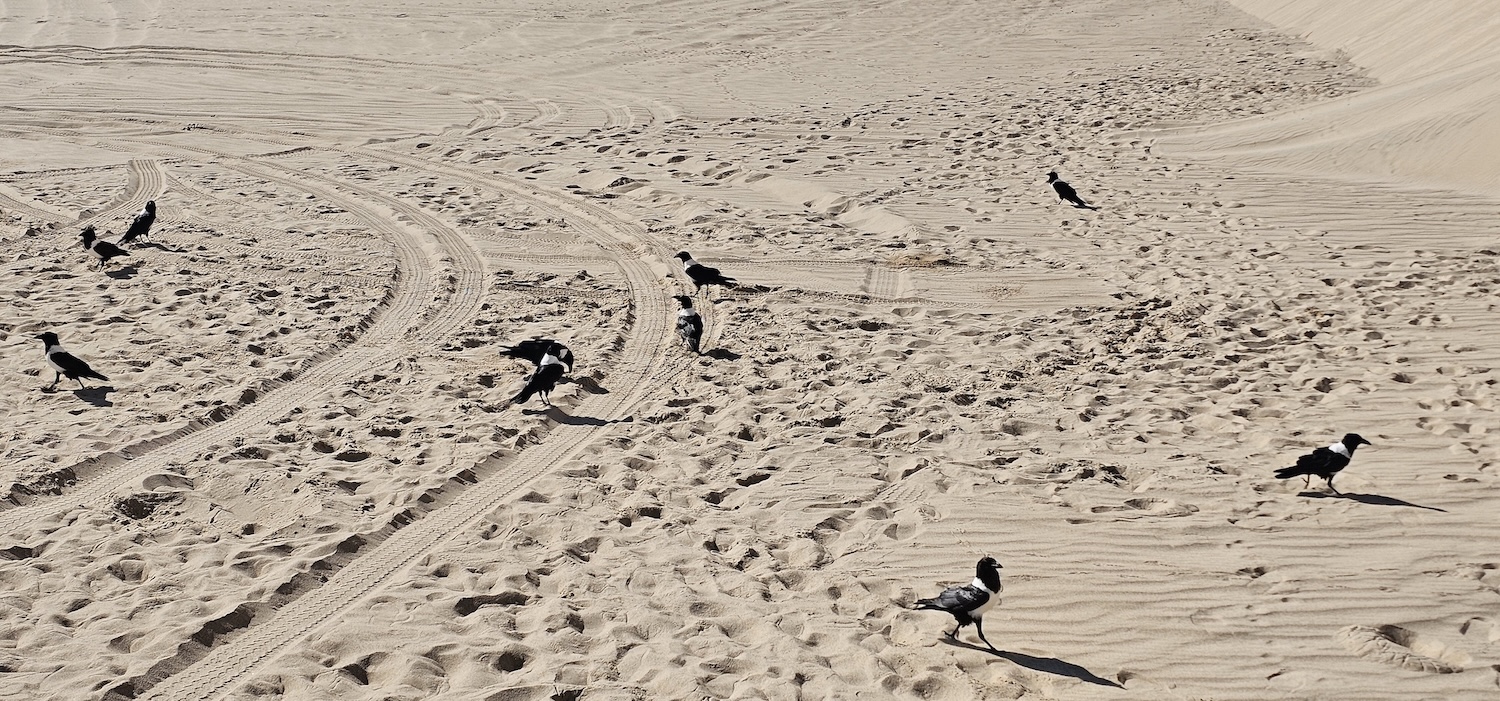
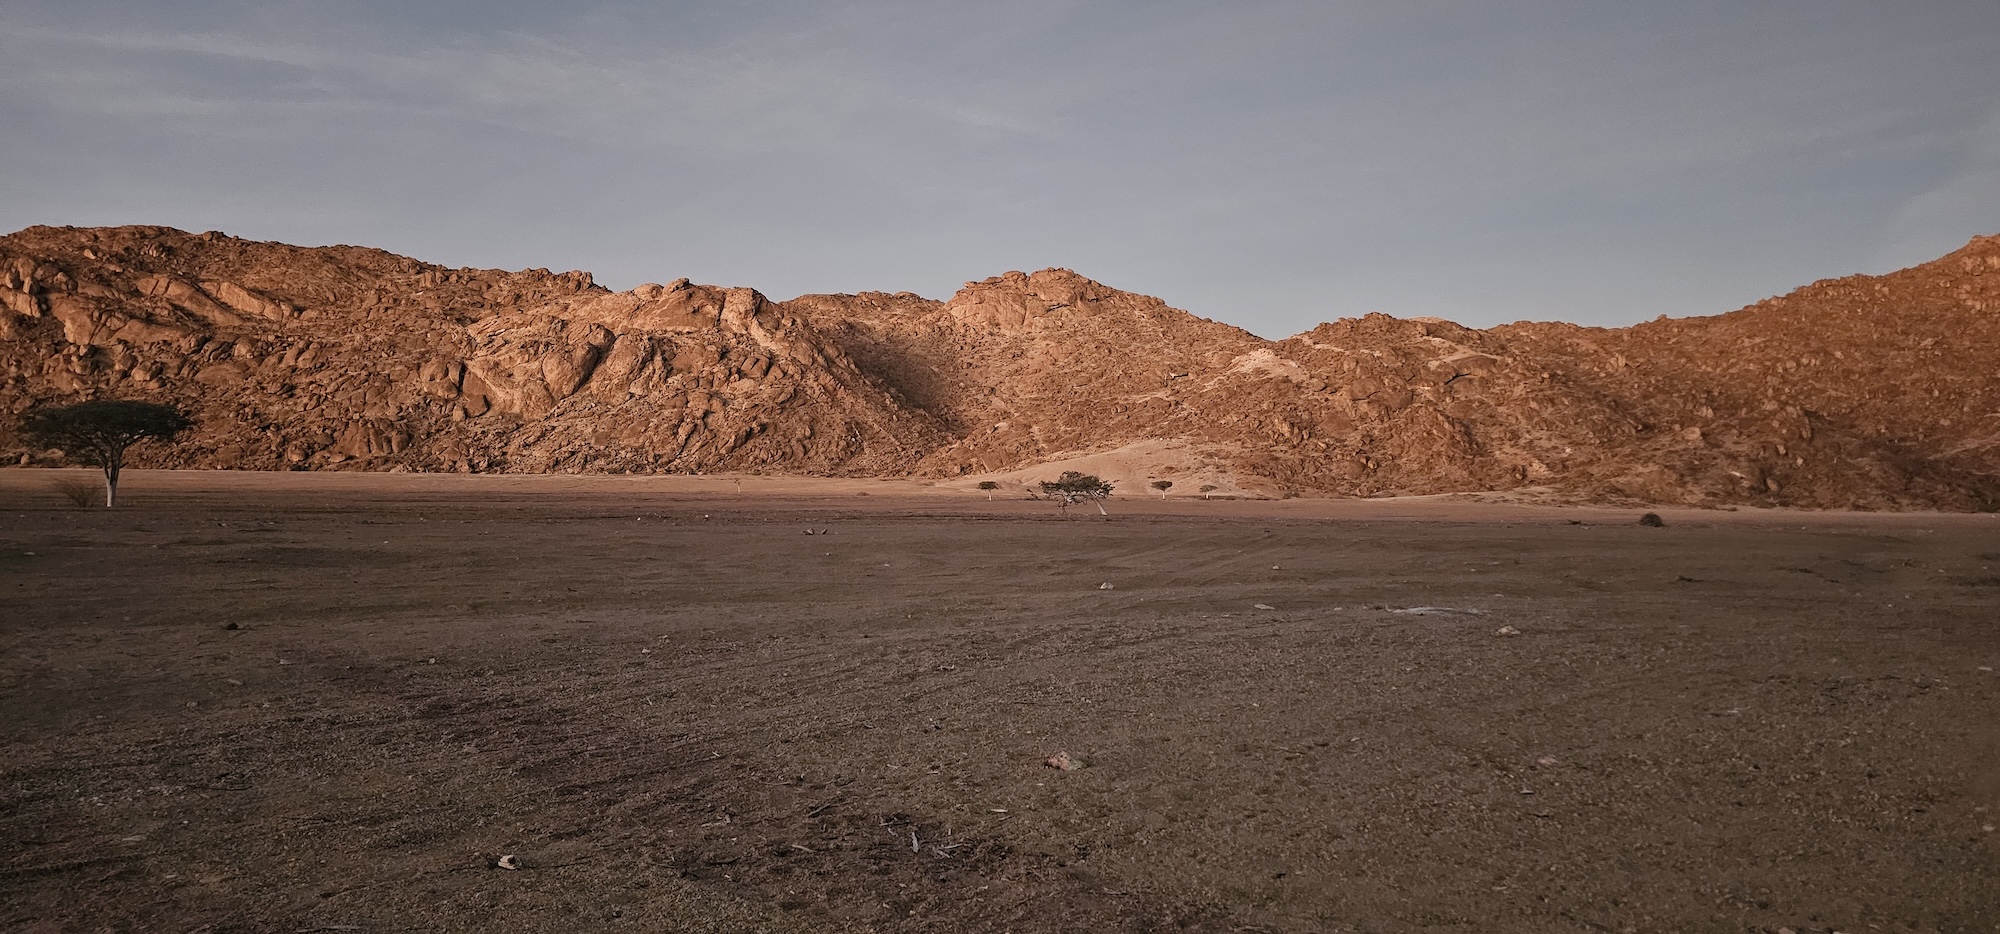
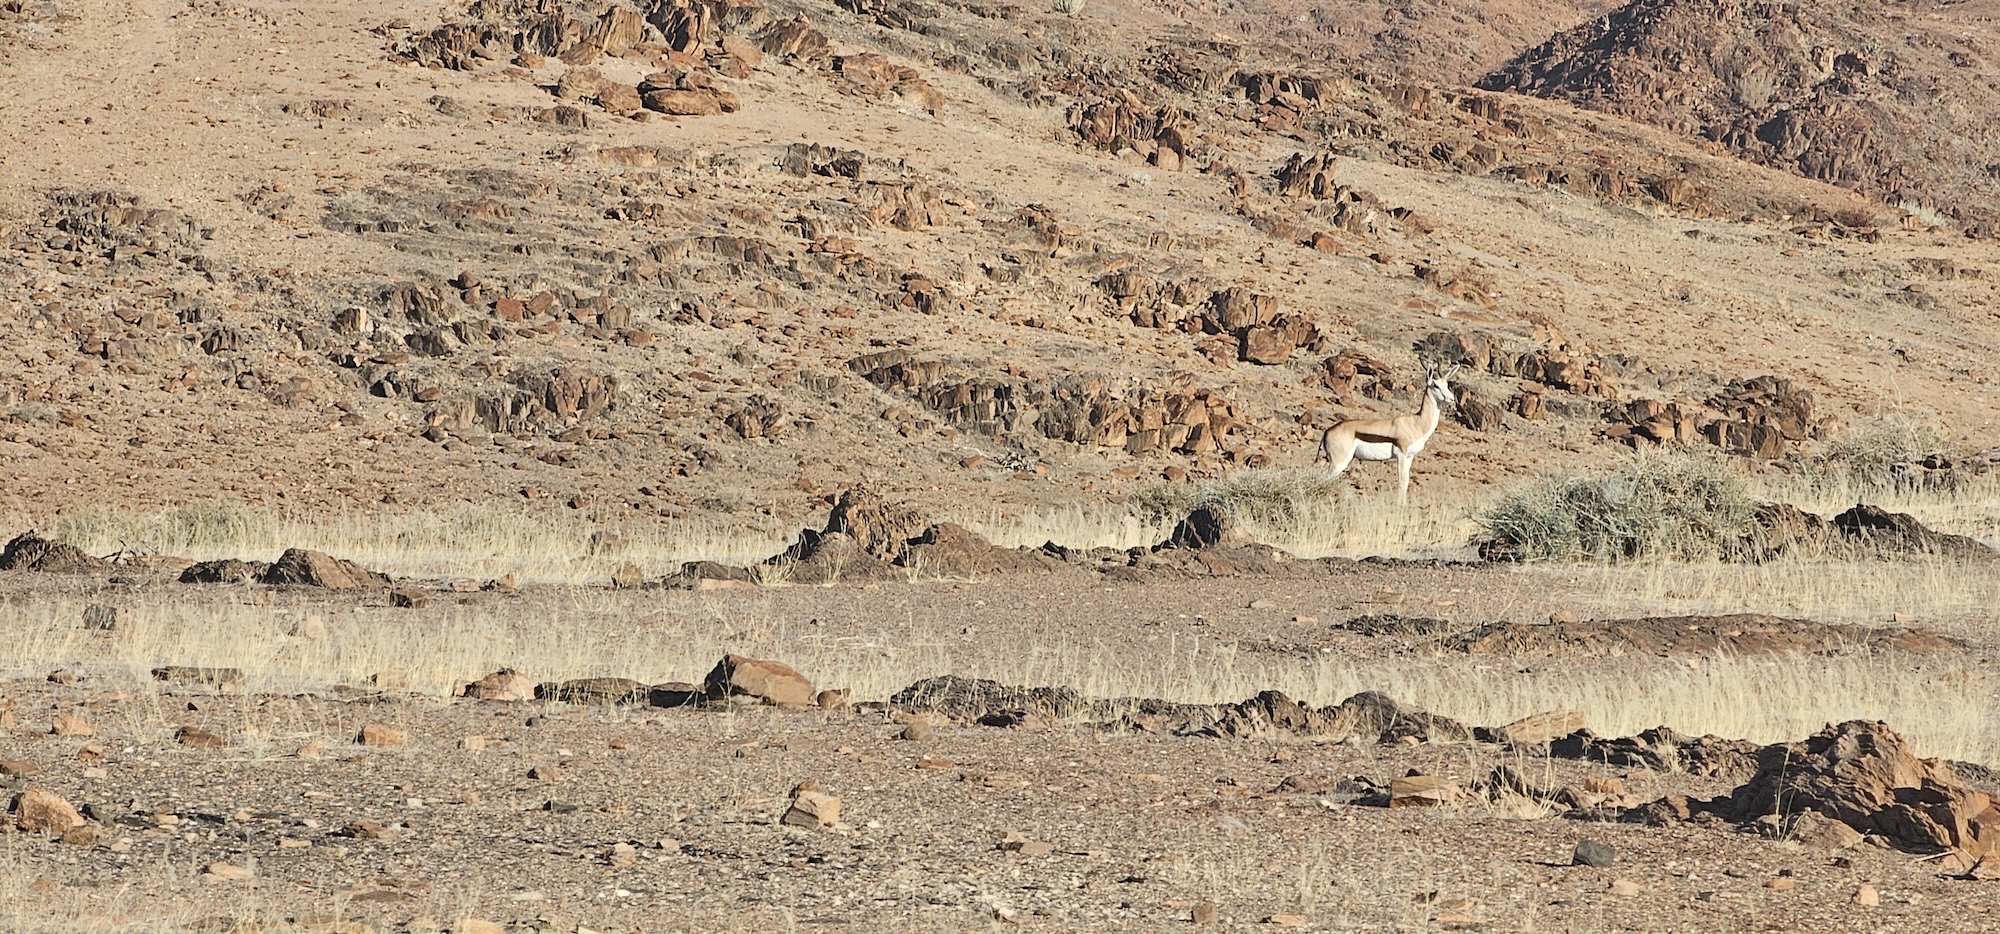
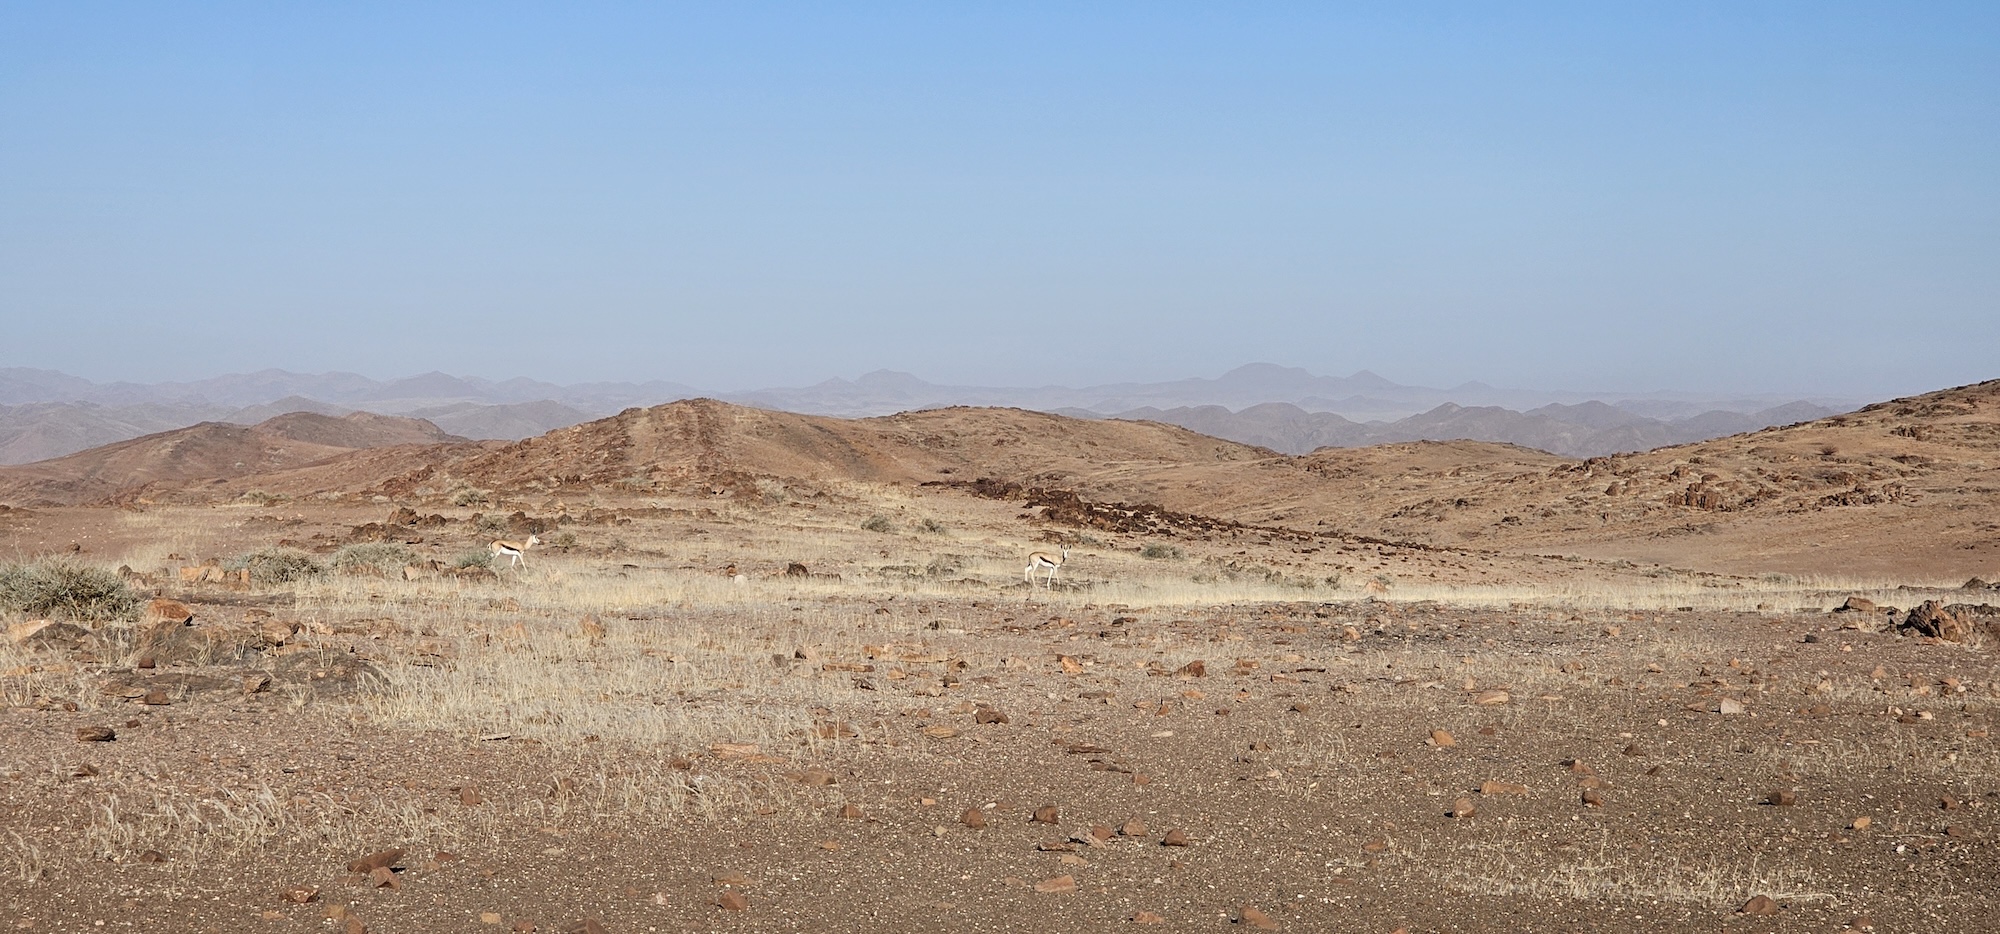
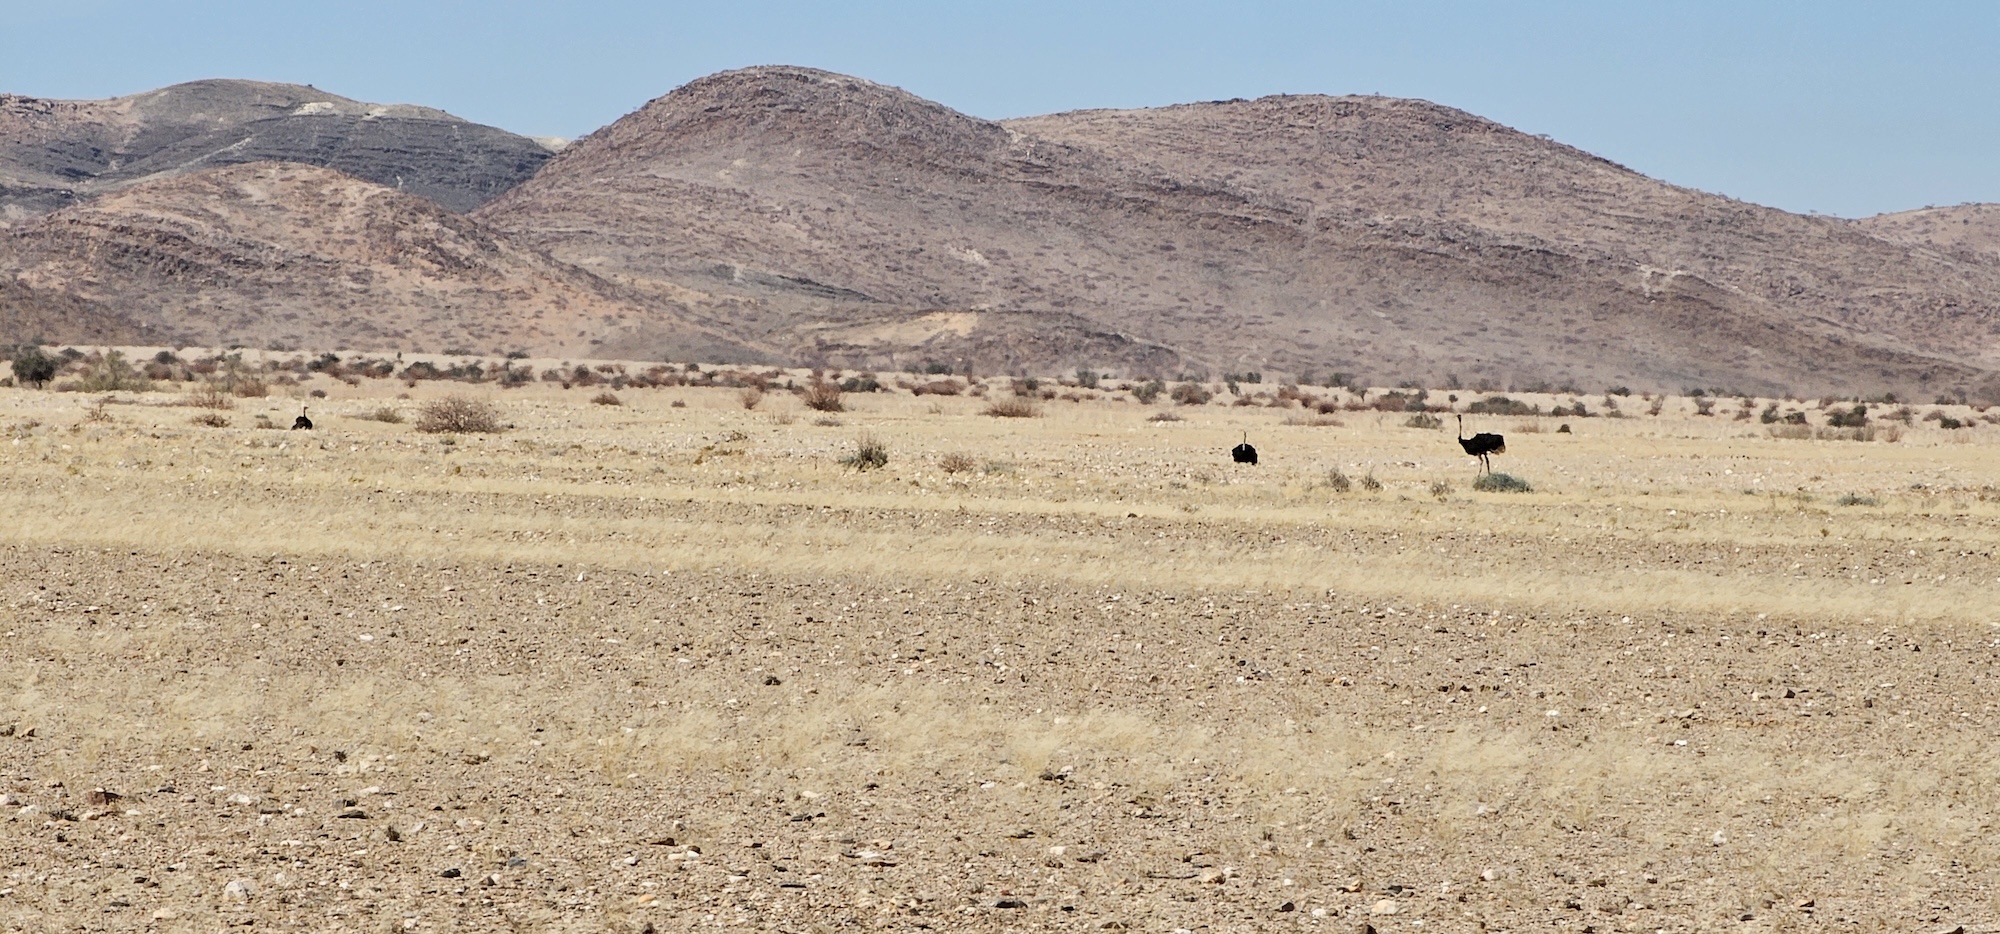
The Langkloof campsite is nestled towards the bottom of the kloof. The scenery is spectacular and we saw quite a few antelope during the course of the day. There were some baboons; they kept their distance, but apply common sense and caution (as always) when camping.
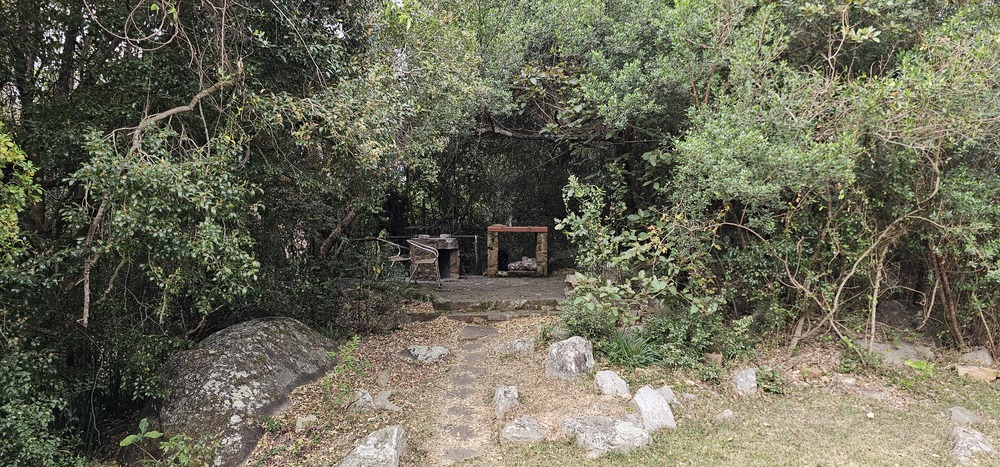
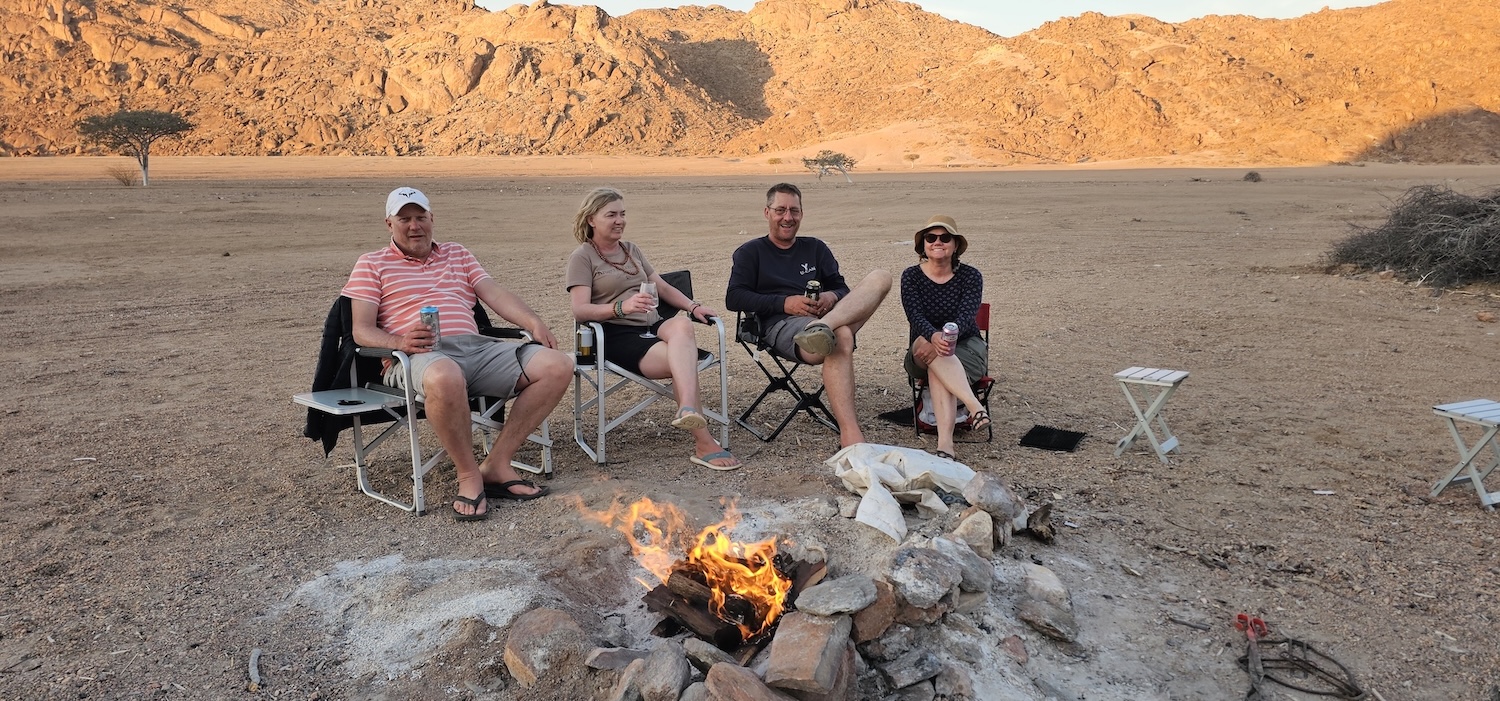
There are just two sites at Langkloof. There are full private ablutions with running (and hot!) water in really good condition, as well as a kitchen. Unfortunately there were a lot of flies during our stay – all rubbish remains at a section just outside camp and gets collected on (I guess) a not-so-regular basis.
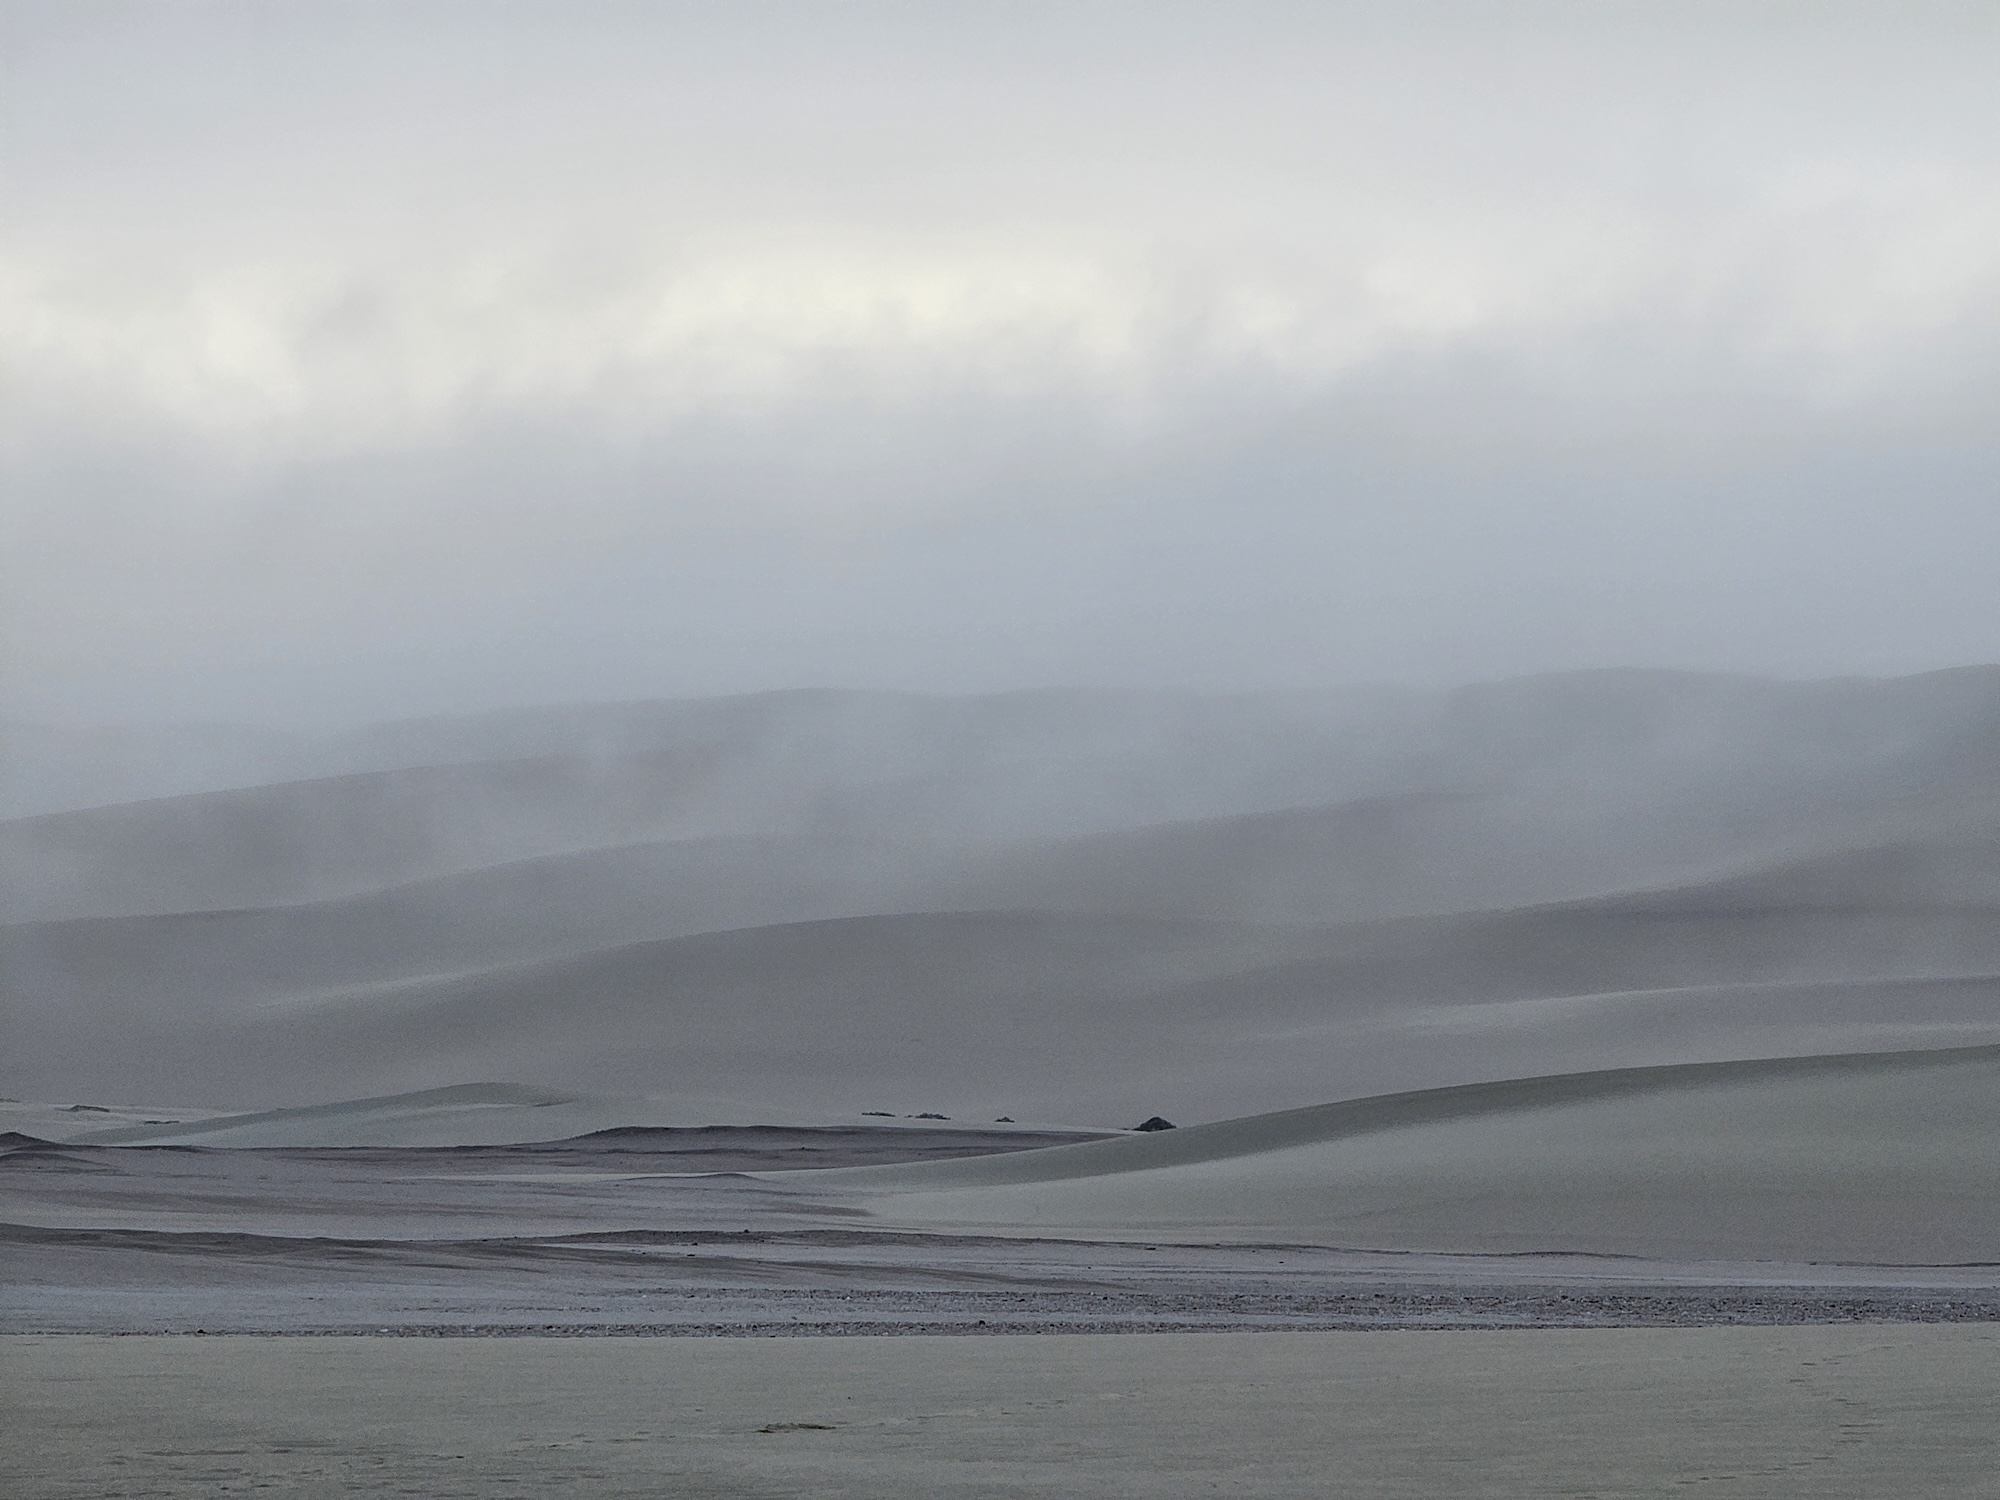
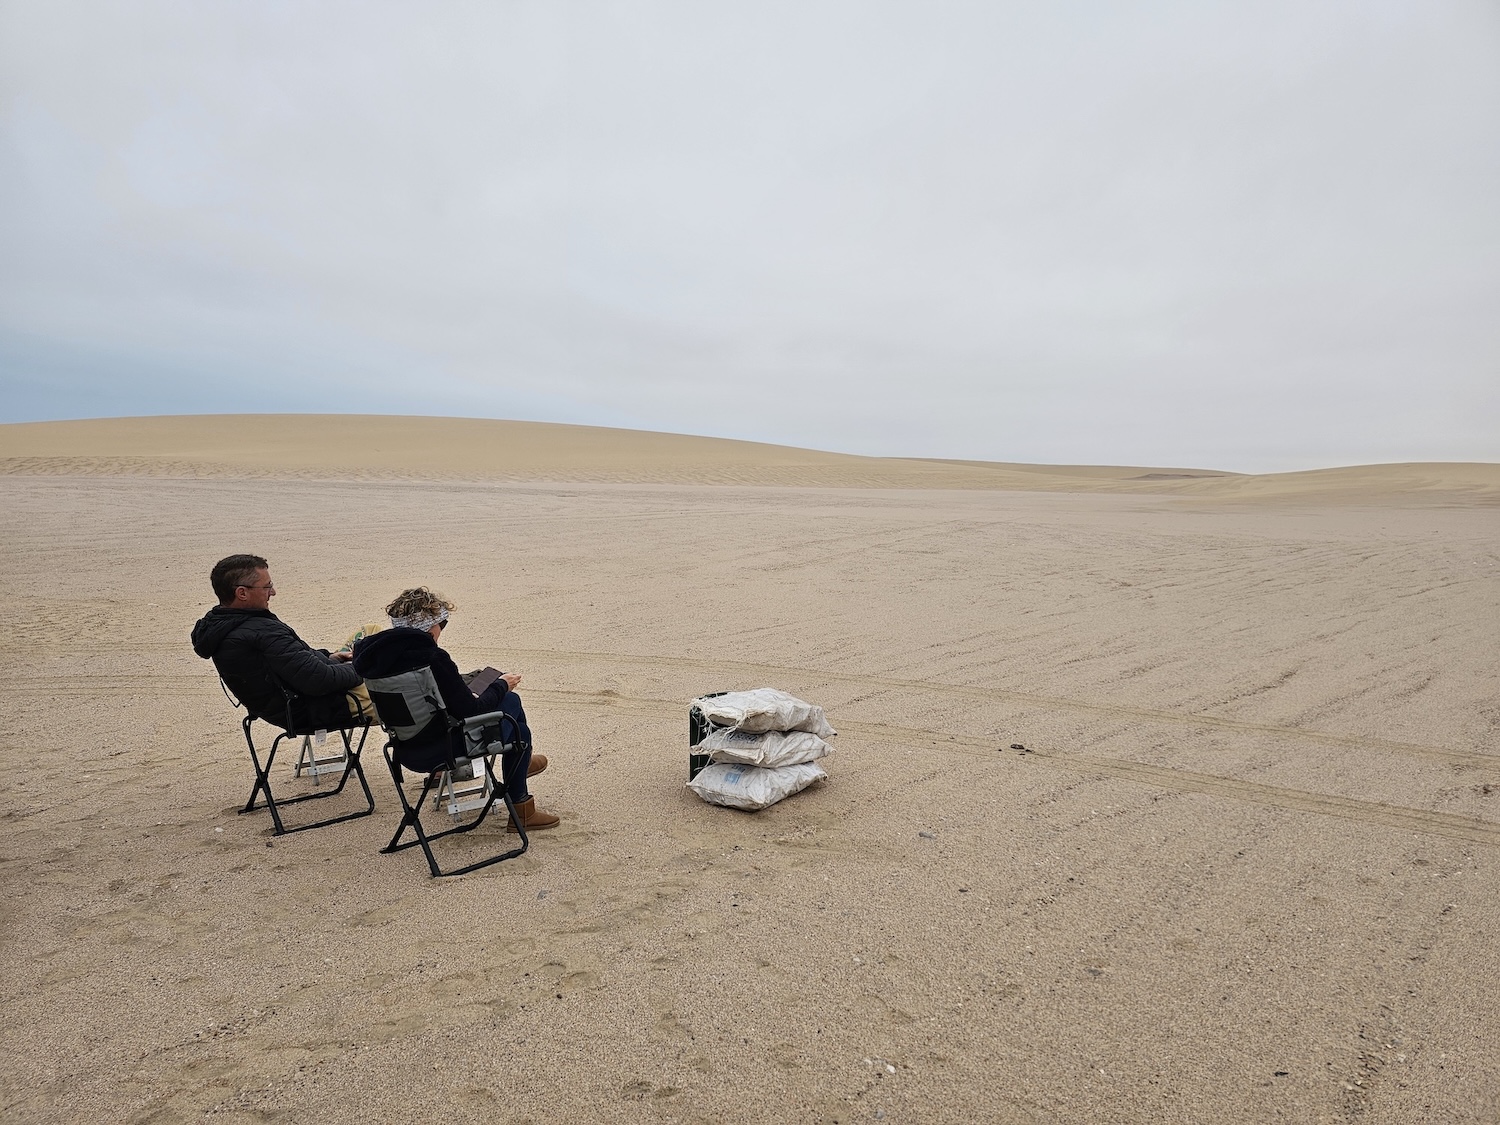
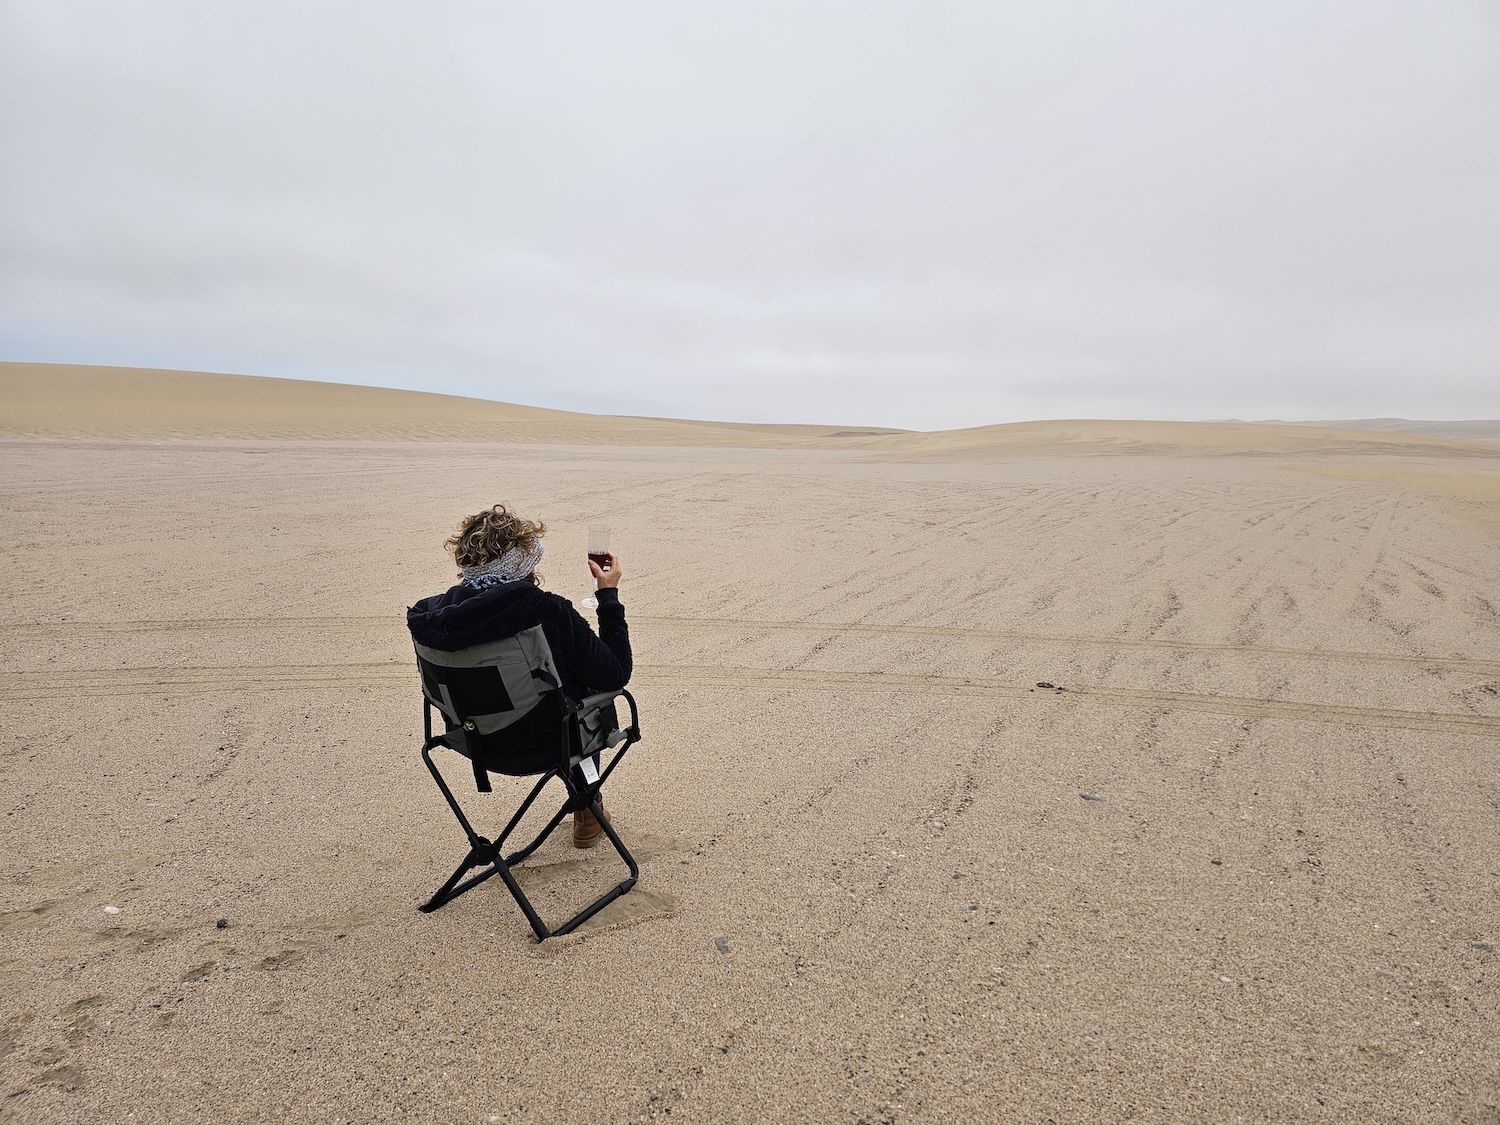
Luckily, despite the extreme heat a breeze was blowing. A very hot breeze, but a strong breeze – this helped a lot.
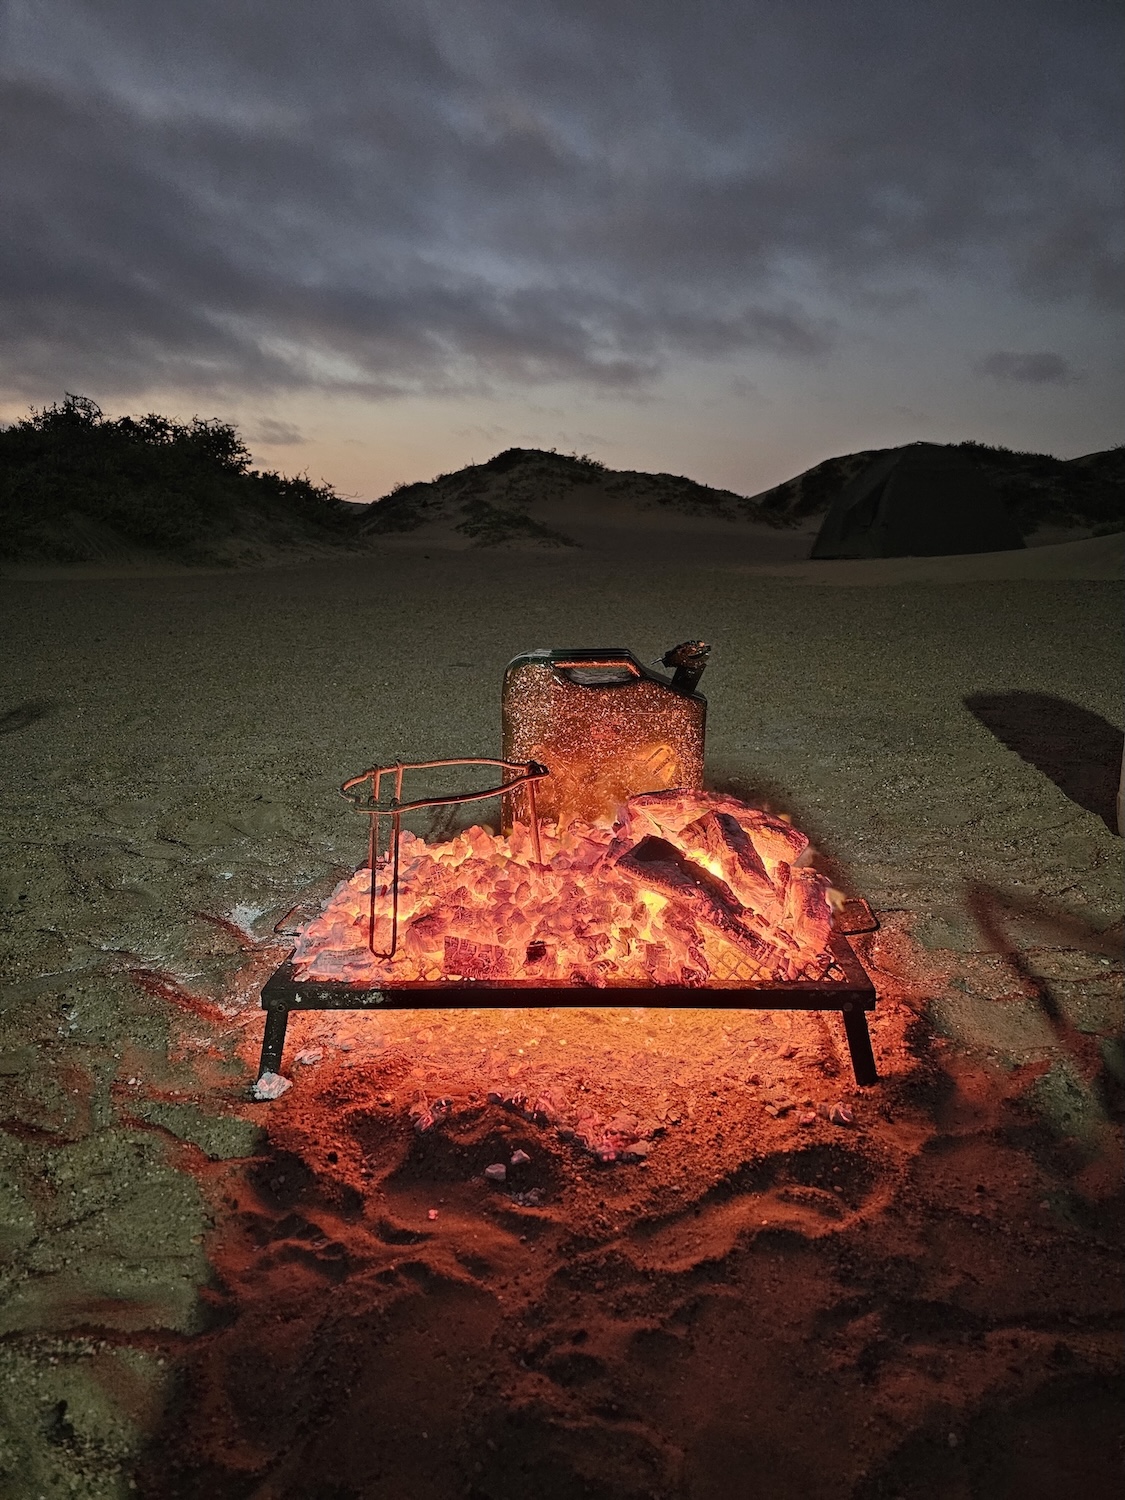
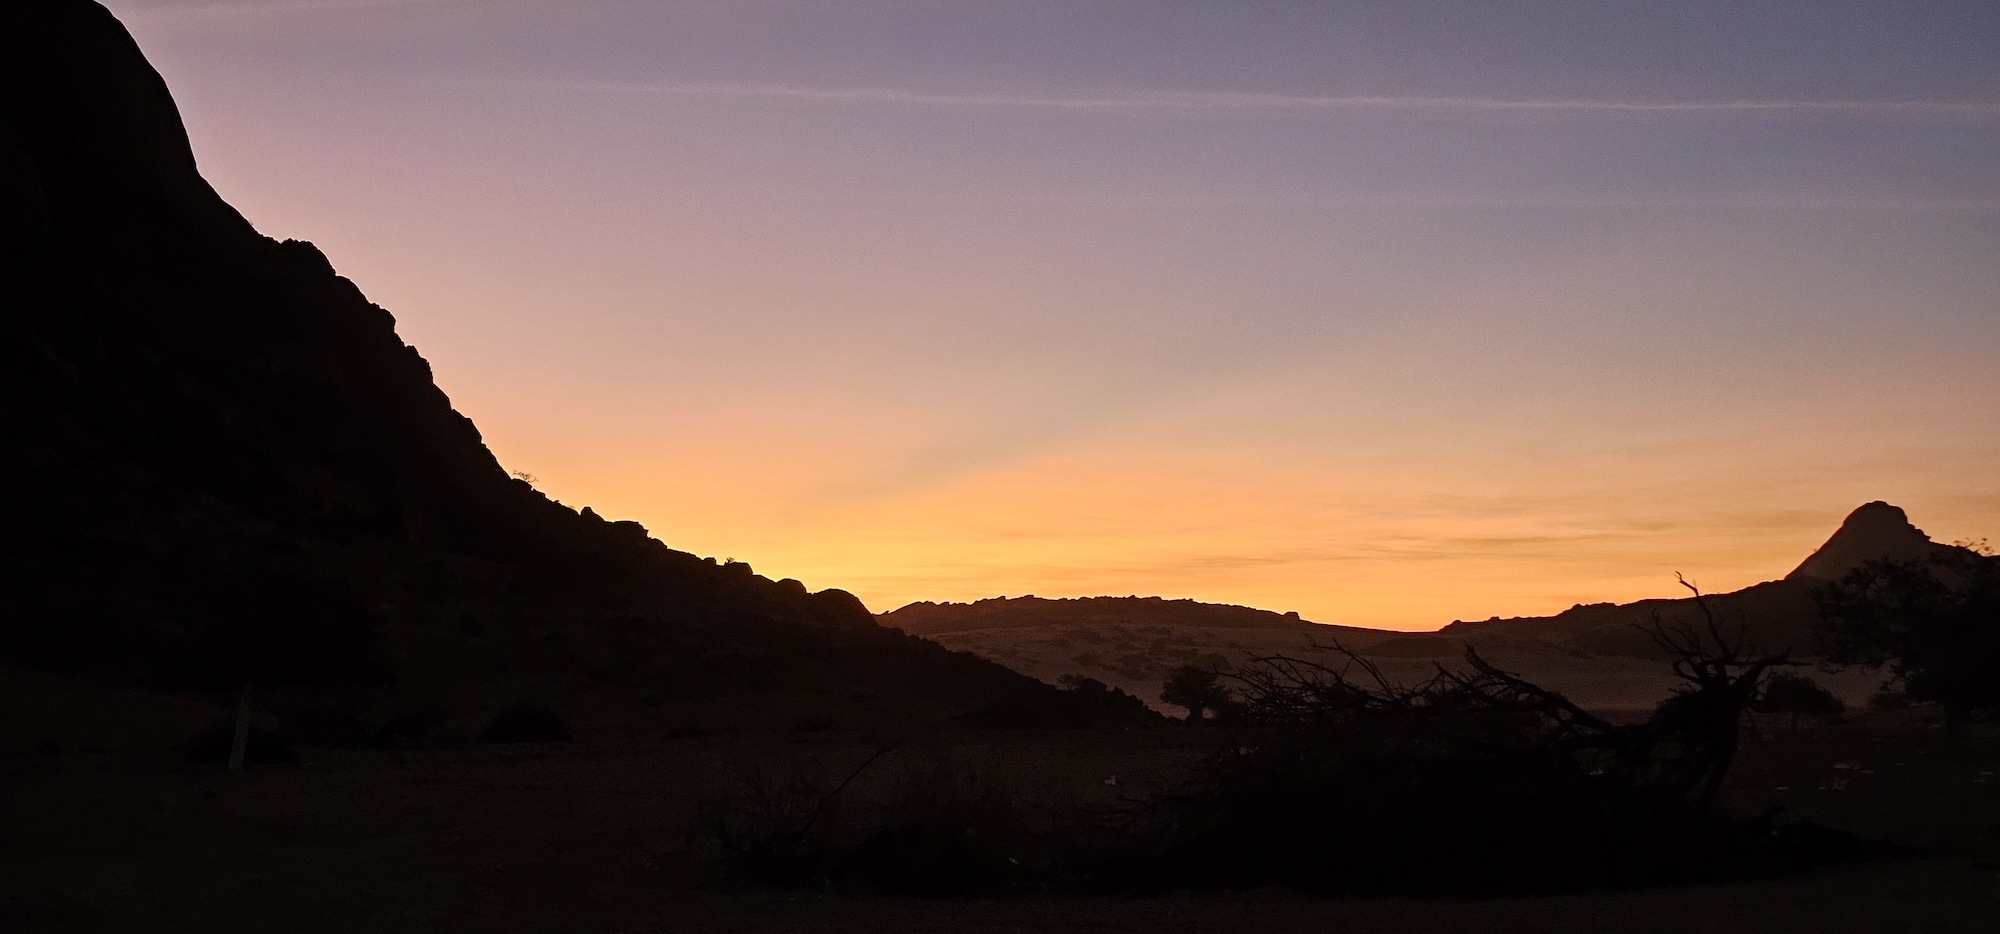
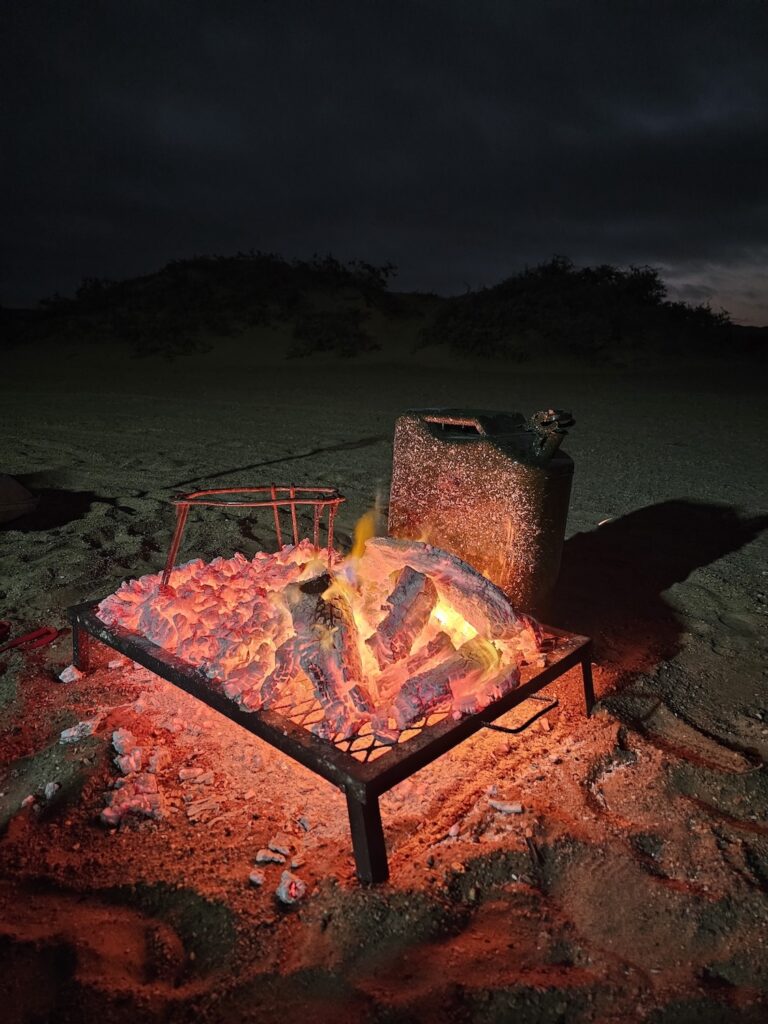
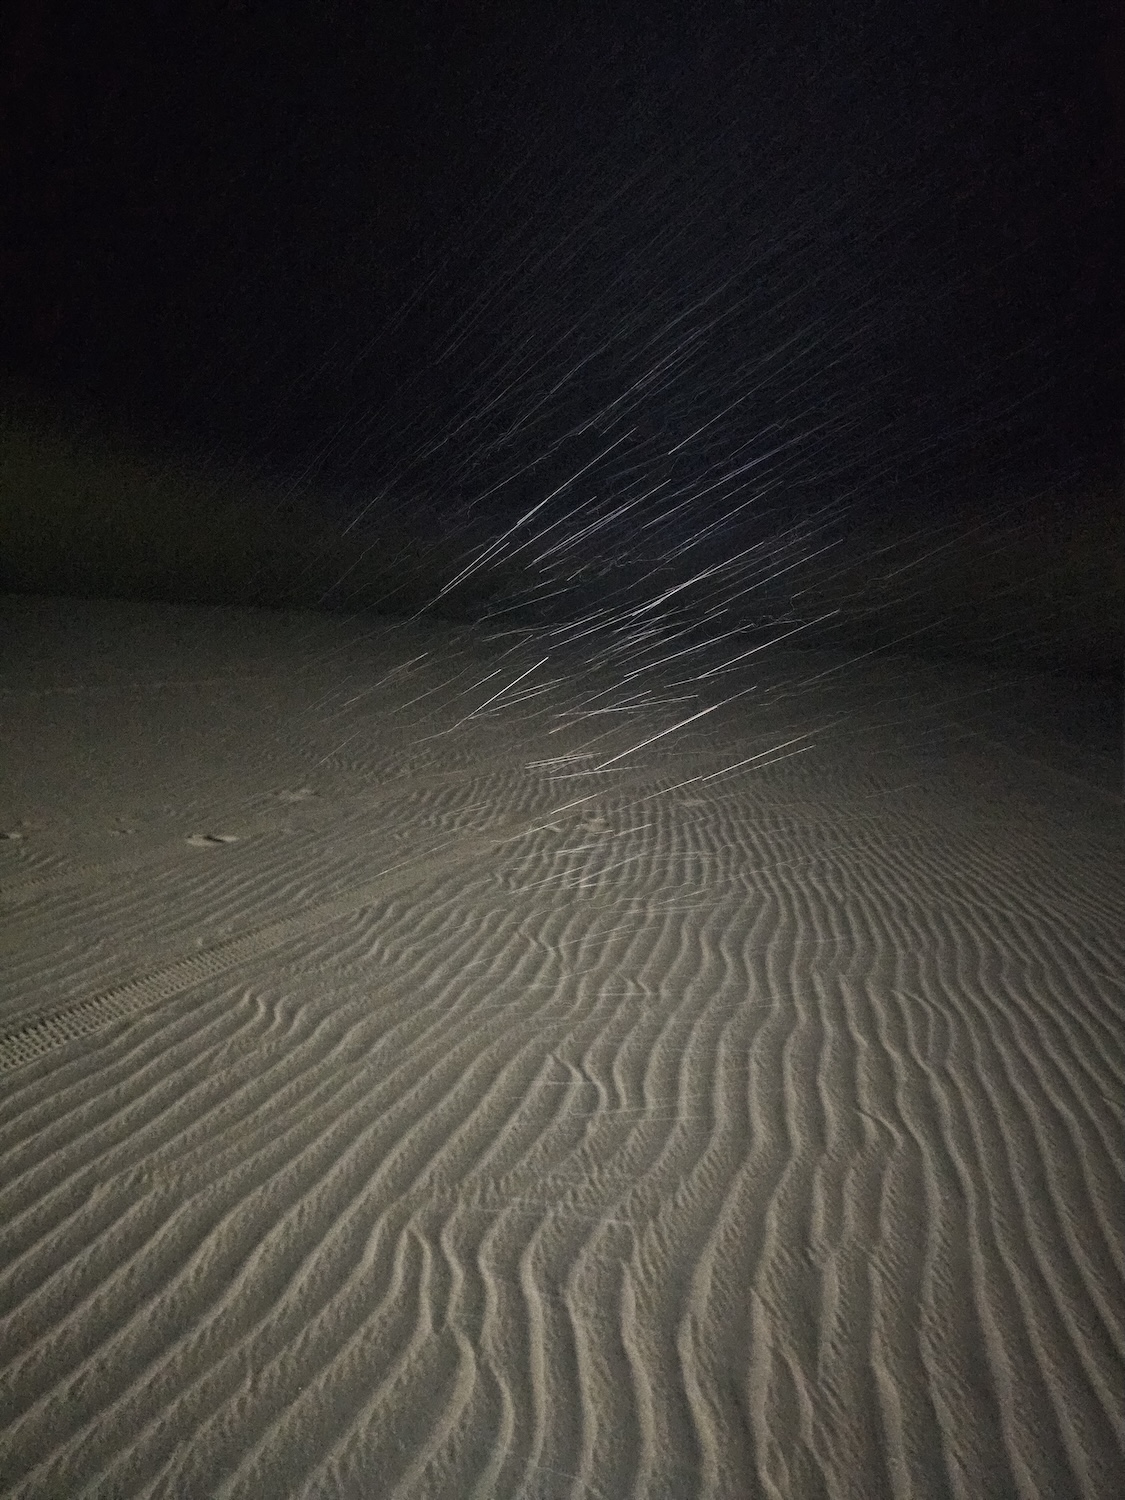
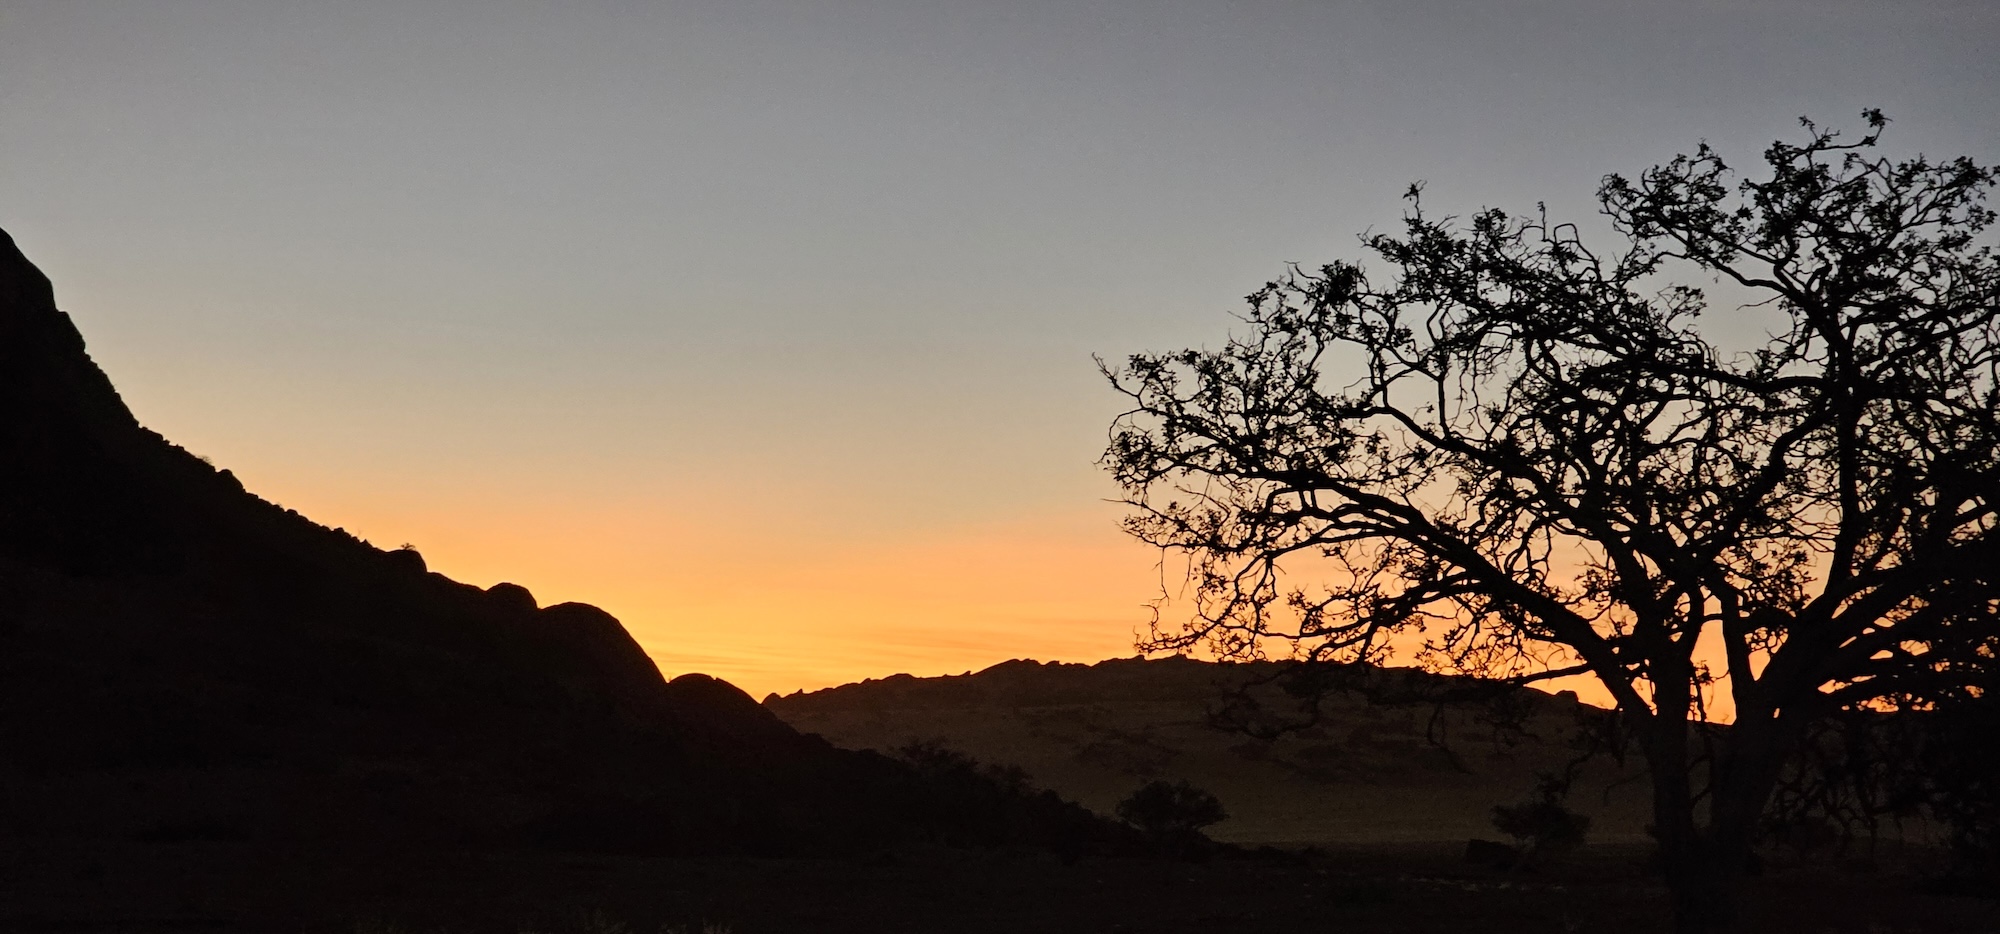
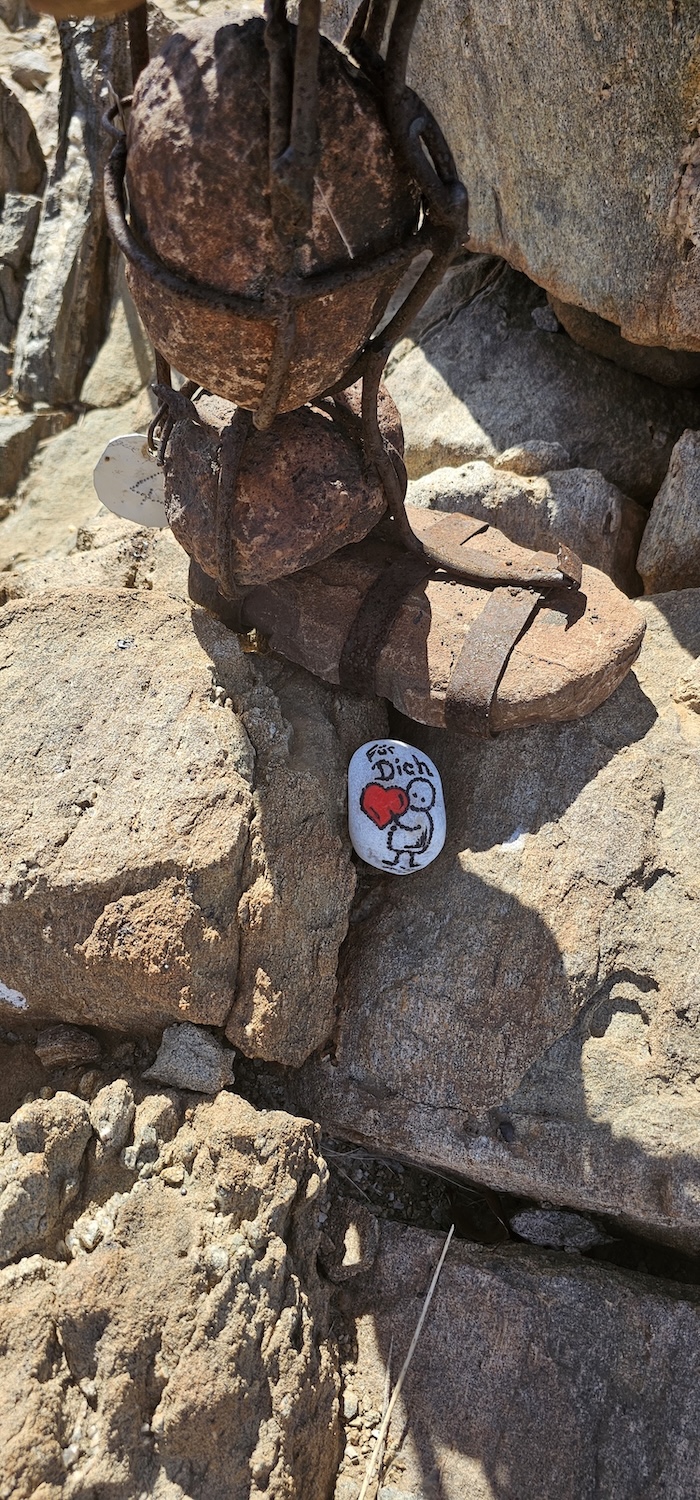
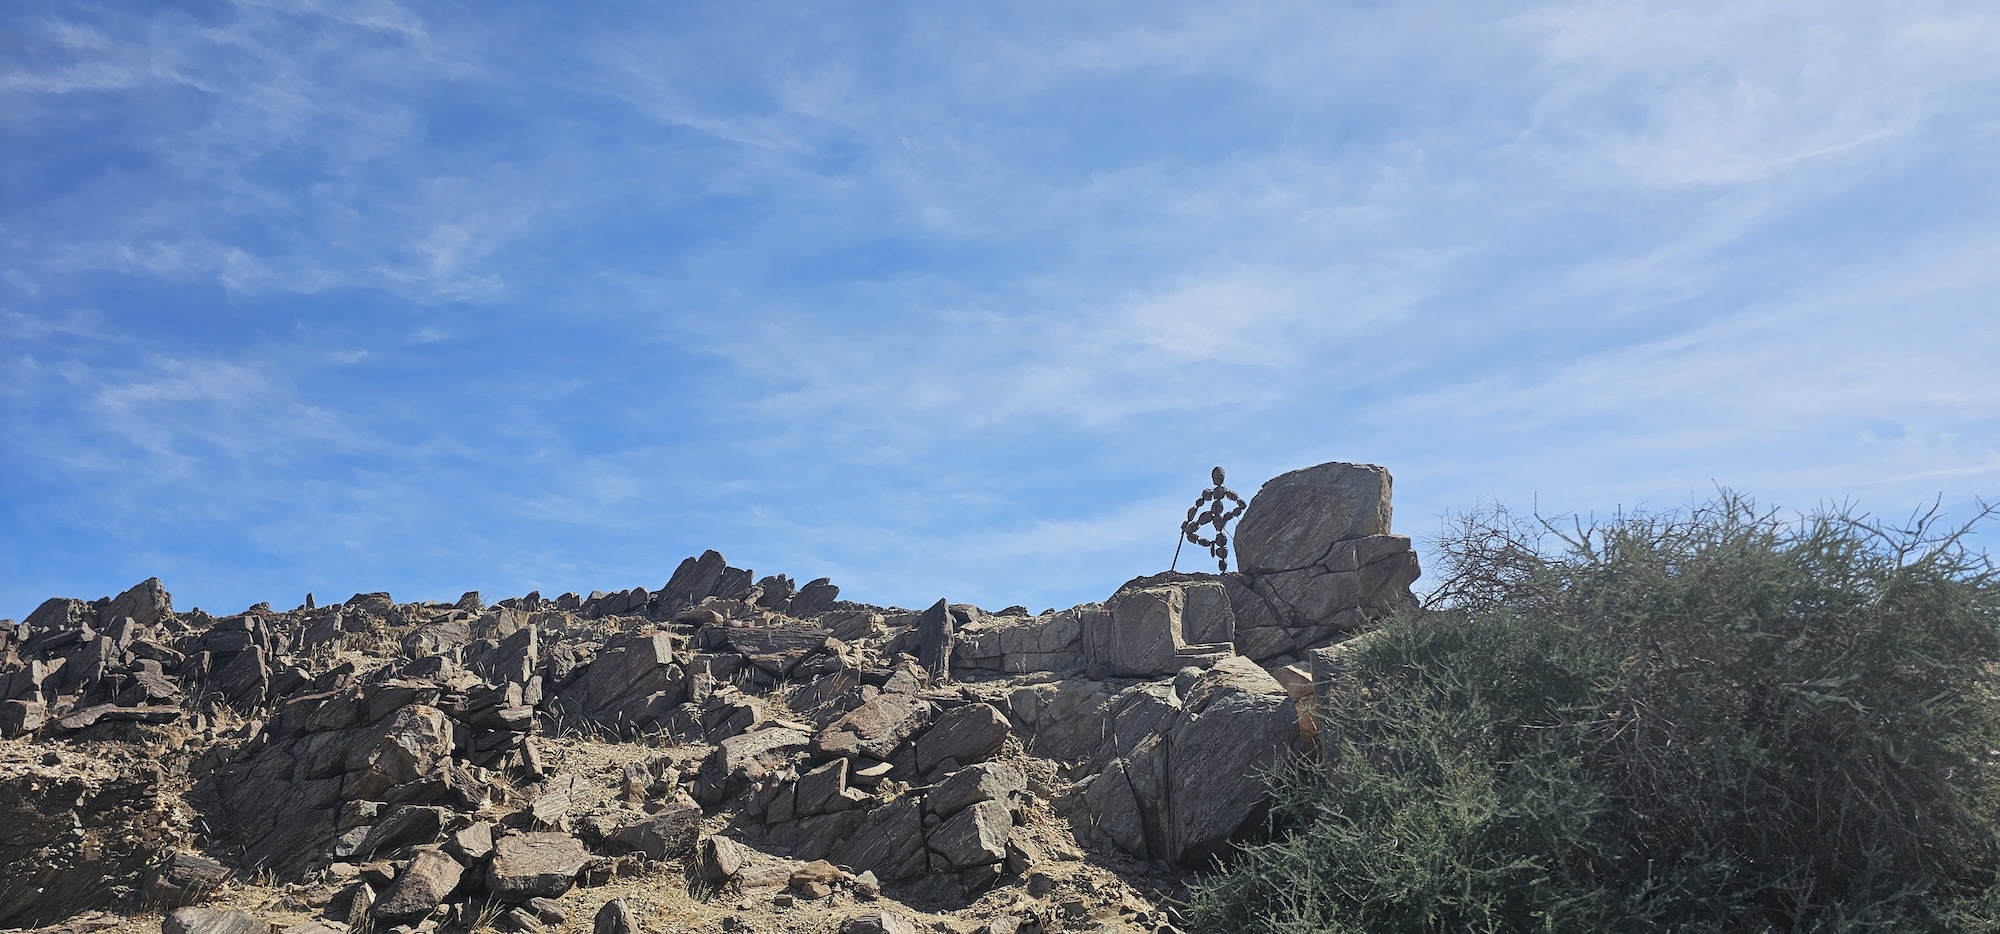
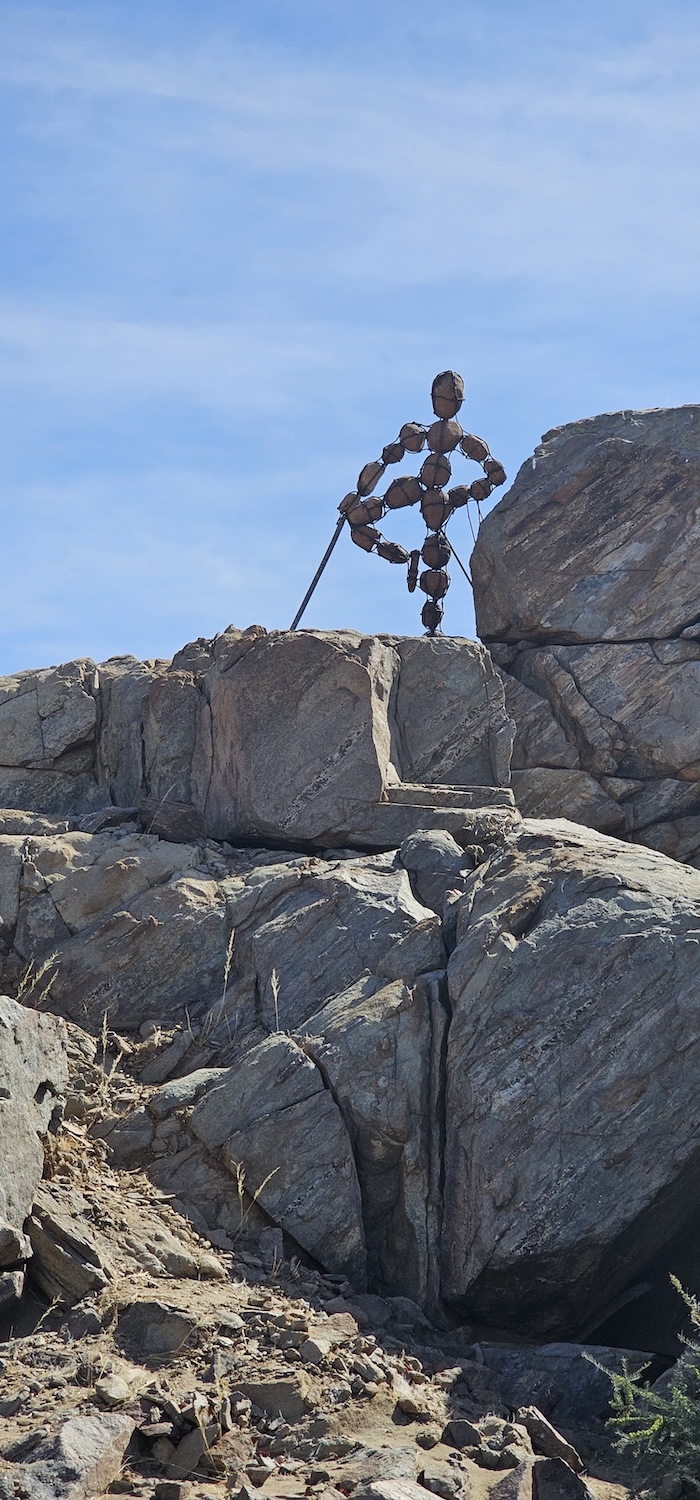
Nothing in my current arsenal of photographic equipment could ever capture the night sky as we saw it there (or, actually, anywhere else on this trip), but I took a photo or two nevertheless.
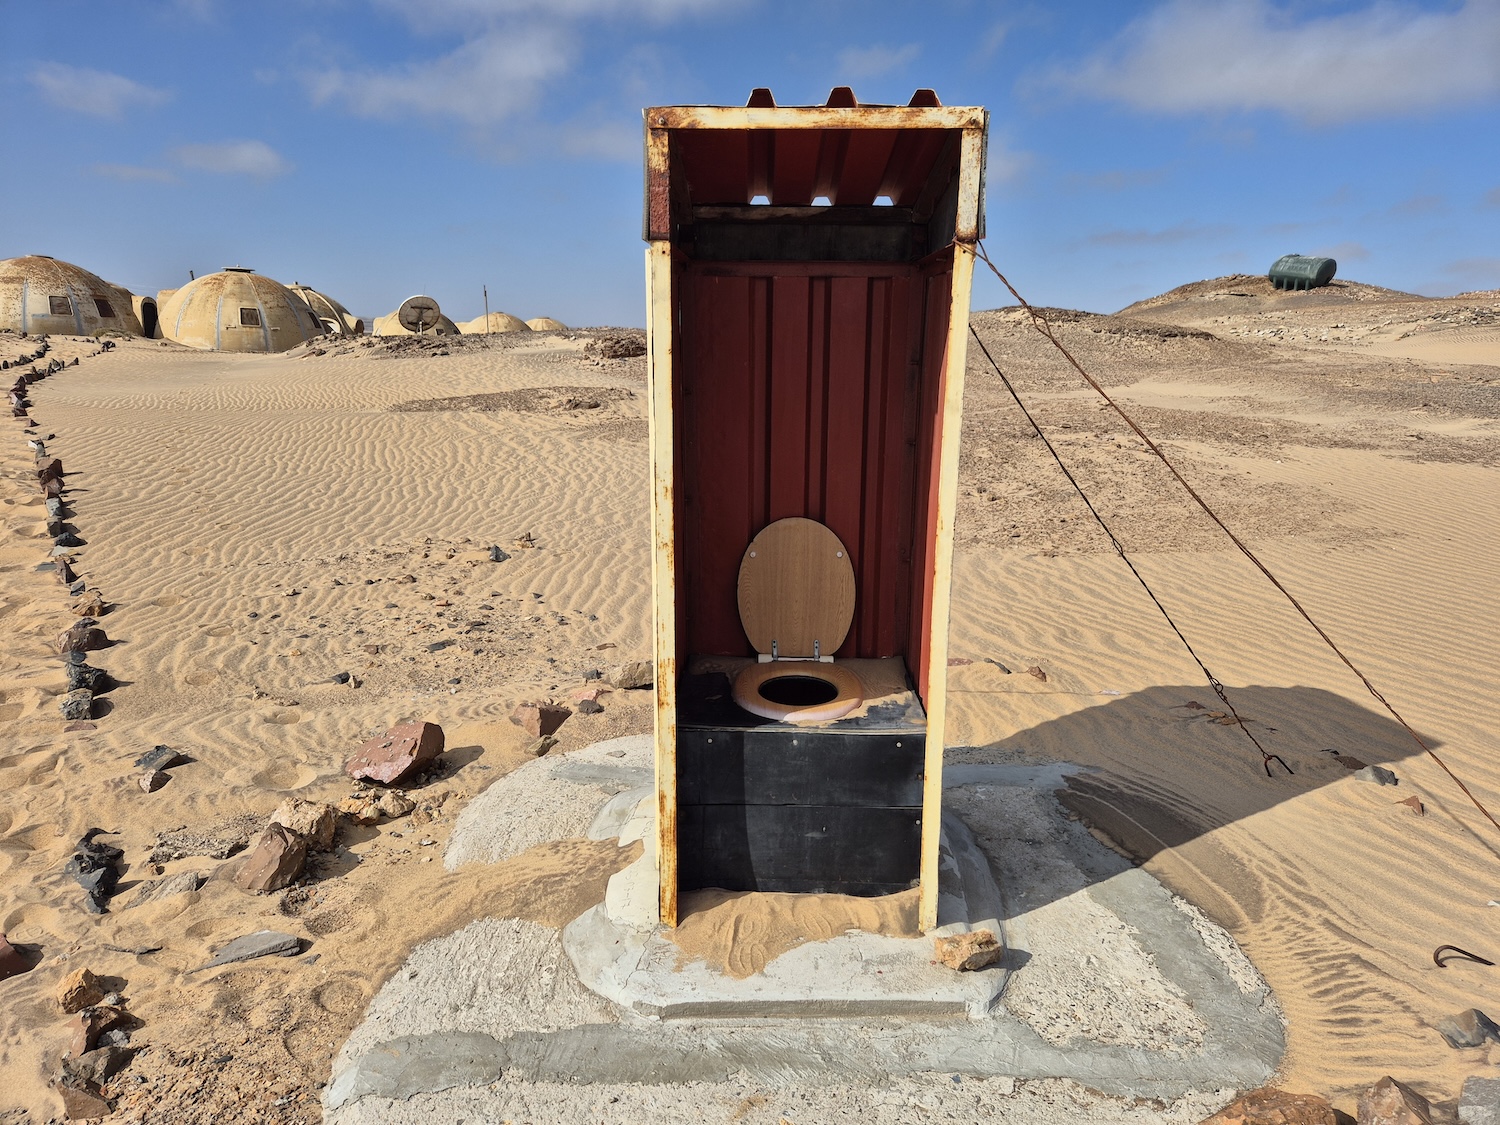
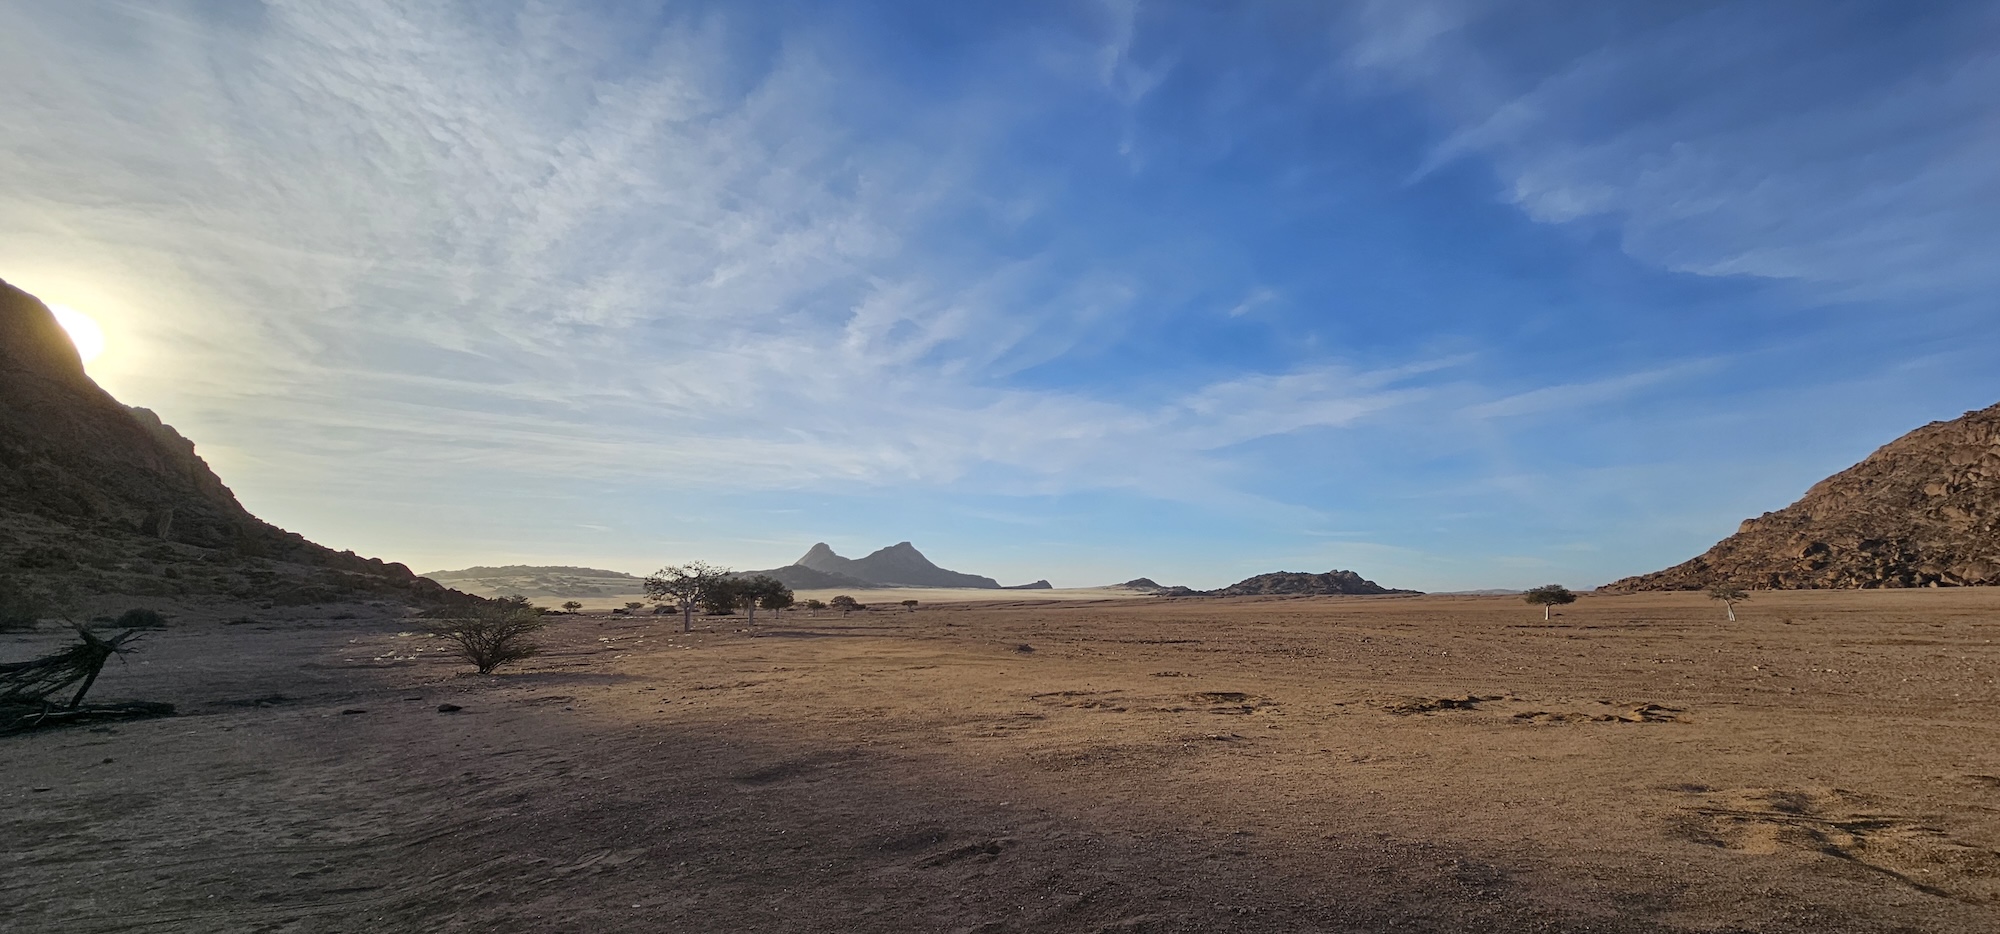
After a good nights rest, we had breakfast and departed.The next morning we departed with a little bit of trepidation; our next stop, Biesjiesfontein, had no luxuries. No electricity, no water, nothing.